Tag Archives: tutorial

Using scraps, adding products and making a display.

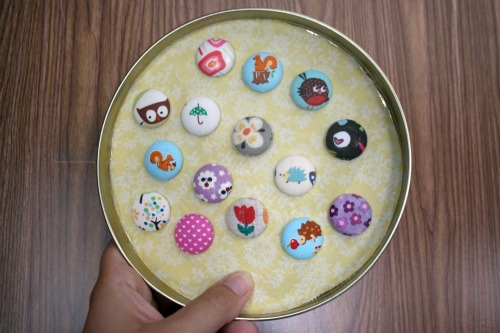
I made a pile of fabric scrap magnets. Some of the fun ones are gone already, but I thought I’d share the fun little display ideas we came up with. At the craft show on Friday all my little magnets were in a dish together and sticking to each other whenever anyone took a look at them. Luckily I was with a creative friend and she came up with a great idea. Then we both went home and made one! Hers is way better though . . . her kid is quietly contained in her belly so she has more time than I do.

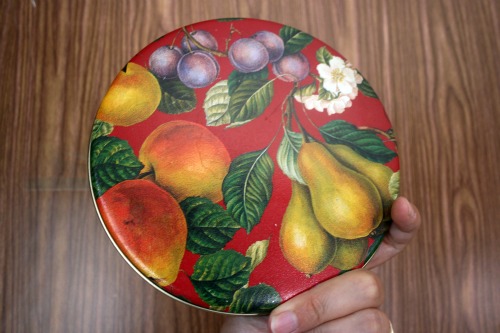
Joanna’s idea was to take a cookie tin lid and Modge Podge some fabric on the inside for a nice backing. I’ll probably add some piping or something around the inside.

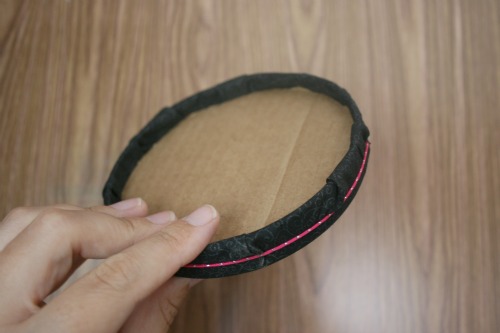
I whipped mine up really quickly and wasn’t sure how permanent it was, or if she got to making one, so it’s really easy to take this one apart. Which is good if you need something like this but only have 1 cookie tin and need it later . . . or something.

Using a smaller cookie tin lid I cut a circle of fabric and wrapped it around it and secured it in place with a circle of cardboard and an elastic for good measure.

It would stand up nicely on a little plate stand or one of those book display easels. They were a great addition to my cup cozies and bags and totes. Small, cute and inexpensive a lot of people picked one up as they paid and added it to their purchase.

Summer hanky headband DIY

I guest posted over the weekend at amy is the party where she featured a bunch of fun summery projects, like cupcake fondue!! Plus other post by some superfunawesomecool people including Thursday and Crafty Minx. So head over there and have a peek!

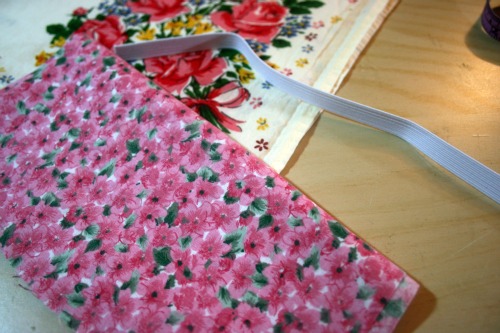
Ok I’m going to show you how to turn a hanky into a fun hair accessory for the summer. It’s a super quick project that you can make with thrifted materials and probably things you have on hand, scraps material and a bit of elastic. I’ve burned my scalp already this summer and I’m hoping this is a cuter alternative to hats.
You will need
– a hanky you like
– a piece of elastic (mine was 7″)
– a strip of fabric (3″ x 15″)
Other handy items – safety pin, turning tool,

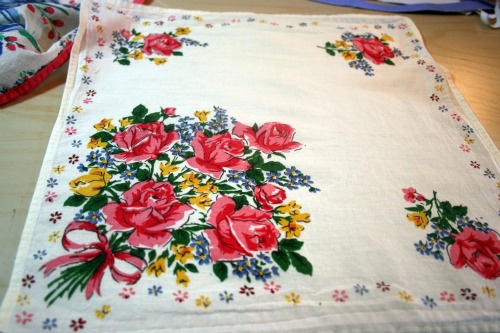
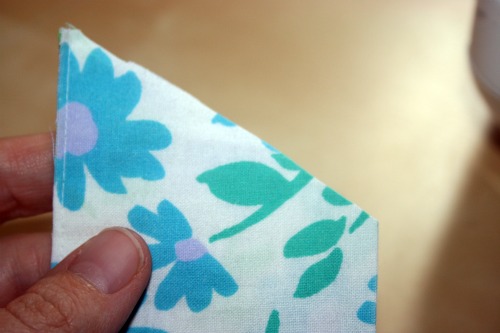
I picked this one because it has a great pattern on one corner which is perfect because you’re going to fold the hanky diagonally.

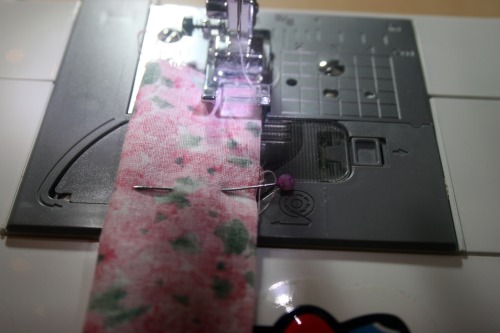
First fold the strip of fabric in half and sew down one side with a 1/4 inch seam.

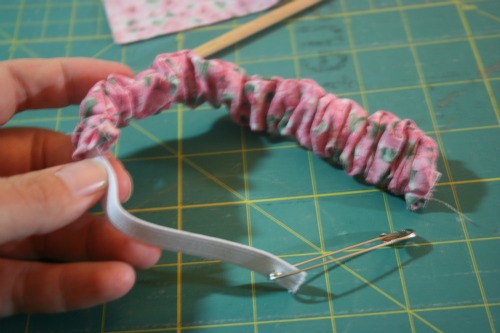
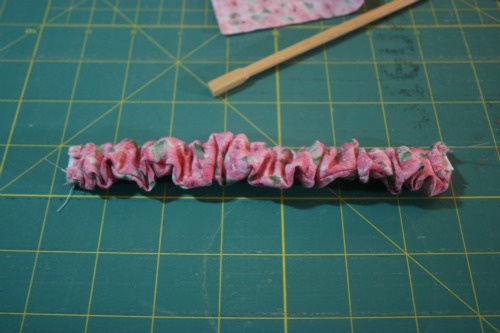
Turn it right side out. This part was a bit tricky, I used my handy little turning tool, this long metal stick thing with a hook on it. Once you have it turned right side out take the elastic piece and feed it through the casing. Sew it in place at one end. Then pull the elastic through so it’s sticking out the other side. It’s easy to guide through if you put a safety pin on the end first.

The casing fabric should be all gathered up like a hair scrunchie.

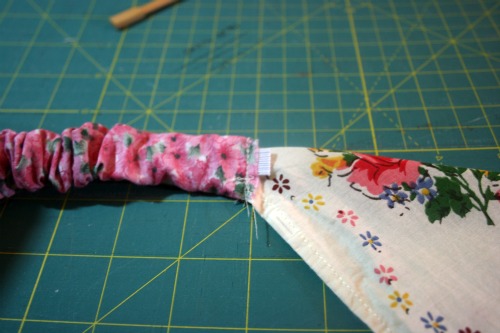
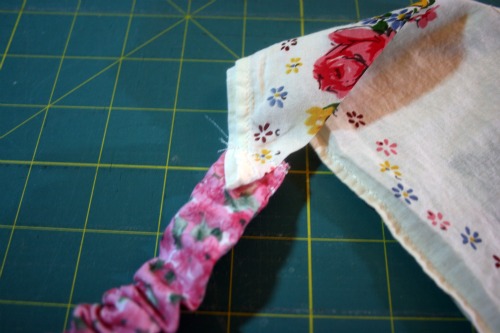
Fold the hanky in half diagonally and sew the stitched up end of the elastic to one corner of the hanky.

Chceck to see how it fits on your head. I had to trim about an inch from the scrunchie piece. Once it’s a comfortable tightness at the back of your head stitch the other end of the scrunchie piece to the other hanky corner.

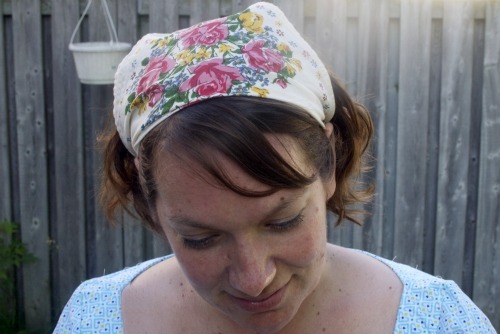
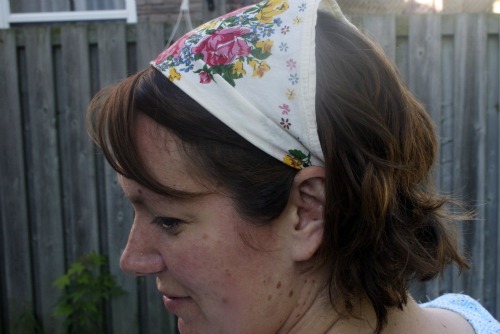
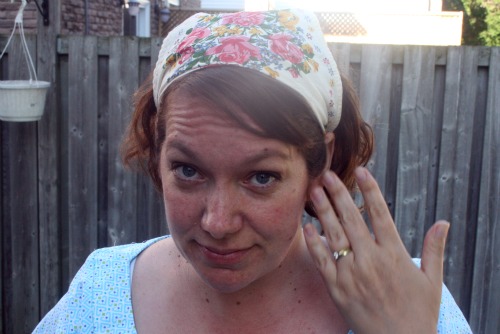
And voila, a great cool summer alternative to hat head!

Here’s my ‘I’m not ready for a photo’ frontal shot. Sorry for the sunny bit.

DIY vintage pillow case restyle.

On the weekend I turned my kitchen table into a bit of a nightmare so I could squeeze in some crafting while Nate was avoiding his nap. I was working on a project with vintage pillow cases and inspiration hit and took me on a bit of a detour.

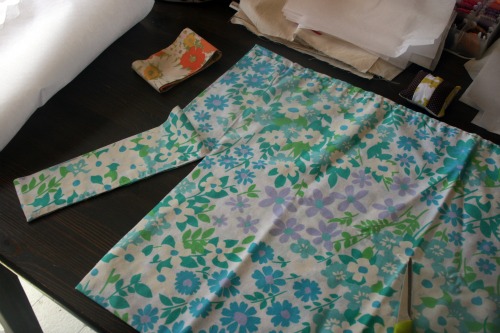
Start with a vintage pillow case and trim off the nice finished edge at the opening where you put your pillow in. You can either trim really close to the stitching and have a closed loop piece, or cut into it and have an open edge. I’m going to show you how to work with both options.

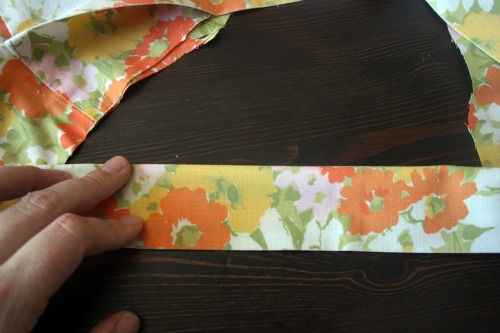
Now you have 2 big loops, cut off the seam so you have one long piece of fabric.

I was cutting the orangey one for another project and in the process I trimmed a bit into the seam and created an opening on one edge. So here’s how to finish that off and make a nice clean edge, and a thinish headband.

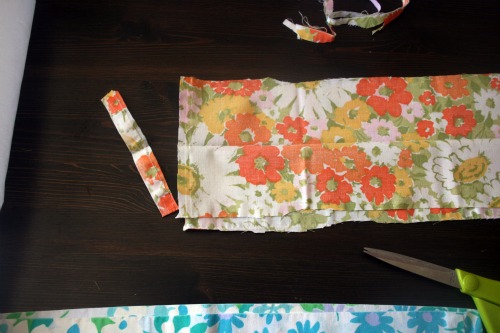
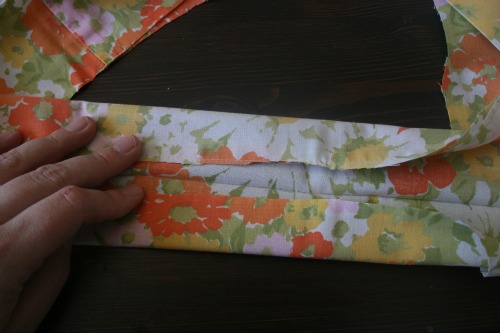
Open the fabric up and use the fold inside, the part that was the very end of the pillow, as a guide to fold the unfinished edges inward. I didn’t go all the way because I wanted my band a bit thicker.

Then fold it again so the raw edges disappear inside. You can iron and pin at this point before you sew. Of forge ahead like I did.

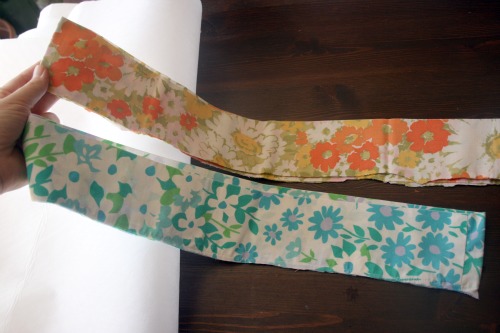
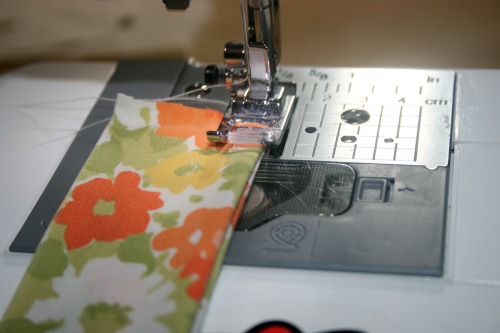
Top stitch along the sides to make nice clean edges. Fold the bottom raw edges up inside the ‘tube’ to create a clean edge and topstitch to seal it all in. Then you have one nice ruler shaped piece of fabric that you can wrap around your head and tie at the back.

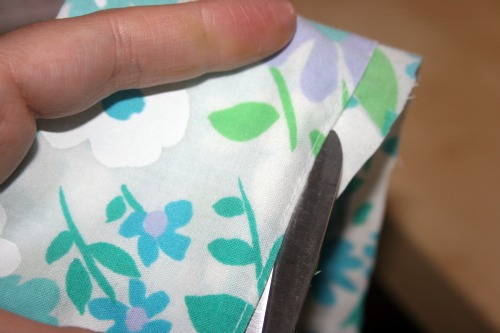
For my blue headband I just carefully trimmed around the pre-existing stitching. Why make more work?

Then I cut the ends on an angle just to had some interest to the ends. Fold the raw edges inside and top stitch around the whole thing.

There you have it, a lovely new headband that was half made already!

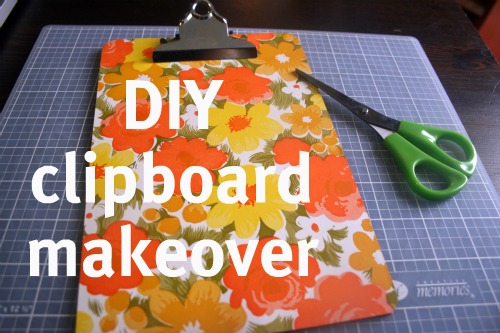
DIY clipboard snazziness

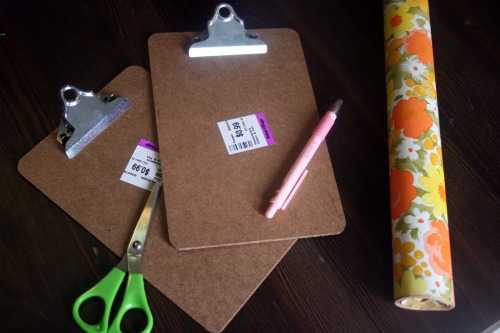
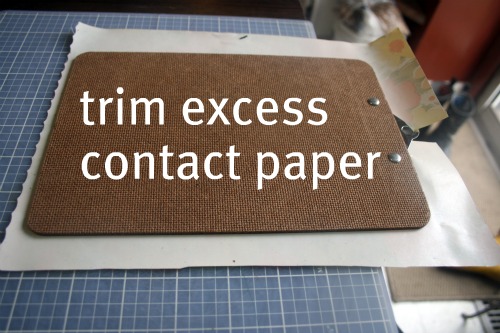
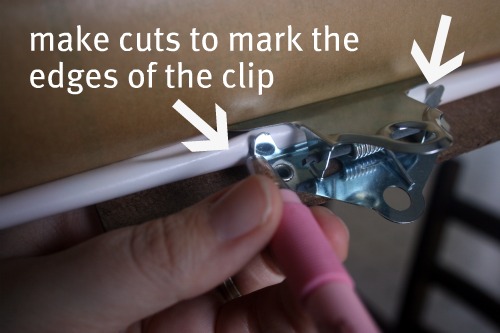
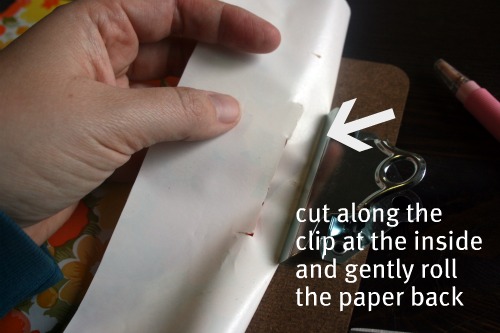
You will need some scissors, an exacto knife or some sort of precise cutting instrument, some shelving/contact paper, a cutting mat helps annnd a clipboard!  My clipboards are little mini ones I picked up for 99 cents each at Value Village.

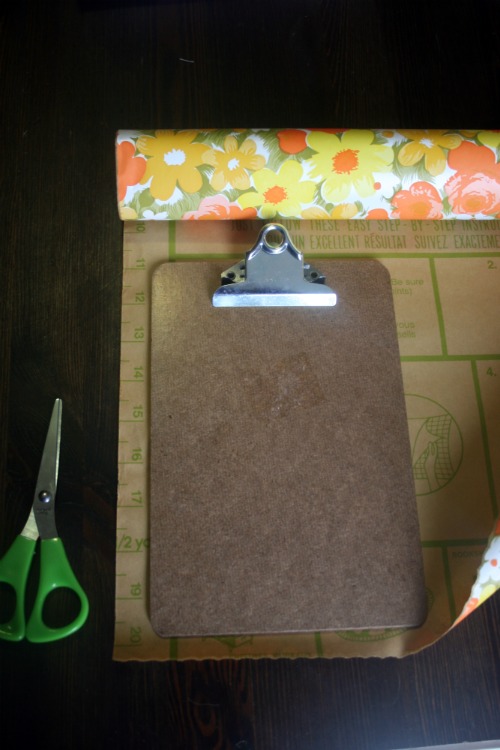
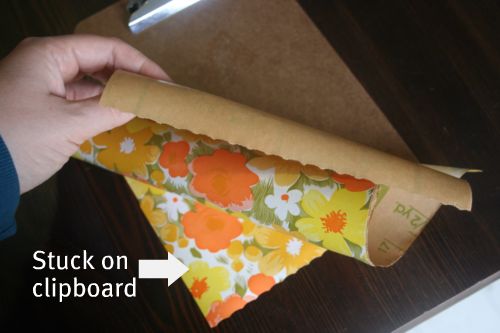
Remove any stickers or labels from your clipboards before you start.  I left the price tag on my first attempt and there’s a faint outline of the price tag.  Measure your clipboard or just do what I did and lay it on the contact paper and cut out a piece big enough to cover it.

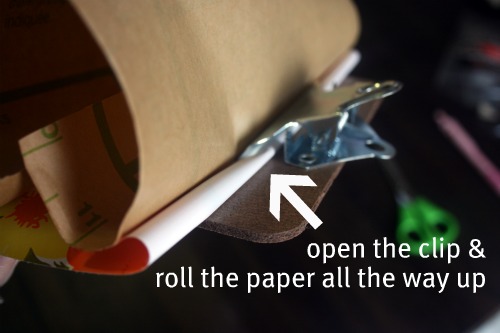
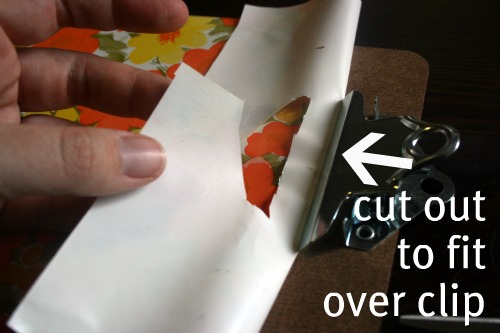
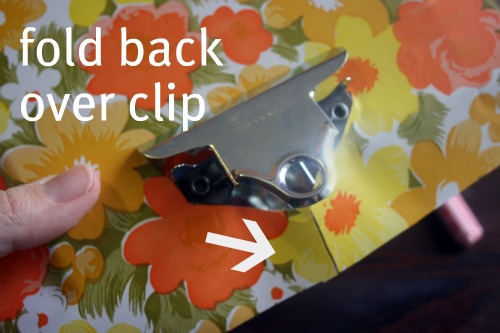
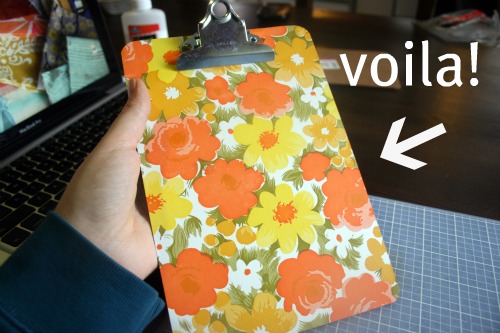
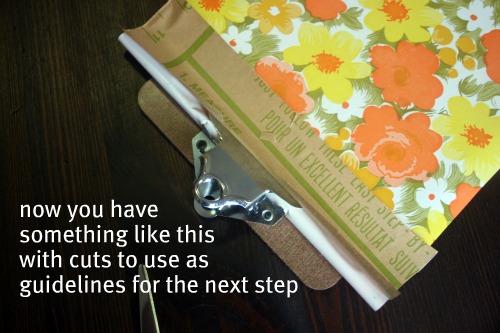
Cut the piece out and starting at one of the bottom corners stick the contact paper on and work across the clipboard making sure there are no bubbles or bumps.


It has been a ridiculously busy week in my house. It’s literally taken me about 5 days to write this post. Which is sad since there’s hardly any writing!
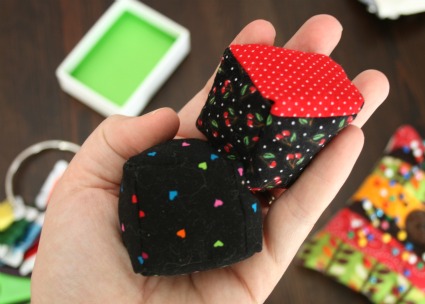
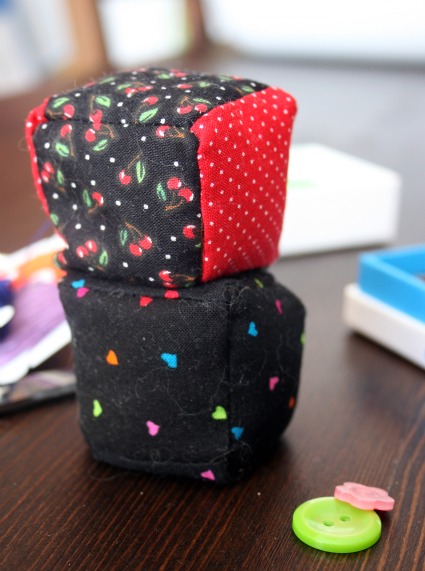
Pattern weight thingies. Or just fun cubes to toss around.

I stumbled across Zaaberry and found this neat little tutorial on making little weights to hold down your patterns while you trace and cut.  Bye bye pins.  Luckily I had previously cut a bunch of my scraps into little squares so they were perfect for this project.  It’s a really simple project, just sew squares of fabric together, fill them up  with someone that has a bit of weight to it and sew them shut.  I filled mine with some flax left over from my eye pillow making.  There’s even some lavender bits in there too I think.


Got some spare time this week? I’ll show you how to make some Trick or Treat bags.

Of course, like most projects, I’ve been meaning to get to this one for a while. I finally managed to squeeze it in this weekend.
I wanted to make the kids some bags to collect all their candy in that they could use for a few years. I find most things out there are cheaply made or too big for their 4 and almost 2 year old hands. Soooo off to the cutting board I went.

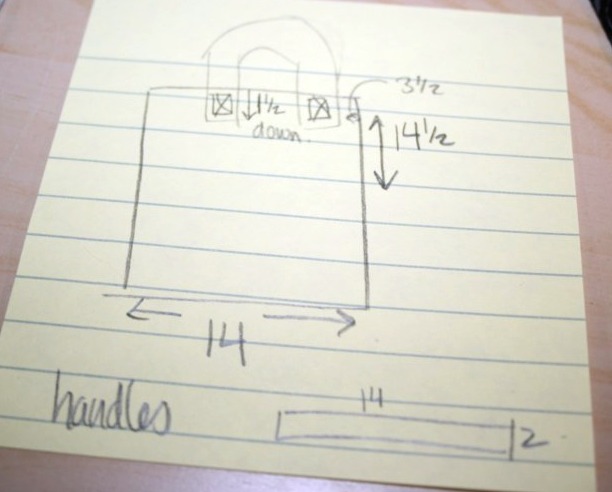
Here’s my high tech diagram. I really need to learn some sort of graphics program . . .

Measurements are in inches. That’s the handle placement I used, seems to be fine.

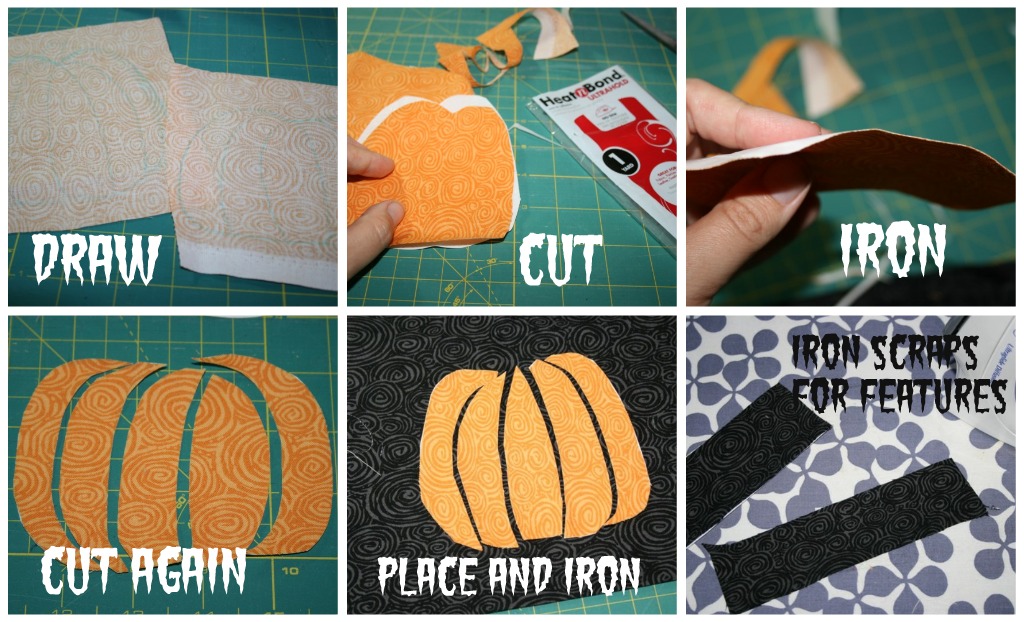
I used washable marker to sketch out some pumpkin shapes.  I just free handed it but  you could search for images or choose another design all together.  Cut them out and fuse them to a new sew adhesive, like Heat and Bond.  I wanted the black lines to show through on my pumpkin so I cut it up into a little puzzle and pieced it together on the front of the bag.  Then ironed it on.  I used some scraps of black and fused them to the Heat and Bond and then cut out some features.  Guess I was on a roll because I don’t have pictures of that step!

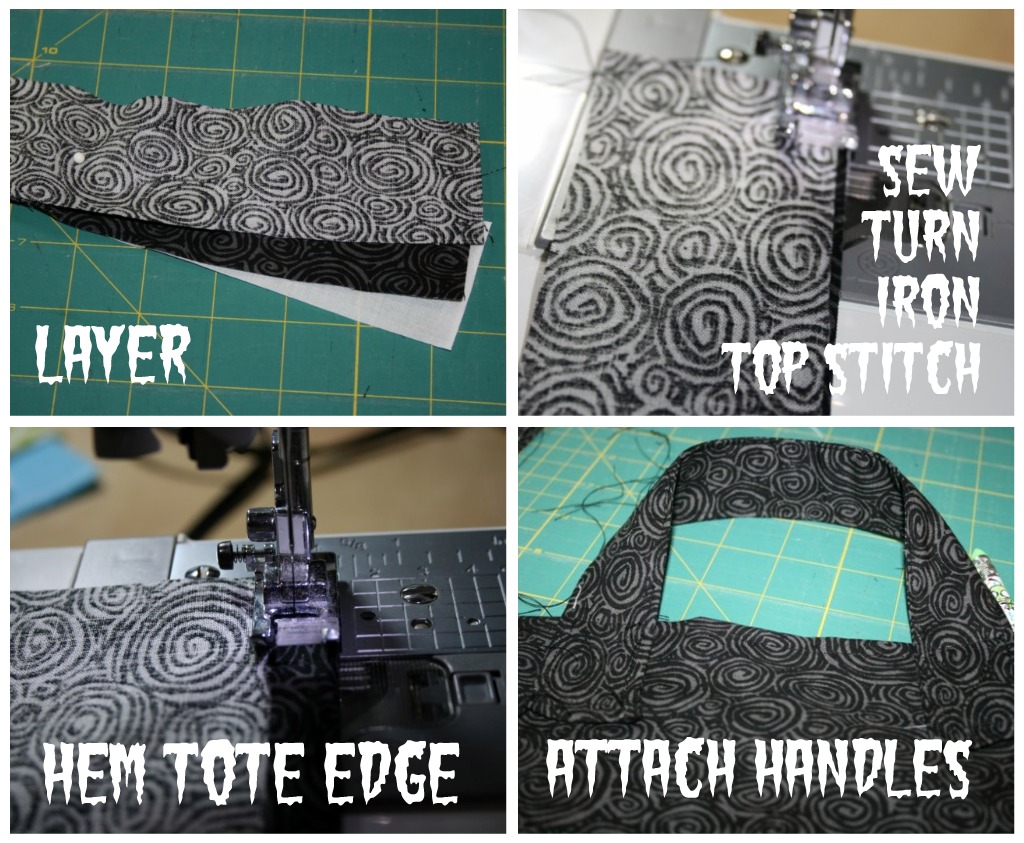
Layer your handle pieces together, I added some interfacing for some more stability.  Sew down both sides and turn them right side out.  That part is tricky, I found a chop stick helped.  Iron them flat to get nice crisp edges and then top stitch all the way around turning the rough edges under.  Hem the top edge of the tote, seam size isn’t really all that important just use the same mesaurement for the front and back.  Finally attach the handles with a fun box stitch.

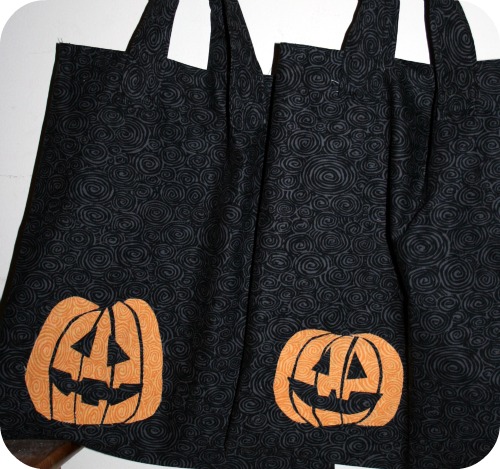
Lastly lay your front and back pieces right sides together and sew around the sides and bottom.  I debated boxing the corners on my totes but decided not to, go ahead if you want.  Turn the whole thing right side out and ta da, fun Trick or Treating tote!

Little letter needle book? Check!

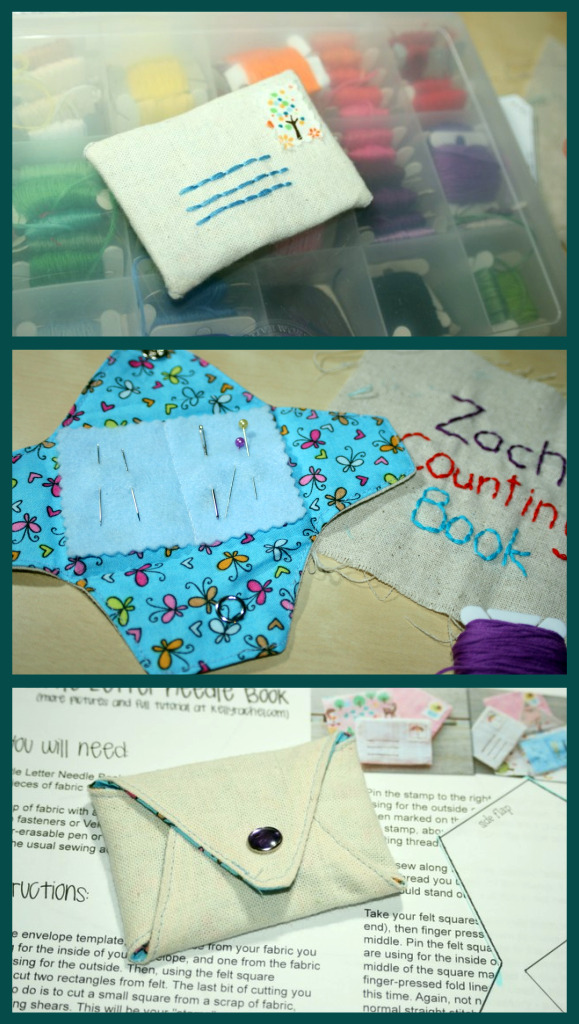
Made this on the weekend, thanks to one pretty thing for pointing it out over at am ay kay ee.

It was super easy and quick. Rather than attaching velcro I decided to be brave and attach a snap. Off to Michael’s I went, coupon in hand, to get the snappy thingie installer tool. That too was easy to use, even if my snap ended up a little off center.

Tea cup pin cushion . . . tutorial-ish.

I’ve come across cute little tea cup pin cushions and today I remembered I had 2 special tea cups wrapped in bubble wrap hidden away in a cupboard because I had no where to display them.  They were my Great Grandmother’s and they were passed onto me when my Grandfather died about 2 years ago.  So I decided to go about creating a tea cup pin cushion.  It’s not that tricky, or a fine science or anything, but here’s how I did it.

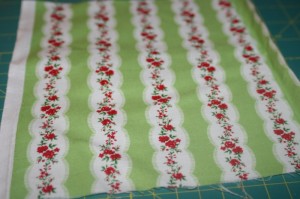
I chose some vintage-y looking fabric I had lying around.

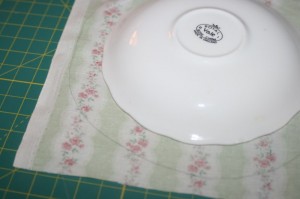
I needed to cut the fabric into a circle, had no clue about what size to I just got something round.  I placed the saucer on the fabric and traced a little bit from the edge and cut the circle out.

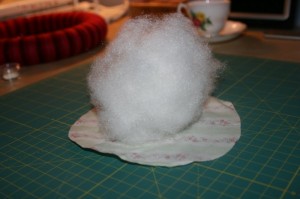
Then I grabbed some stuffing . . . stuff and guesstimated how much I would need.  It looked like a lot but once it was all squished up it was perfect.  So if you’re trying this, take a little bit more than you think.

Then I did a running stitch around the circle and pulled on the thread to gather the fabric and close up the fabric.

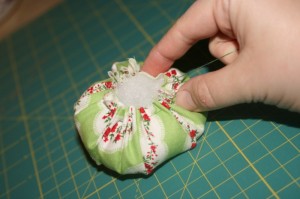
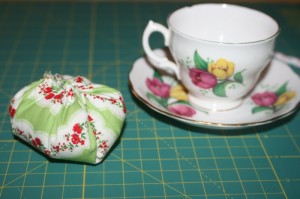
So then you have this little dumpling like bundle.

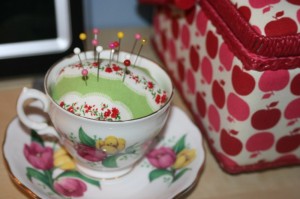
And voila!