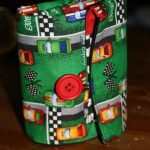
I tried to make notes as I went along, and take pictures, but it’s hard enough creating something from nothing and then to document it as well!! But here it goes. Using some advice from Bella Dia, and what I think is my own good sense here are the steps I used in making my fabric counting book. Hopefully it’s enough information to help you create one too.
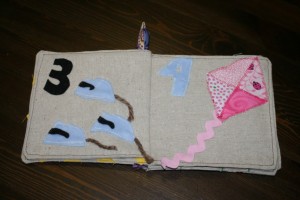
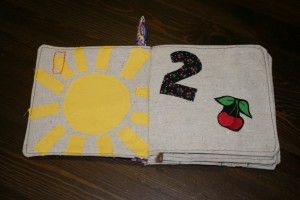
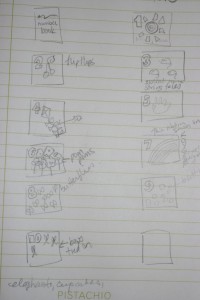
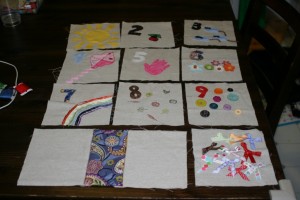
1. Plan – First, because I was lounging at the TV when I was struck with this idea, I sketched out my plan for each page. Knowing what materials I had on hand helped me decide on the page designs. I made the pages like this: 1 sun, 2 cherries, 3 blind mice, 4 triangles on a kite, 5 fingers on a hand, 6 flowers, 7 colours in a rainbow, 8 fall shapes, 9 buttons and 10 bows.
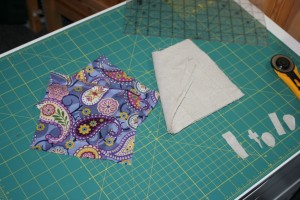
2. Cut – I cut 10 pieces of fabric, 6 1/2 by 6 1/2 square. I was going to make the cover out of some other material but I decided in the end to use the same fabric and cut 2 more pieces. So you’ll need 12 altogether, split if you want to vary your prints.
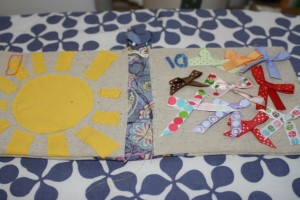
3. Create (I know it’s a vague step) – Based on your ideas for each page just go to work creating them on each of the 10 squares. I used a variety of methods to put my pages together. Here’s a layout of all the pages before some finished touches and before they were assembled.
I used Steam-A-Seam, applique, yarn, rick rack, buttons, embrodery, ribbon, rubber stamps and paint to complete all 10 pages. See my previous post for close up shots of each page.
4. Page assembly – Pin pages 2 and 3, right sides together, here’s where it takes some thinking, leave the side that will go in the ‘binding’ of the book open for turning. It’s going to covered by the printed fabric so it doesn’t matter about finishing that edge. Since I placed all my numbers in the top left corner it was a bit easier to remember what side to leave open. Turn and Press. Repeat for pages 4 and 5, 6 and 7, then 8 and 9. Sew, turn, press.
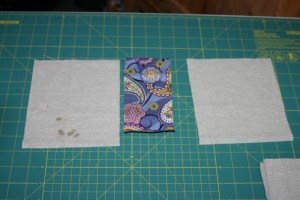
5. Cover creation – Since I decided not to use my original cover pieces I went back and cut some from my linen. But my supply was running low and I had to cut 6 1/2 by about 6, leaving me a bit short. So I cut a piece of printed fabric to use as a ‘spine’ for the book. I accidentally put my fabric where my cold drink of water had been and it got a bit wet, ignore the spots. I zigzagged stitched the spine to the front cover and back cover of the book.
6. Personalize – Attach any sort of label/saying you want on the back page of the book. Fabric stores have those cute, ‘Made by Mommy’ or ‘For Someone Special’ labels that would work well here.
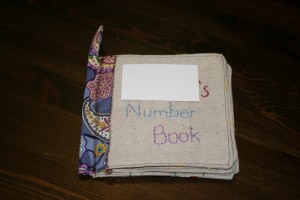
7. More Personalizing – Decorate the front cover, I personalized mine and embroidered it. You could appliqué it, or sew some 3D embellishments on. Then when finished, sew page 1 to the spine, leaving the binding side open for turning. (Name blocked out for gift surprise protection)
8. Cover assembly – Sew page 10 to the back cover, right sides together, sew on the top, right and bottom leaving the left side open for turning. Then sew page 1 to the front cover , sew on the top, left and bottom, leaving the right side open for turning.
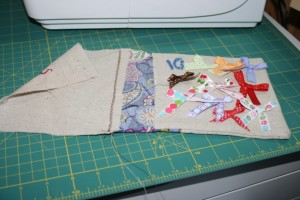
9. Loop – I also attached a little loop piece of fabric, it was about 2 1/2 by 3 and I just folded it right sides together, sewed along the long side, turned it and pinned it to the top of the binding. Sorry for the busy pattern of my ironing board.
10. Top stitching – Top stitch around the edges of all the pages, as close as possible. I used a brown thread so it showed on all my pages. You could get fancy and change threads but at this point I was excited to get finished, hence the lack of photos. Lay the book cover/page 1 and page 10/back cover page flat. Fold over and press the book spine part to make a little hem. Top stitch all around that piece.
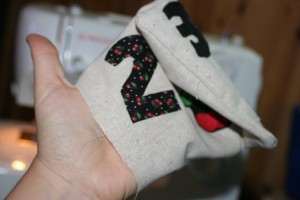
11. Inserting the pages – Once I finished all my top stitching I carefully set the pages inside the book making sure to line all the edges up along the inside at page 1 and 10. Then I realized just how thick my book was and wondered how on earth I was going to get it under the sewing machine foot!! I’m relatively new to sewing, and mostly I learn just by trying stuff out so here’s what I did in this situation. I put the pages in, secured with some pins, folded the cover over the book and then slid it under the machine foot in the middle of the spine where it was thinest. Then I sewed down to the bottom of the book and backstitched. Turned the book over, inserted it where my stitching started and went in the other direction to the top of the book.


![IMG_2944 [1024x768] IMG_2944 [1024x768]](http://www.sewtara.com/wp-content/uploads/IMG_2944-1024x7681-300x200.jpg)
