Tag Archives: style school

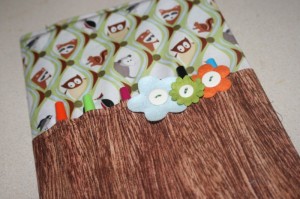
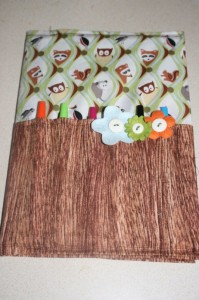
Notebook cover complete!

I had a hard time with this Style School project.  Maybe because I was tired, maybe because I was sewing stupid last night, but I could not make sense of the tutorial at all!  So I decided to just do my own thing and create the cover.  Well that failed miserably because I’d sew something and be wrong and have to stitch rip it.  Or I’d get to the end and realise I hemmed too much and didn’t leave enough material, i sewed it all together and put the buttons on last because it was too much thought about placement so it was really finicky with the pen spots there to sew the buttons . . . the list goes on.

However, I suppose it wasn’t all that bad since I did finish it today and I love it, so all was not lost.

Another Style School creation.

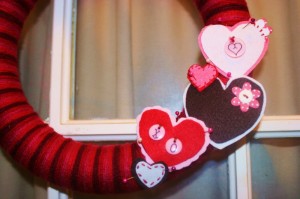
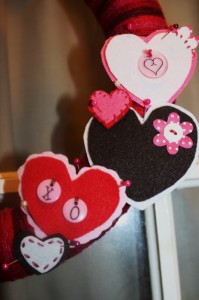
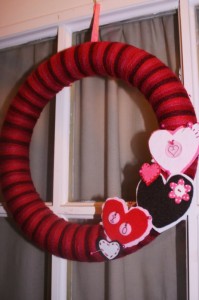
I’ve been dying to try to make this, but I can’t find a foam heart shape anywhere!! Despite Valentine’s Day quickly approaching.  So I decided to make my wreath project with a Valentine theme.

I was going to use paper for all the hearts but worried about it standing up to the cold and damp if i chose to hang it on the front door. So I used pieces of felt.

I used a multicoloured yarn to wrap around the foam wreath, there’s no way I’d be that uniform in my colours!

Style school project 10? And I didn’t even know!

So I was so busy finishing my pillow last night and blogging about it that I ran off to bed later than I meant to.  Today I wander over to check what the Style School assignment for yesterday was and lo and behold it was the favourite quote pillow!  So while this isn’t really a ‘favourite quote’  it’s still pretty darn cute, a quote and finished on the day a pillow was assigned!

I think I’m going to make a few more to go on our bed with this one.  I’m going to scour song lyrics and other inside jokes and use those, things that mean something to us or is an inside joke only we will get.  Can’t wait to have a few all prettily placed on our bed!

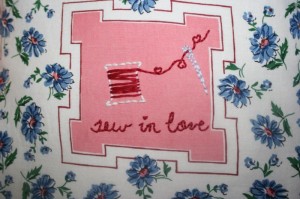
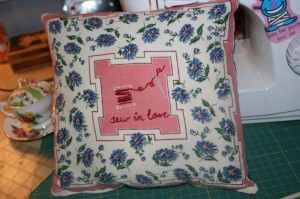
Handkerchief pillow tutorial. Complete with cute embroidery!

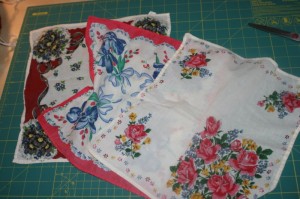
My friend gave me a few handkerchiefs her Grandmother had lying around figuring I could make something with them.  I had the idea to make them into little throw pillows for my bed.  I was going to make her one and give it to her, but I’ve already given her a pillow I made so I figured I’d be keeping it.  Then I realized one of the prints would be perfect for embroidering a little something right in the middle.

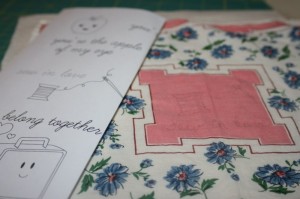
Perhaps a heart with our names in it?  So I cut out a heart and was just about to trace it when I remembered the awesomeness I had just ordered from Peptogirl!

I flipped through the patterns and found one I liked and I took the liberty of making a slight adjustment.

Here’s how I made the pillow:

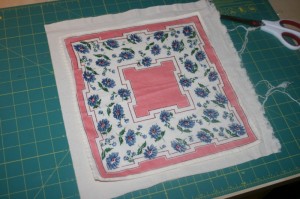
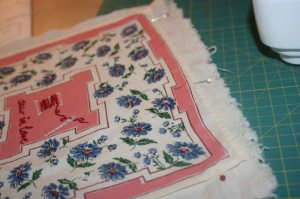
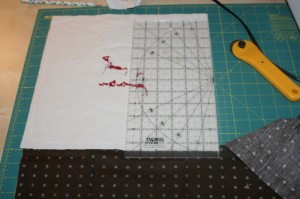
First I cut a piece of plain unbleached cotton fabric a little bit larger than the hanky. Then I ironed the two pieces so they’d be nice and flat. In hindsight I should have cut the cotton a bit bigger, I ended up losing the border when I squared it up before putting the backing on.

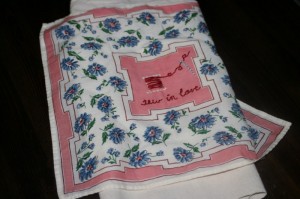
Next, in a very high tech. transferring process, I freehandedly copied the ‘sew in love’ pattern onto the hanky, adding my own little touch.

Then it was onto embroidering before a repeat ironing performance. I just put the hanky and fabric in a hoop together and stitched my design. When I took it out the stitching was through both layers holding it together.

So off to my machine I went where I stiched around the edge of the hanky, I went on top of the hem stitching with the same colour so it wouldn’t show.

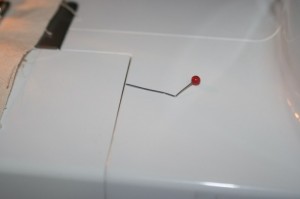
While doing that I hit a pin!! Never in all my time sewing have I actually hit the pin. CLUNK! went the machine, and I totally expected the pin to have snapped and tried to pull it out, but nope! It was just bent like crazy! Everything seemed fine so I just took it out and kept going.

Then I chose some fabric for the back, our duvet cover is brown so I was going for something that would make this a nice little pillow to toss on our bed. I squared up the edges around the hanky and then I laid down the front, right sides facing, to see how big it was and cut a piece for the back.

Then I pinned it together, with the pins waaaaay inside to make sure I didn’t hit one again, and sewed around with a 1/4 inch seam.
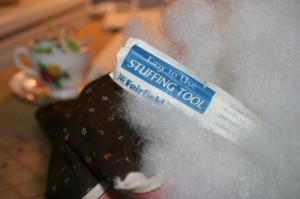
In retrospect the hole I left for turning and stuffing seemed a tad too small but I got it. When I went back to my bag of stuffing to grab some more I found this peaking out.

I was so excited, a stuffing tool?! Wow. Was stuffing going to be easier?! Why hadn’t I found one in my last bag of stuffing?! Then I opened it and realised it’s really just a chopstick and I could have gotten one of those from the kitchen. My hands worked just fine.

Stitched the stuffing hole closed and ta da! A cute little pillow to enjoy!

Yet another Style School project.

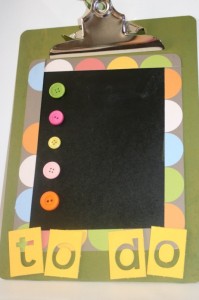
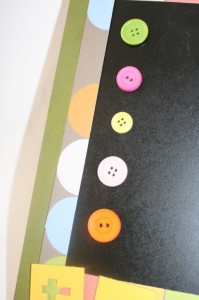
Finished this today, so it’s good to know that even though I’m in my jammies I’ve done something productive.   I couldn’t find the assigned ‘6 clip boards of the same size’  but I thought I’d start with an idea/need I had.  So here’s my ‘To do’ board, which I hope helps me to accomplish some things and get them to dones.

I stuck the buttons on with glue dots.  I like the idea of making them into little bullets, and I thought that having 5 would be manageable and not too overwhelming for goals

The neat thing about being a teacher is you have neat things like stickers or blackboard markers already!  So I can use them on my cute new little clip board.  However, a down side to being a teacher is after you take a year off on maternity leave you have no idea where most of your teaching stuff is.

My newly reorganized and improved craft space!

Yesterday I managed to get into the basement and finish up reworking my craft area. While my husband is pretty grumpy that I’ve invaded the ‘Man Space’ I’m crazy happy over the results! It’s been a crowded mess down there for the last little bit and I’ve been crafting on the kitchen table. However, it’s a pain to lug up the things I need, or have to go back down because I forgot something, so I really wanted my space ready for me to pop down when I have a few minutes and work on something and not have to move it so we could eat a meal.

Now I’m so excited about it but when I took some pictures I realized that the electrical box looks pretty hideous on film. I know nothing about drywalling but I’m either going to beg someone who does to help me, or I’ll be learning! So pardon that tiny eyesore while I tour you around my happy little creative space.
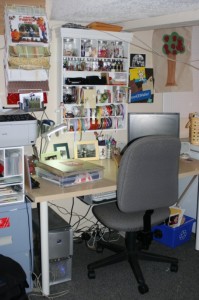
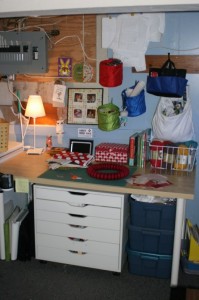
I still want to attach the powerbar to the underside of my computer desk and get all the cords off the ground and tidied up.  That thing in the corner is our freezer but it really can’t move anywhere else in the basement so for now I just covered it with a cool storage basket. The white cart under the table on the right holds all my papercraft tools and supplies.  The blue bins beside are my fabrics and yarns.
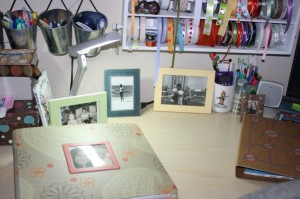
There’s my scrapbook for our trip waiting to be filled.  Along with some favourite pictures of me and my mom and dad, my Style School binder and my Jayne, “Time for some stunning heroics” and Marv the Martian mugs I use to store things.
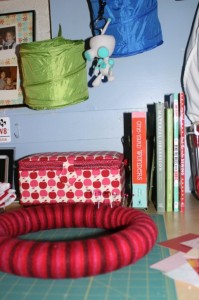
I picked up the red, blue and green collapsible buckets at IKEA.  I’ve got juice pouches in one, buttons in another and rick rack in the last one.  At least one was supposed to be a little garbage bin on the table top but my supplies took over.  There’s my cute new sewing box, contents all organized, my fun sewing books, and my Style School wreath project in progress.
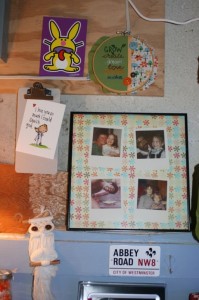
In attempt to hide the eye sore I’ve filled the space up with some fun things.  An owl from Cuba, a cute postcard, my inspiration hoop, silly faced Happy Bunny, a Beatles souvenir from London and yet another Style school project, the Polaroid art frame.  For the Polaroid frame I used pictures from when I was a kid to add to the vintage feel (wow I basically just called my childhood vintage . . .) and I love those shots.
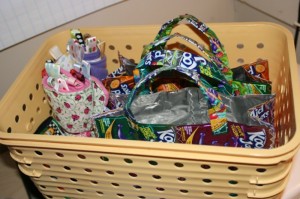
These are some completed things I have sitting around.  I’m hoping to make a few more things this weekend and make my donation to the Craft Hope store.
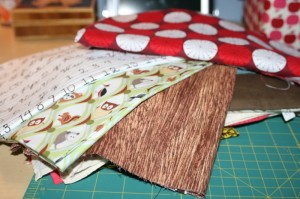
Fun new fabrics.  I fell in love with the wood grain fabric used for a book cover Style School assignment so I searched some out on Etsy and found it at uberstitch. I’m going to use it with the little woodland creatures print. The cursive writing practice one was just cute, and hey, I’m a teacher, I can print! The funky red one was on super clearance at Fabricland because it’s a Christmas print, but I thought it was just neat.

So now that I’ve accomplished so much there I can focus on my Style School assignments, do my own creative things and figure out how to put my sewing machine into this neat little table my mom gave me then paint it some cool colour.
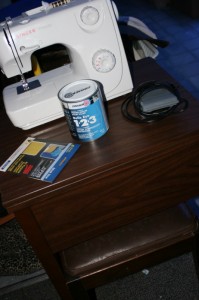
Wow, looks like I’m going to be a pretty busy bee for the next little bit. Yippee!

Style School binder – favourite things from the inside.

After a recent power outage our printer wouldn’t turn back on so I finally broke down and went out Friday night and got us a new one.  Which meant I could finally print all the images I’ve been saving to put in my Style School binder!!  Usually when I bounce around the net while browsing my favourite blogs I save pictures of neat ideas here and there to inspire me.  I’ve been bad and I don’t know where most of them have come from, so I suppose as a sort of new start for 2010, I’m going to save the files with a name that lets me know where I saw the image.  So here’s some of my favourite things I’ve collected over the last few months.

I have one of these already, but after seeing this I think I need more!
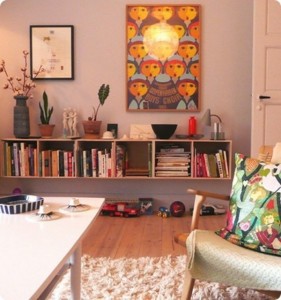
I love the idea of this shelf, and how the toys are all underneath out of the way. In our house, the shelves would need to be empty for another 2 years or so!
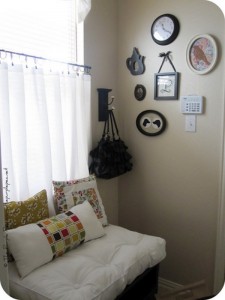
I love this little bench and the arrangement on the wall. See the makeover and rest of this little nook here at the purple pea.

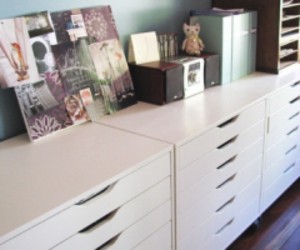
Great looking storage for all your craft supplies! From somewhere on apartmenttherapy, I’m pretty sure.

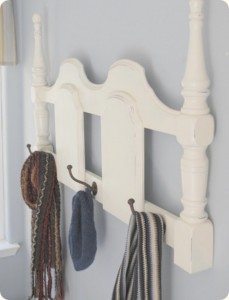
Love this idea! Find the tutorial here.

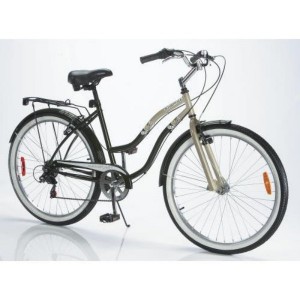
In the spirit of needing to organize my seemingly ever expanding craft space, and wanting a cool bike, I must have these!

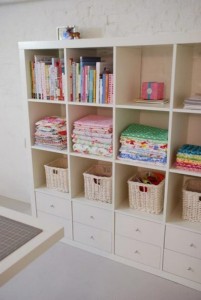
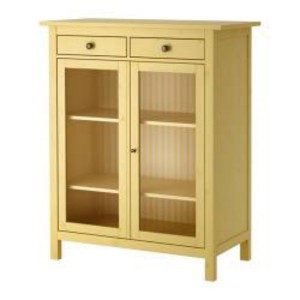
Yellow cabinet from IKEA. For *my* good looking fabric storage

I saw someone buying this in Walmart. The picture doesn’t do it justice, it’s a really looking neat bike.

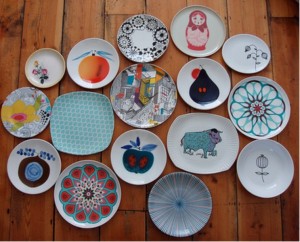
I need an eclectic collection of plates to hang on one of our walls.

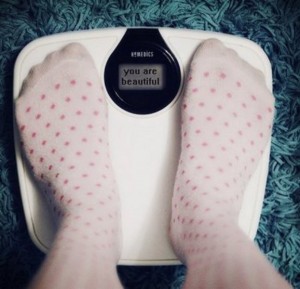
This one just makes me smile, from weheartit.com. What all our scales should say.

Style school binder fun.

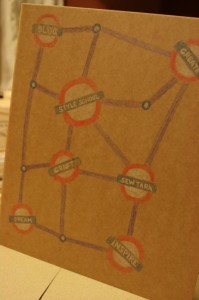
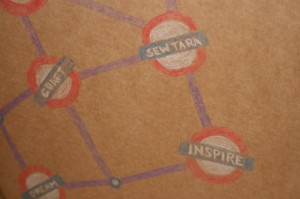
While in England I picked up a decoratable binder for my Style Binder assignment for Style School. While watching part 1 and 2 of the BBC remake of Day of the Triffids I decided to work on the cover. Inspired by my location at the time I designed it using a London Underground theme.

There’s a bit of a shine to the binder so it was tricky to get a shot without a glare, but you get the idea. My only available tools were the Lightening McQueen coloured pencils my son had from Christmas. So all things considered, I think I did very well.

By the way, if you’ve never been to London and would like to scramble your brain for a few minutes take a look at the map for the underground. If you live in New York City, never mind the link, you have your own brain scrambler.

My shadow box with a story.

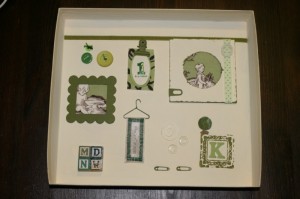
I’ve been trying to keep on track with Style School and keep up my current craft a day speed. So I made my own ‘shadow box with a story’.

story box

The buttons are just fun and all about sewing, scrapbooking and cardmaking. The ‘1 in a million’ is a heads up for my Dad, who was one in a million! I found some vintage looking fabric with little boys on it and cut and framed those little pieces, to represent Wesley and baby Nate. The alphabet blocks are for the boys’ names and Mom and Dad, that’s who I am right now so I used that and not T for Tara. I made a little SewTara banner, in honour of my new little addiction. The K is for our last name and I added the little globe for our travel fever.

It was loads of fun to make and surprisingly difficult to think about items to represent myself.

Pocketed pillow, mark it with a C!

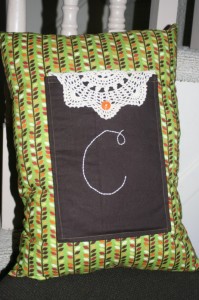
More Style School inspiration, well actually the bonus project this time. Decided to make it a gift for my soon to be married friend. Luckily both their last names start with a C so the pillow works now and after the happy day!

pocketed pillow

I used Leaves Vine Stripe, from the Apple fabric by Alice Kennedy.  It’s available from Timeless Treasures.   Or, be like me and get yours on Etsy.  The back panel and the pocket are just dark chocolately brown cotton fabric.  I got the doily from the thrift store and I had the cute little button kicking around.