Tag Archives: sewing

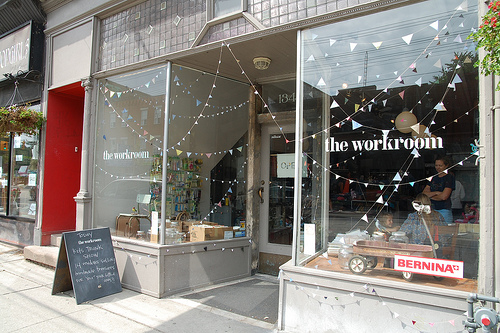
The Workroom, a new to me fabric store.

So Monday night I wandered around Toronto as part of enjoying my first night ever in the history of Mommyhood that the boys were out of the house with daddy for just over 24 hours! Strangely I choose to head into the city for the evening instead of enjoying an empty house. I wandered around and took street cars and subways, had a burrito and walked and walked and walked. But it was all worth it because eventually I arrived at The Workroom.

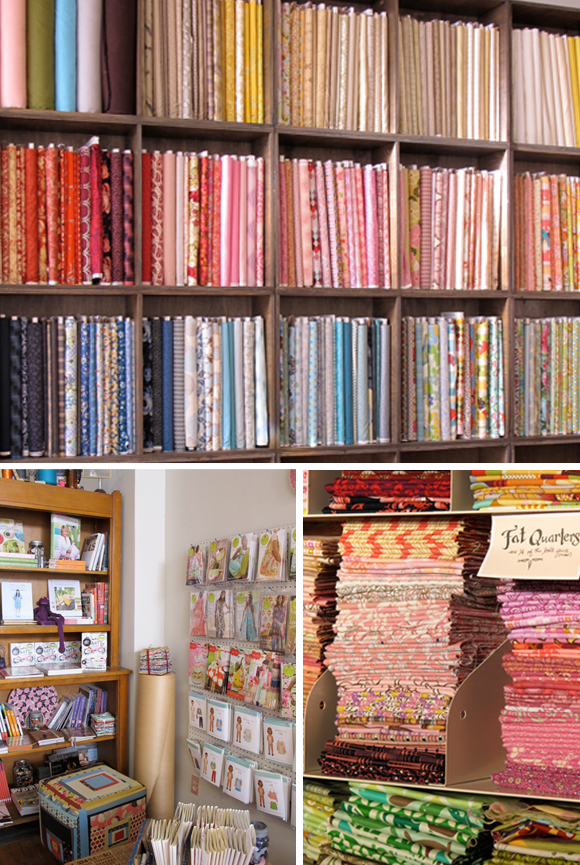
If you live in/near Toronto The Workroom is a craft and sew place that lets you make use of the studio by the hour. They’ve got sewing machines, sergers, cutting tables and other crafty people hanging around. The exciting part for me was all the pretty fabric they have for sale. Oh and sewing books, and Japanese craft books. They also have Amy Butler patterns, Colette patterns and some other goodies I can’t remember now.

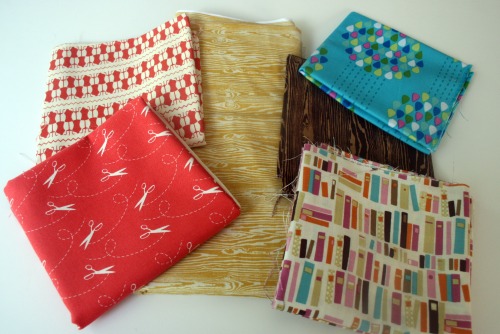
They sell some lovely fabrics and have a whole pile of shelves full of fun fat quarters. Of course I left with some goodies.
There’s also a blog if you want to check out some of the things they’re up to.

Images stolen from here, here and here. I felt silly asking to take pics with my iphone.

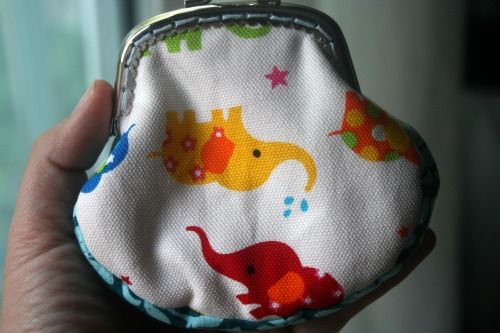
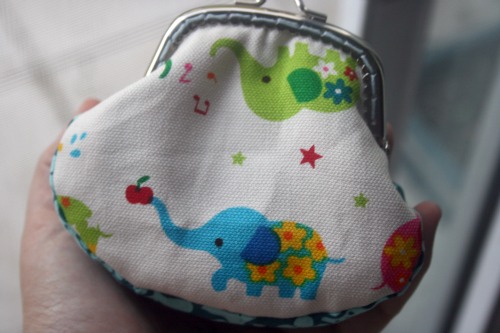
An elephant never forgets.

These cute little fellows reminded me about my blog. Hi there!

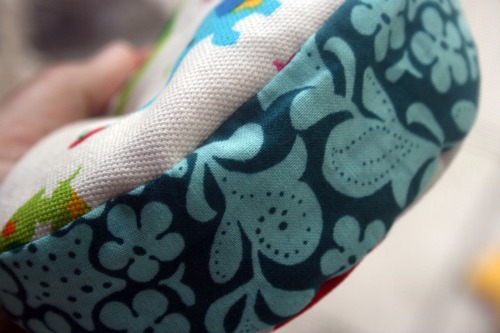
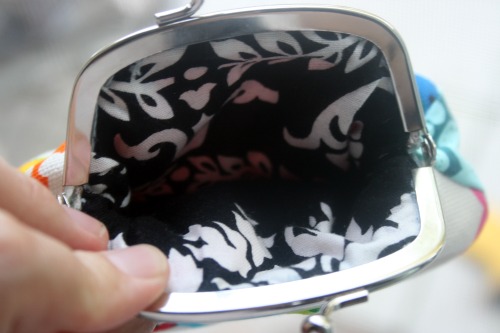
I made this.

It’s stinkin’ cute.

Yeah, I’m kinda bragging & sort of sharing.

I achieved that ‘Oh I just threw some scraps of fabric together’ nonchalance I always see in other peoples projects where it turns out freaking amazing, with fabric pairings I’d never think of myself.
Oh I thought of them.
It appears I’m pretty awesome too now.

Photographer’s block

If you’re looking for the giveaway scroll down or it’s over here.

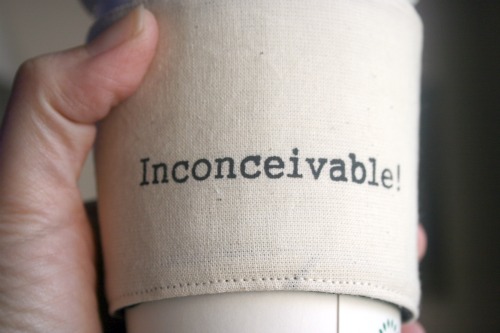
Mostly I make cozies. It wasn’t really what I set out to do when I opened an Etsy shop, but I sort of just fell into it and I’m glad I did. I like it, I get to be goofy and I’ve learned a ton of new things. One thing I haven’t really learned is how to take dozens and dozens of photos of what is essentially the same item and still make it interesting. Which is sort of stinky since I recently created a whole new batch of designs for the shop.

Part of me thinks, “Ok, it’s just a cozy, they get it. Do the plain background thing and be done with it”.

But then if I do have something in the background, like say cookies, I know people see it and look and want cookies so they might want my cozy . . . . Oh I know I’ll hold it in my hand! No one’s ever seen a disposable cup doing that before! *groan*

Today was nice and sunny (after the freak thunderstorm) so I tried to sneak some flowers in. But yeah I don’t know, it’s still a cozy.

What’s a disposable cup doing in my house in the first place let alone on my piano? Who knows, it’s a new place to set up a photoshoot. How about in front of my lappy, you know because it’s a computer joke, get it? Get it?!

Anyone else feel this is a challenge when you’re making similar items and need to photograph for listings?

Maybe I should just start getting really outlandish and putting them on my sleeping cats, or hanging from the ceiling or in the bath . . . .*sigh*

Silly new cozy.

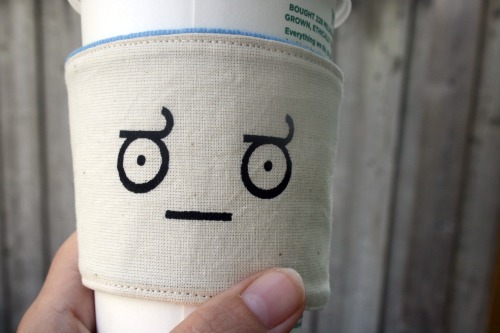
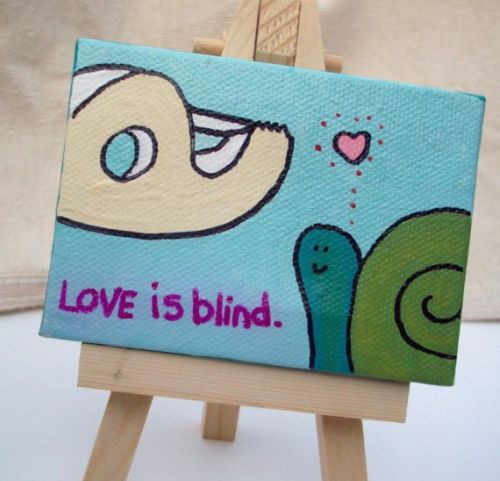
I don’t even remember how but I stumbled up on LittleRedAfro’s Etsy shop one day and saw this really funny little painting she had done.
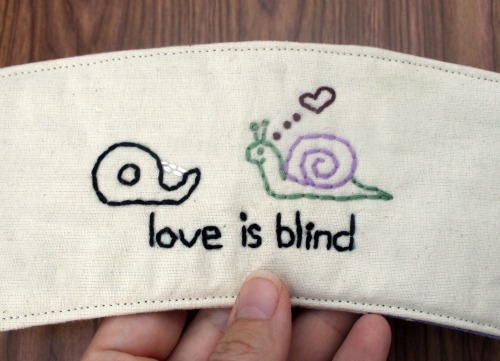
I contacted her and asked her if she minded me putting it on a cozy. She said go ahead and just let the world know it was her idea. So behold my cozy based on her little painting.


I think it’s pretty funny, but I’ve got a dorky sense of humour. I’m making one for her as a thank you for letting me have some fun with her design. If you want one you can get one here.
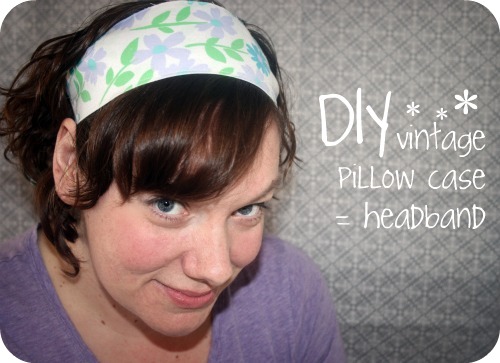
DIY vintage pillow case restyle.
On the weekend I turned my kitchen table into a bit of a nightmare so I could squeeze in some crafting while Nate was avoiding his nap. I was working on a project with vintage pillow cases and inspiration hit and took me on a bit of a detour.

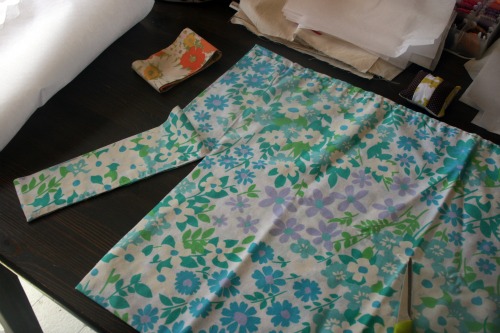
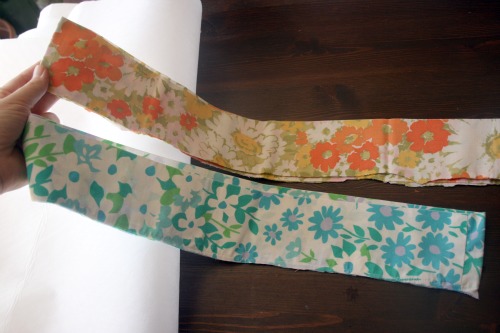
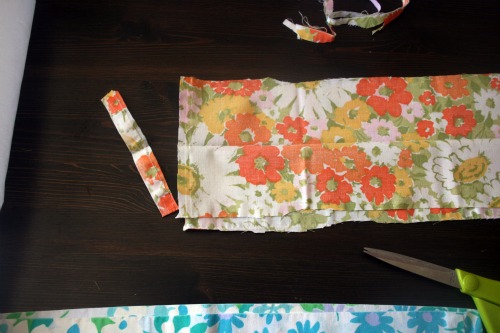
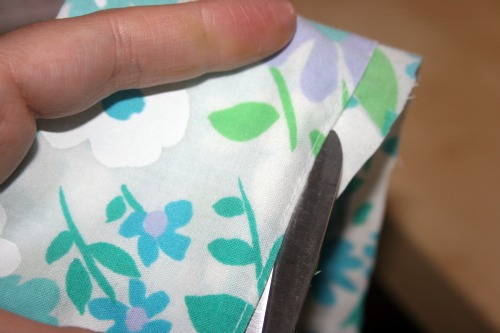
Start with a vintage pillow case and trim off the nice finished edge at the opening where you put your pillow in. You can either trim really close to the stitching and have a closed loop piece, or cut into it and have an open edge. I’m going to show you how to work with both options.

Now you have 2 big loops, cut off the seam so you have one long piece of fabric.

I was cutting the orangey one for another project and in the process I trimmed a bit into the seam and created an opening on one edge. So here’s how to finish that off and make a nice clean edge, and a thinish headband.

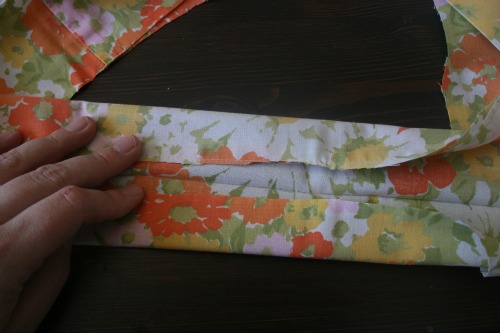
Open the fabric up and use the fold inside, the part that was the very end of the pillow, as a guide to fold the unfinished edges inward. I didn’t go all the way because I wanted my band a bit thicker.

Then fold it again so the raw edges disappear inside. You can iron and pin at this point before you sew. Of forge ahead like I did.

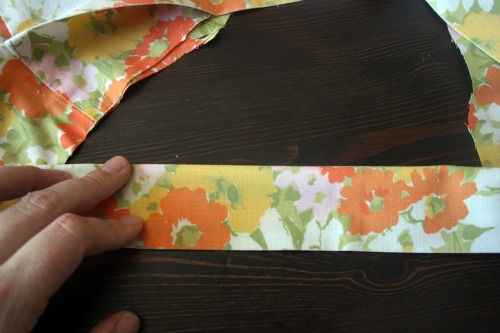
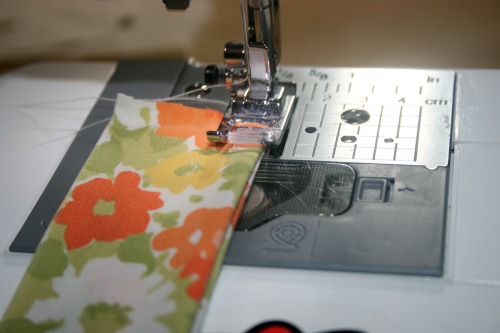
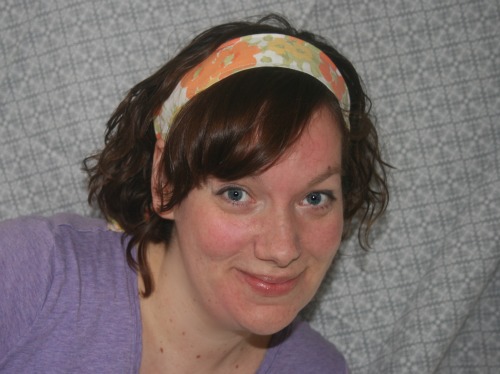
Top stitch along the sides to make nice clean edges. Fold the bottom raw edges up inside the ‘tube’ to create a clean edge and topstitch to seal it all in. Then you have one nice ruler shaped piece of fabric that you can wrap around your head and tie at the back.

For my blue headband I just carefully trimmed around the pre-existing stitching. Why make more work?

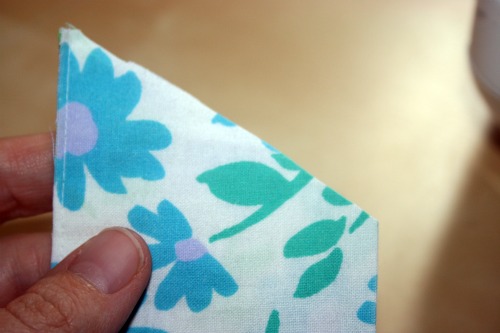
Then I cut the ends on an angle just to had some interest to the ends. Fold the raw edges inside and top stitch around the whole thing.

There you have it, a lovely new headband that was half made already!

Selfish crafting.

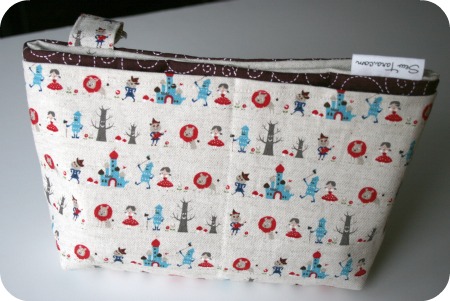
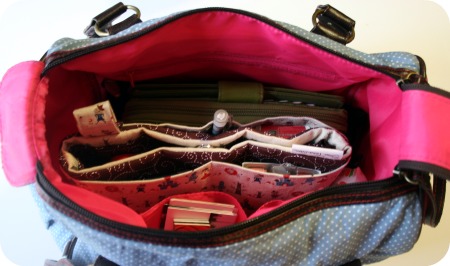
The kids went for a sleep over with Grandma and Grandpa so we had some time to ourselves, went to a movie, had some sushi and came home to goof off!!  I spent some time reading about screenprinting VS purchasing a YUDU.  I think I’m going to try setting up my own little screen printing nook.  Everything should go well.  I also decided to make myself a purse organizer!

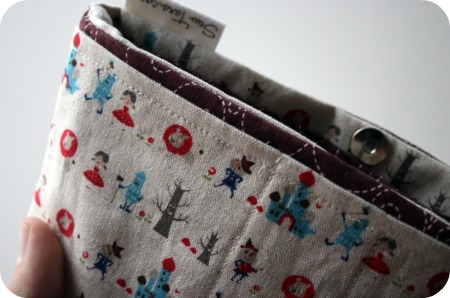
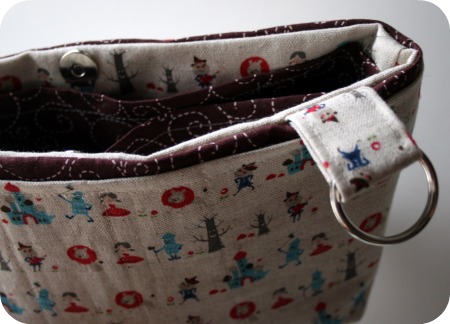
I ordered this pattern from The Crochet Diva a few nights ago. It was really easy to follow and I love the results.

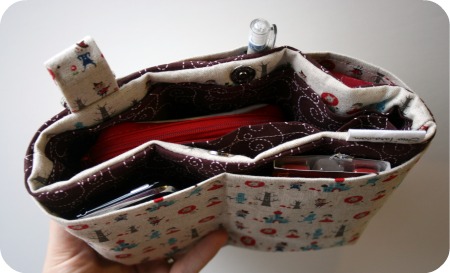
I used some awesome Japanese fabric I have with a Wizard of Oz print. Having a fabric addiction is sort of horrible. I was so torn between, “I don’t want to cut it!” and “Well what’s it here for if I’m not going to make something with it?”. I took the plunge and decided to cut into it.

And now for the action shot!

I also ordered the modernish messenger bag pattern.  Perhaps I’ll get to making that in the next little bit.

Preparing for the new year.

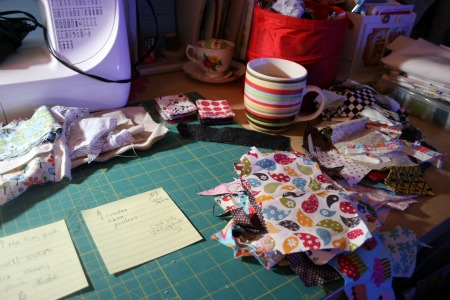
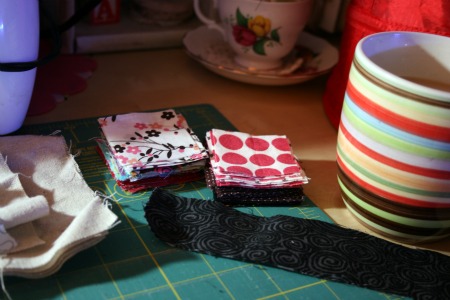
I’m slowing making my way through cleaning up in the basement. We’ve been purging things for a while, my son has been very excited to “share” his toys with other kids who can use them. I’ve taken things into my school for classrooms, to the consignment store and off to donate. I’m doing everything to avoid making garbage. The other day I spent a load of time sorting my scrapbin. Since I’ve changed my cup cozy design a bit there were some pieces previously too small that will now work. Usually I make pin cushions but I’m getting a little tired of that. I’m going to make some of these pouches, with Wesley’s help, for some of the important women in his life. I also want to make a cover for my bodem so I’ll quilt the little pieces into a larger piece of fabric to make that. Plus I really want to try Keyka Lou’s technique.

So I cut what I could into 2 X 2 inch squares. Not entirelly sure what I’ll make with them yet but I’ll figure something out, or ideas are welcome!

Crafty British imports part 1

A little while ago I stumbled upon some really fun looking craft books I wanted to order.  For some crazy reason I couldn’t find them here but I did stumble across them on Amazon UK.  Lucky me my in-laws live just outside of London right now and so I ordered and had them pile them into their ‘returning home for a Christmas visit’ luggage!

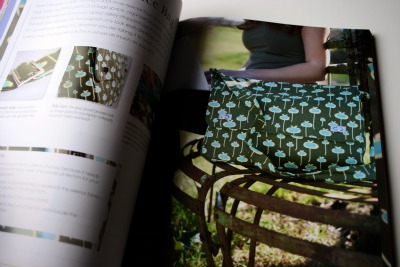
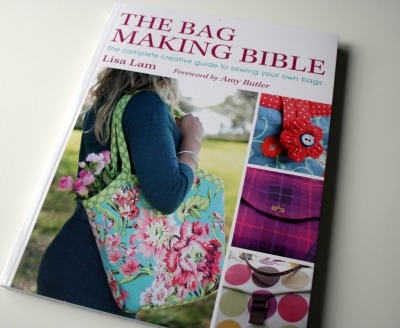
This first one is absolutely PACKED with information.  I’ve only flipped through it once so far, and the kids were around so it wasn’t exactly a ‘deep’ reading but I love it!  It’s called The Bag Making Bible by Lisa Lam of U-Handbag and has a forward by Amy Butler.  I have to admit, despite my newfound love of creating bags, I had no idea about her site.  It is also fabulous just like her book! Sadly it seems the book won’t be available this side of the pond for another month or two so hope you can wait (or have a British connection).

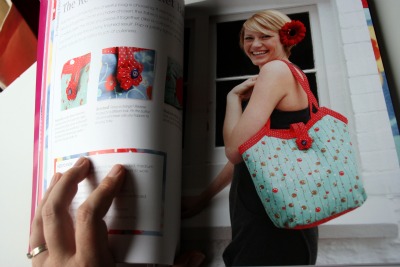
I *must* make this one, it’s like a grown up messenger/laptop/purse/bag/awesome thingie.  I need it.  The instructions are fantastic in this book and it really explains in detail how to use all sorts of fun hardware that really enhance the appearence and functionality of the bags.  Some of the things I don’t even know the names for, so I guess the book will help greatly!

Here’s another glimpse inside.  The fabric choices are fantastic too!  I think I might have to make another tea and go curl up with this book again.

Lisa also has a section of free tips on her site if you’re in need of some info or if you’d like to preview her informative and entertaining writing before you rush off to try and get your hands on a copy of this gem!

Etsy shop update!

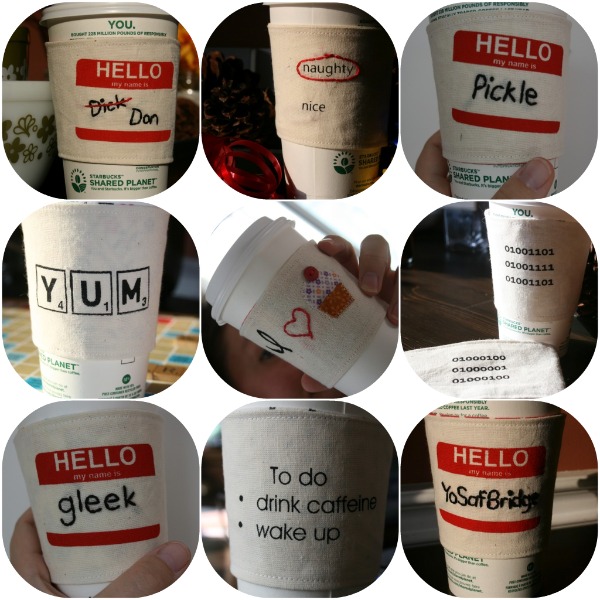
My screen was ready at about 7pm on Saturday night and I managed to print and make most of my new designs by Sunday night!  I was so excited to finally be able to create them.  So here’s a sneak at some of my new listings, minus the one in the middle that’s for something special and the gleeky one that’s for a friend.

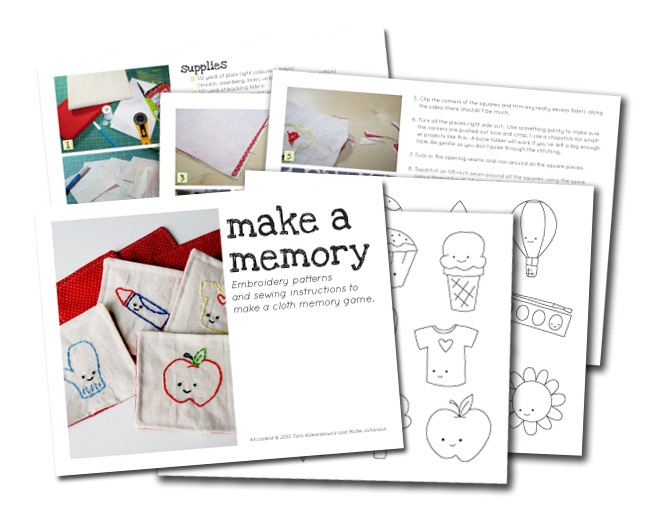
Make a Memory, the secret project revealed.

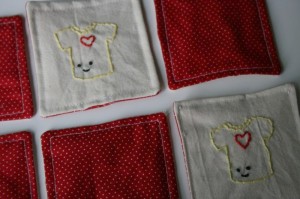
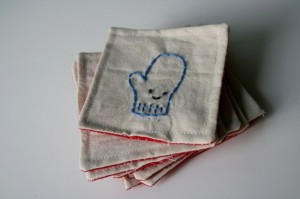
Ok, I can spill the beans now, the cat is out of the bag . . . insert other silly saying here. Mollie of Wild Olive and I have been busily working on a project together. I had this great idea to make a cloth memory game, something that would last a while and be special because it was handmade. I sat down to sketch out some ideas when it occurred to me that she could make drawings waaaay cuter and better than I ever could, so I sent her an email and asked if she’d like to be part of a collaboration. I was thrilled when she said yes.

As I’ve said before, I’m not familiar with a graphics program, nor do I understand the magic behind making PDF patterns (both on my To Do list I might add) so I figured teaming up would solve those problems. I had the idea and did the sewing, instructions and photos and Mollie added her fantastic designs and technical know how. The PDF is for sale in my Etsy shop, as well as Mollie’s where you can check out her other fun embroidery patterns.