Tag Archives: sewing

Place setting stockings.

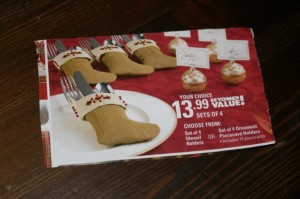
The other day while looking through the flyers I found this neat idea, for $13.99.   Of course I instantly figured I could make something similar quite easily.  And so I did!

ad

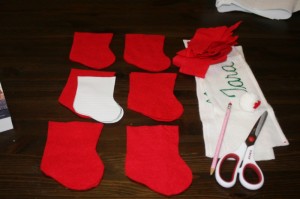
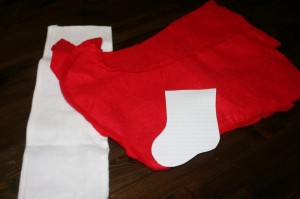
I started with our old stocking.  I believe I got them at the dollar store years ago, and they say our names and I figure we should be Mom and Dad now so it was time for new stockings anyway.  So I disassembled them to re-use the fabric.

old stockings

With the help of my friend google, I searched for an image of a stocking and sized it to a size I liked and began cutting!
you get the idea

whee!

I recovered enough fabric to make 6 stockings.  We’re travelling at Christmas this year and won’t need our stockings and so I have a whole year to make us something snazzy and neat.

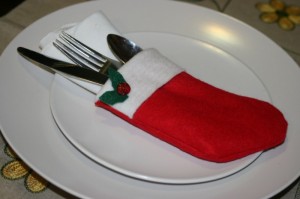
table setting

I don’t have any wonderful dishes but you get the idea.

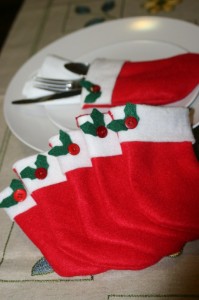
table setting friends

Here are the other stocking friends.  They could also be used as place holders if you stitched names on the stockings.  Perhaps I’ll get to that for next year.

Reading material!

one yard wonders

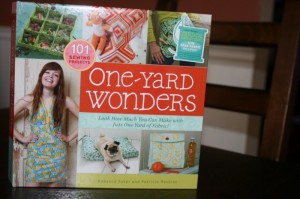
Ordered two books and I’m so excited about them.  One Yard Wonders is amazing!  I can’t decide where to start!! Bend the Rules with Sewing, I suppose the book I should have gotten first, is really neat too. I’m such a sucker for bags and totes and between these 2 books there are so many to choose from.

bend the rules

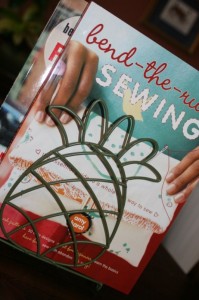
I also managed to sneak out to the thrift store on the weekend and found that neat little pineapple napkin holder. I thought it might hold some of my newly acquired craft and sewing books nicely. Seems it’s a perfect fit for my Amy Karol collection.

Crayon cozy – attempt #1.

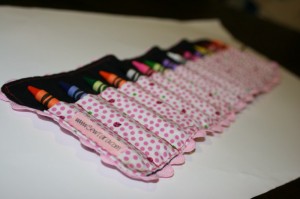
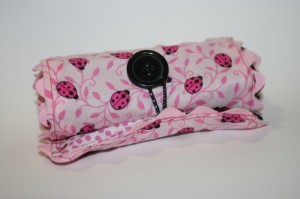
Thanks to this tutorial I was inspired to try a crayon cozy.   It was fun and I only  made one ‘oops’.

crayon cozy

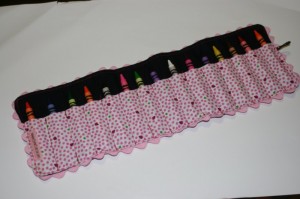
I even got fancy and added my own little lable to it.  I did however make a mistake when cutting the pieces and for some reason it’s about an inch too short.  The result is it only holds 15 crayons rather than the 16 it should.  So out you go Red-Orange, who needs you anyway when there’s Orange and Yellow-Orange!?

Unrolled

I got a little bit inventive and added a button and elastic closure.  I’m a pro at that after my car cozy and playmat.

rolled up

Cloth counting/quiet book for a mystery baby!

Within the span of about an hour on Friday night I went from having an idea for a cloth counting book to sketching out a plan and cutting the fabric.    So here’s a peek at the finished product.  I’m so hyped!!! I can’t believe how well it turned out.  Or how sad I am that I made it as a gift and have to give it away!!  Now I’ve started to work on one for my son so I can keep it around.  I personalized the cover so had to hide the name so the wonderful mom who reads my blog doesn’t discover what I’ve made her child for Christmas.
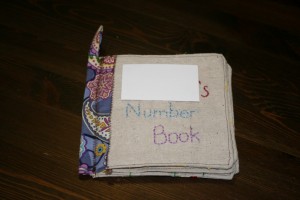
So mysterious.  Embroidered cover.  I added a loop to attach links for the stroller etc.

Embroidered cover.

This was my first attempt so there’s some things to iron out but I’m totally impressed with how it turned out!! Plus, in my opinion, the little things that make it imperfect are just fun details that come from a totally handmade gift crafted with love!  I added a loop to attach some links for the stroller etc.

Here’s a glimpse at what I put on each page.
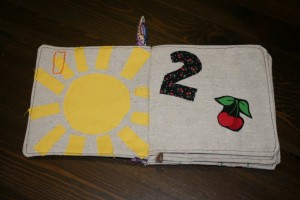
Page 1 and 2.

Page 1 and 2.

I only bought one thing and that was yellow thread so I could machine sew the sun.  Other than that, I made the entire project out of things I already had on hand, which I thought was pretty frugal and resourceful, but my husband said it means I have way to much stuff.
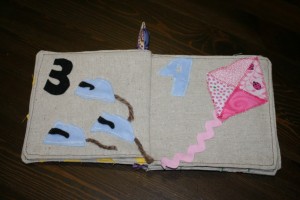
Pages 3 and 4.

Pages 3 and 4.

I started with 3 little mice and then realised how cute it would be to tie in some fairy tale reference, so there it is.  Their tails are yarn and freely flop around.  the tail on the kite is thick pink rick rack.  The mice and the number 4 are made out of super soft minky fabric.
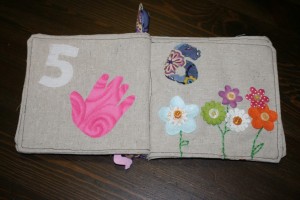
I fused the handprint on, cut from pink flannel.  The flowers are scrapbooking supplies, with button centers and embroidered stems.

Pages 5 and 6.

I used Steam a Seam and fused the handprint on, cut from pink flannel. The flowers are from my scrapbooking supplies, with button centres and embroidered stems.
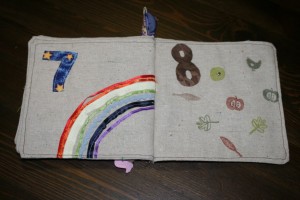
Pages 7 and 8.

Pages 7 and 8.

This page was a bit finicky.  I used ribbon, again what I had on hand, for the rainbow.  For my next book I think I’ll purchase thick ribbon for this page, it was a bit tricky to work with the thin ribbons.  However, the lumps and bumps here and there in the rainbow give it character!  I was a but stumped for page 8 and was going to use butterflies when I thought of stamping instead.  I was trying to vary the textures and colours in the book so this was a good opportunity to use something different.
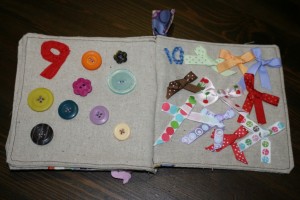
Pages 9 and 10.

Pages 9 and 10.

This is the super 3D double spread!  The buttons were a piece of cake.  The bows were a little more involved, tying them was one adventure and then sewing them on to make sure they weren’t going to undo was another!  I wish I had made the number 10 a little bit bigger but oh well.
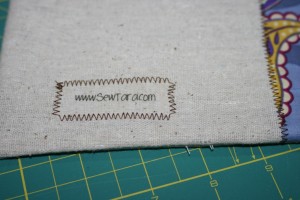
Backcover with my label.

Backcover with my label.

My labels, which I finally got around to making, which I suppose is another post.  This book was great fun to make and I made it in a about 3 sessions at the machine, started Friday night done Sunday noonish.  Working on a tutorial to post soon.
Juice pouch tote? Check!

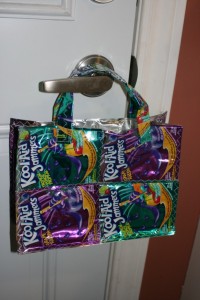
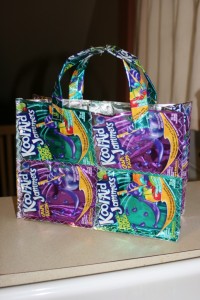
I finally had time to run to the sewing machine and finish off my juice pouch tote attempt #1.  I’m really happy with it.  It took 17 pouches to make, 4 on each side, 5 to go around the sides and 1 for each handle.  I sewed it all together with a zigzag stitch and attached the handles with just a straight stitch.

Recycled fun!

I’m going to get to work planning a messenger bag or something for my laptop.

Recycled view number 2.

Circle storage for my squares.

I’ve been having fun making squares for my little square scarf, but I’ve also been having trouble storing them, and I’m nowhere near done!

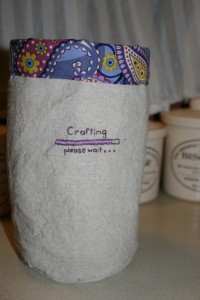
Snazzy storage.

Snazzy storage.

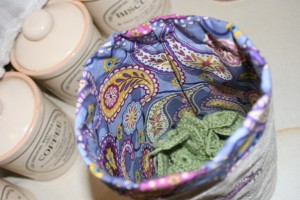
So I came up with the idea to make myself a little storage bucket thingie.  I toyed with embroidering it with some complicated paisley pattern, copying the fabric, but whimped out for a faster and wittier approach.  Here’s how I went about it . . . ish.

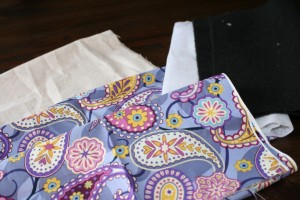
Fabric selection.  I used some black felt to save on interfacing.
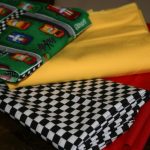
Fabric selection. I used some black felt to save on interfacing.
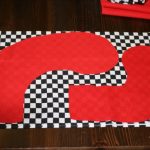
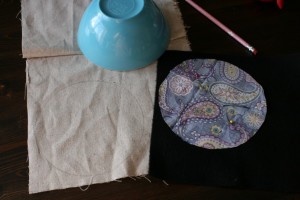
The professional and highly technical template.

The professional and highly technical template.

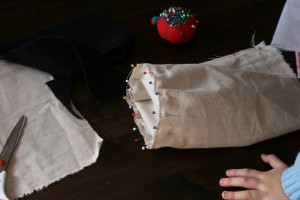
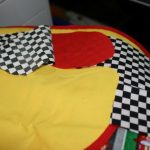
The trickiest part, pinning and sewing on a curve.

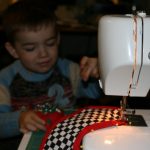
The trickiest part, pinning and sewing on a curve. The hand of my little helper.

Witty caption.

Witty caption.

Treating myself.

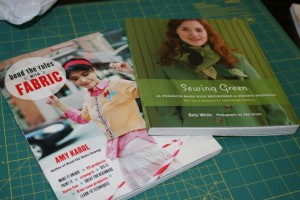
Since I won a $25 mall gift card for my Tooth Fairy costume, I decided to treat myself to some books.  I also had a ‘save $10 if you spend over $40’.  So I picked up Sewing Green by Betz White and Bend the Rules with Fabric by Amy Karol.  Both for about $15!  Being a Mom is a funny thing sometimes, I had a really hard time spending the money on myself.  Even while walking around with the 2 books in my hand I would see a touchy feely book, or something with Thomas the Tank Engine, and start to wonder if I really needed to buy myself something.  In the end I did, but not without feeling weird about it.  Now to make a tea and sit and enjoy them!

Fun books

Totes in waiting.

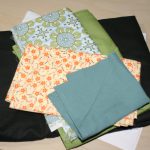
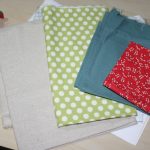
I’ve grouped these fabrics together to create  . . . . something . . .  somday.

Currently I’m in the middle of a really neat project and while I’m tempted to blog what I’ve got done so far I’m forcing myself to wait until it’s all finished.  Plus that way the tutorial will make more sense!

I’m also dying to try this Christmas Stocking project.  However, since we’ll be travelling this year, and I’d have to be cutting and piecing pretty much right at this moment it might have to wait.  January clearance Christmas fabric here I come!

Found treasure.

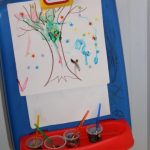
I took the kids for a big walk the other day, it was so nice and unseasonably warm.  It was recycling day and we passed a pile at the curb and Wesley noticed a Little Tykes easel sitting there.  Nothing was wrong with it, other than being covered with paint and crayons, and he started talking about it and walked over to it, and of course he asked if he could have it.  He was so excited about it I figured why not.  I wonder how much useful stuff ends up in landfills? I knocked on the door to ask the people if I could leave it in their driveway and come back for it with the van but no one was home.  So there I was walking home carrying a big bright coloured easel under my arm while pushing a sit and stand stroller with 2 kids in it!

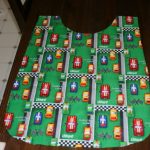
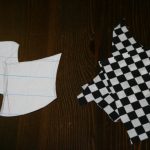
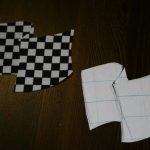
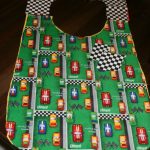
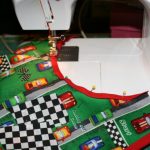
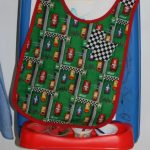
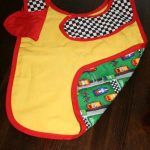
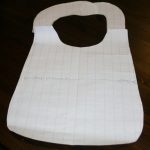
I got it home and cleaned it up and was inspired to make Wesley a smock for all the dirty painting and colouring he’s going to do.  Essentially it’s just a big bib.  However, I did add the challenge of making it reversible (although my husband said if it’s for painting why would you want to reverse it)  and I decided to add an appliqué design.  Here’s the sort of tutorial.

Things I learned:
– Bias on very curvy bits is not fun. In future I’ll just sew right sides together, turn and top stitch. While it looks really nice it cost more and was finicky.
– I should have sewn the ‘back’ pieces to the front piece a the beginning. I did them separately and then had to worry about the bias and edges lining up properly. I also had to cover the hem on the inside.
– The patterned side is already pretty busy. Next time the appliqué should go on the solid side to dress it up a bit.
– Despite all that, I’m pretty awesome.

My first tote!!!

Ok, well it’s not quite finished yet but I’m crazy excited about what I have so far!!

Tote number 1

I have a bag/tote addiction.  Which is sort of crazy since I hate carrying purses, but since growing up (or at least reaching an age where I *look* grown up) I’ve started carrying something with me.  Well that and having kids, now I’ve got to have things with me even if I have the diaper bag! Etsy was an addiction for a little bit, I absolutely love this lady’s bags.  I own 3 of her bags, 1 was even custom made for me, I feel so special. I try not to check her site too often, I just want it all!!

I’ve become inspired by her style and started to design my own bags.  This is the first one I’ve actually got to sewing.  I’ve got a stash of fabric I’ve been collecting for almost a year. The teal coloured pocket is actually a dishcloth I found on clearance. The strap I have set aside was a thrift store find, currently it’s a belt but that will change. There’s a panel on the back with 2 pockets, lined in a different colour even!   I’m so proud.  Perhaps tonight I’ll have a chance to sew the lining.   Fingers crossed, I might even get to put the strap on and sew it together!