Tag Archives: scraps

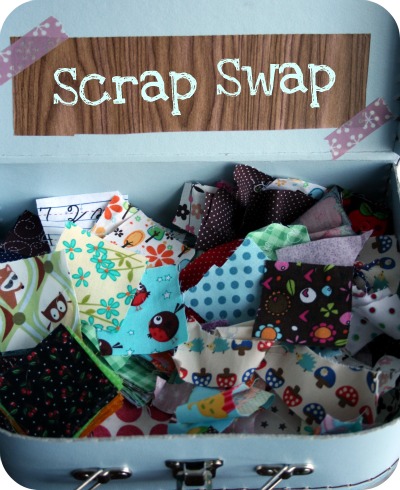
Scrap Swap anyone?

If you’ve been sewing for any amount of time you’ve already noticed how quickly scraps can accumulate.  If you’re anything like me, afraid to throw any little bit out in case you can use it later, you have a bunch lying around of various shapes and sizes.  Soooooooo I thought why not share the scrap love and do a little scrap swapping!?

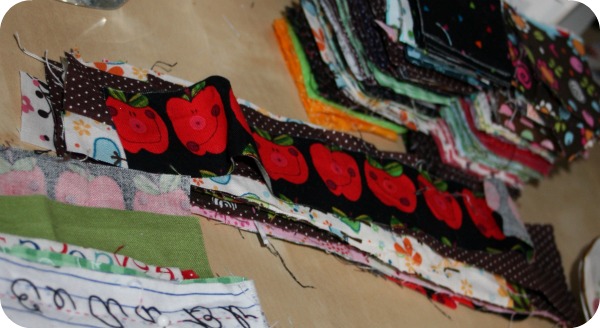
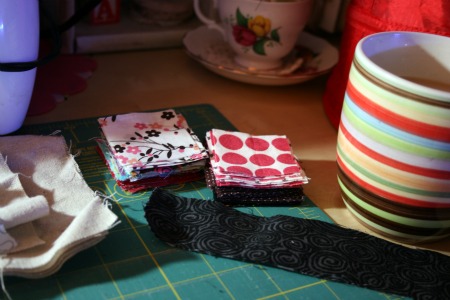
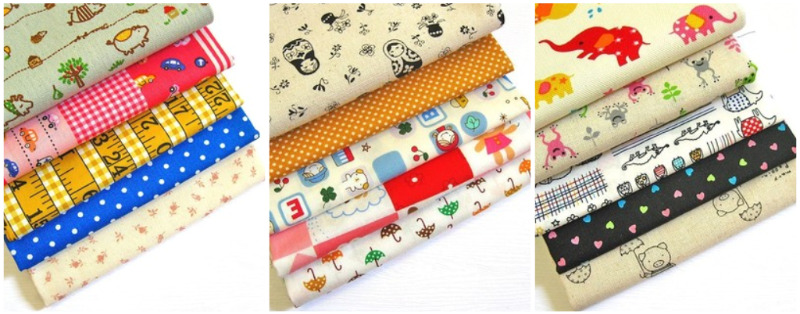
Recently I went through my scraps and sort of organzed them into little piles.  I’ve been saving 4×4 inch japanese fabric scraps, well and to be honest I’ve ordered some from Etsy here and there, in hopes I can make a fun quilt some day.  I also spent some time cutting my scraps into 2×2 squares for some projects I have in mind.  I plan on featuring some fun tutorials to help you make use of your scraps, as well as link to some of the ideas already out there and maybe,  just maybe, a source of two in case you have a little scrap collecting problem like someone I know.

If you would like to participate just sign up here, I’ll keep taking names until Wednesday January 26th.  Then I’ll spend some time matching us all up while you prepare your bundle.  Make sure your correct email is in the comment, or enter it with your name when you say you want in.  Also, it might be fun to know where you live so we can mix things up a bit.  Probably won’t be too exciting if someone is matched with an almost neighbour, just in case you shop at the same fabric store!  Be ready to commit to shipping your scrap bundle by the end of the month, we’ll go with the 31st just to make it easy.  This will be open to everyone everywhere so please let me know if you object to international shipping and I’ll match you with someone in your country.

Ok, so the guidlines:

– scraps must measure at least 2 inches by 2 inches, there is no maximum size but it is supposed to help you destash your scrap bin so sending fat quarters probably won’t help with that.

– scraps must be unwashed, clean, and in usable condition

– scraps can be new fabric or vintage reclaimed pieces

– fabrics should be of relatively the same weight, cottons/linens/light canvas so allow for quilting and use in the same project

– send 10-ish ounces to your partner mailed by January 31st

Scrapbusting with an iTop hack

I’ve vowed to myself to post more DIY projects this year. I got even fancier and decided to combine this idea with scrapbusting!   Hoping to help you create some fun items while decluttering your scrap bin/box/bag/whatever.  This would also be a great idea as a way to save an important item of clothing, or other fabric.  So on with scraps idea #1.

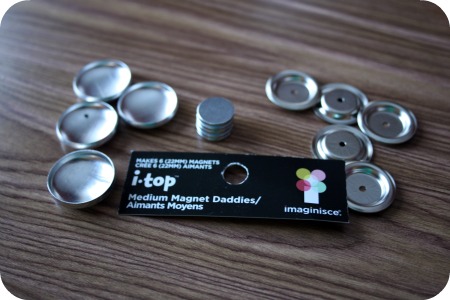
I was wandering Michael’s the other day and stumbled upon make your own buttons, brads and magnets in the scrapbooking aisle. At first I was super exicted and thoguht of all my scraps, then I realised there’s a few tools to make it all work. The iTop tool was $49.99, then there’s the punches or templates, the hardware for the actual buttons/magnets/brads . . . I realized it could add up. So in an attempt to be thrifty I spent $4.99 on a package of the magnet pieces and decided I’d see what I could do.

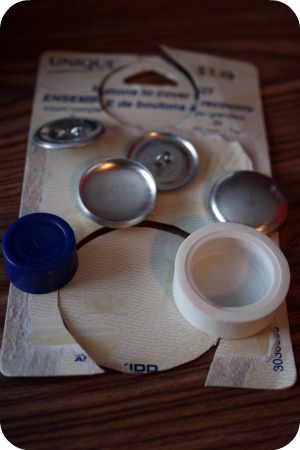
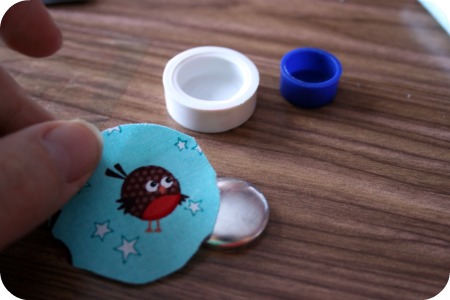
The large magnet pieces I got measured 22mm so I headed to the fabric store and purchased the $2.49 Unique kit for covering 22mm buttons.  It came with pieces to make 3 buttons and the little casing thingie to snap it all together.  Pardon the bits and pieces.  There’s a template on the back for how big the fabric bit should be.  I think it lies, I had to do some experimenting to come up with a size that worked.

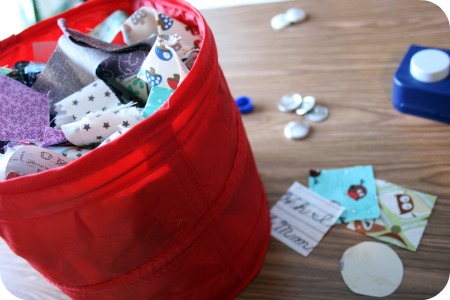
Recently I went through my larger scraps and cut 2×2 inch pieces where I could.  Turns out they’re the ideal size for this project.  However, if you’re trying to get a specific part of the pattern.

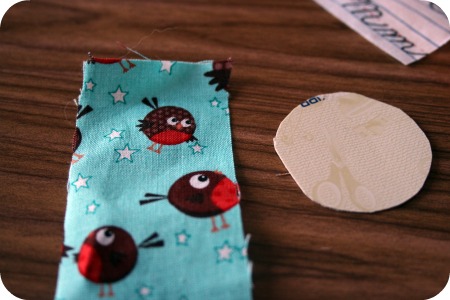
Grab a piece of fabric that will work for the image you want on the front of the magnet.  I was trying to get one of the little owls from my Round Robin print so my 2×2 squares weren’t working out.

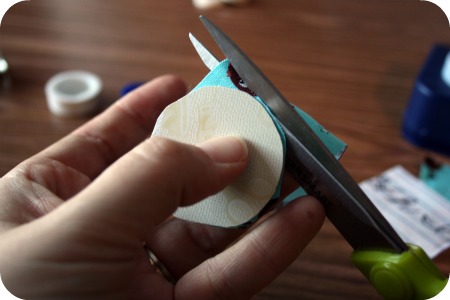
Cut out the circle using your template which should be about 42mm, that’s what mine is.

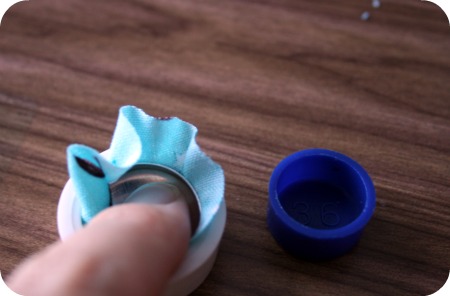
Place the fabric over the magent front positioning your design how you’d like it.  Then pop it into the setting tool.  Try to keep the fabric the way you want it, it can move around on you.

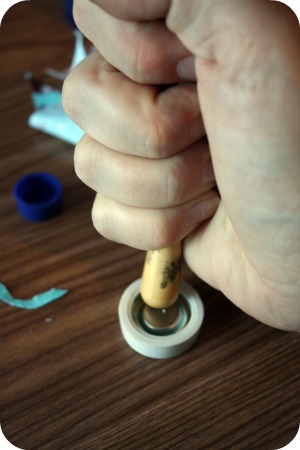
Next you just plop the backing piece into the holder, the magnetic disk should be sandwiched between the front and back pieces, and push down to snap it into place.  Make sure all the edges of the fabric will be squished inside.  The dark blue thingie is a ‘pusher’ to assist in this process, I just used one of my stenciling brushes I use when screen printing.  I’m very technical and particular with my tools.

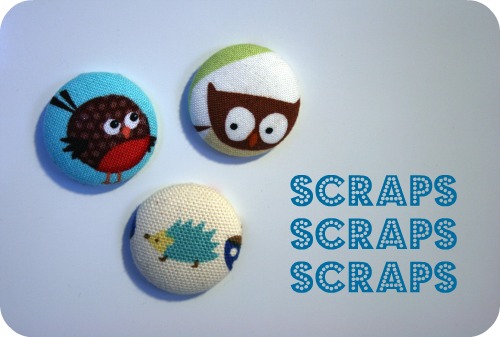
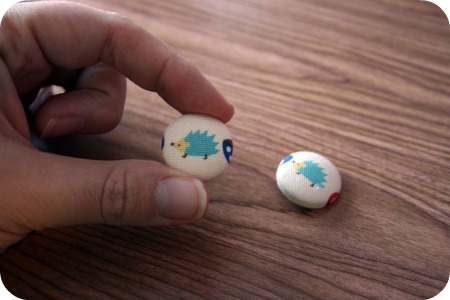
Finally just pop out your new little magnet!  Pardon the fabric switch, it appears I got all excited and ran to the fridge shot without documenting the final stage of my little owly friend.  Here’s a magnet and button I made.  Easy peasy!

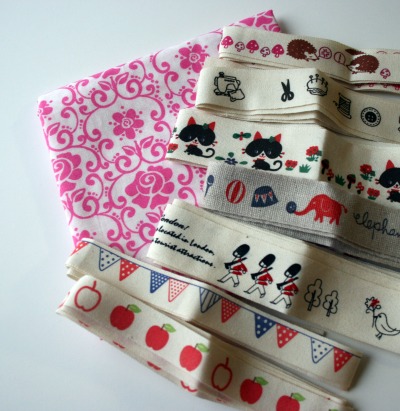
Wheee new fabrics and some Japanese ribbon!

Spent some time just before the holidays shopping for myself, as I’m sure many of you did. I’ve become addicted to checking Etsy’s front page a few times a day, sometimes even before it’s had a chance to change. I’ve also been in many treasuries lately which has led me clicking around the handmade heaven that is Etsy. Here are some things that arrived last week.

These lovely fabric ribbons from boqinana. The fabric was just bonus!

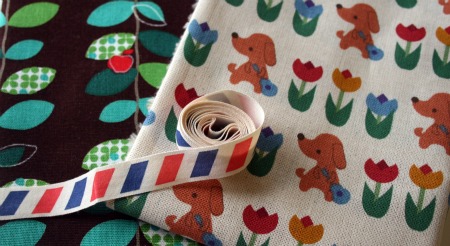
Fun fabric and ribbon from DoodooShop. I have plans for that air mail ribbon, I’ve been busting with excitement waiting for it to arrive so I can start the project.

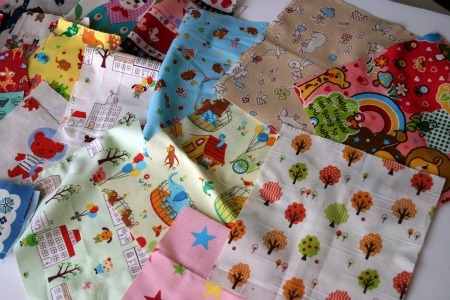
These arrived a while ago and I just didn’t get to posting about them yet. Fabric scraps from starlitnest. She apologized for a delay in shipping, which I hadn’t really noticed, and said she added some extra fabric to the mix to make it up to me. Isn’t it bad enough I have my own stash of scraps but I have to keep buying other people’s!?

I also have some pretty masking tapes coming from kimamaya. Should be here shortly. It was probably evil of me to be ordering ‘just because’ things during the holiday shipping rush. Ooops.

Preparing for the new year.

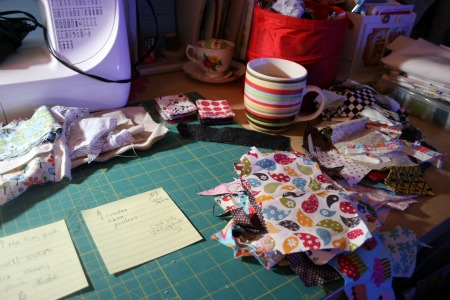
I’m slowing making my way through cleaning up in the basement. We’ve been purging things for a while, my son has been very excited to “share” his toys with other kids who can use them. I’ve taken things into my school for classrooms, to the consignment store and off to donate. I’m doing everything to avoid making garbage. The other day I spent a load of time sorting my scrapbin. Since I’ve changed my cup cozy design a bit there were some pieces previously too small that will now work. Usually I make pin cushions but I’m getting a little tired of that. I’m going to make some of these pouches, with Wesley’s help, for some of the important women in his life. I also want to make a cover for my bodem so I’ll quilt the little pieces into a larger piece of fabric to make that. Plus I really want to try Keyka Lou’s technique.

So I cut what I could into 2 X 2 inch squares. Not entirelly sure what I’ll make with them yet but I’ll figure something out, or ideas are welcome!

Scrap shopping!

Thanks to a post over on Keyka Lou I was enlightened to the fact that people sell scraps on Etsy.  Cute fun little packets of odds and ends of fabric from their stashes.   So off to Etsy I went to do a little search.  I think I got a little carried away.

I went to The Hey Day Shop and couldn’t decide between the 3 stash listings she had for sale, so I bought them all.

There’s even more listed right now . . must . . . resist . . .

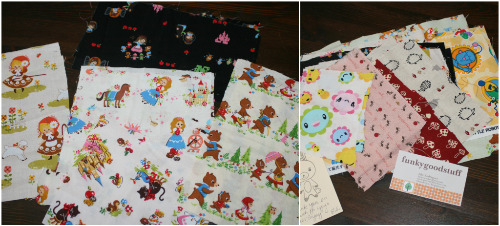
I also went to Funky Good Stuff and picked up 2 bundles. It arrived yesterday and it was full of a bunch of cute fairy tale fabrics! Snow White, Little Miss Muffet, Goldilocks and Rapunzel, they’re all so cute.

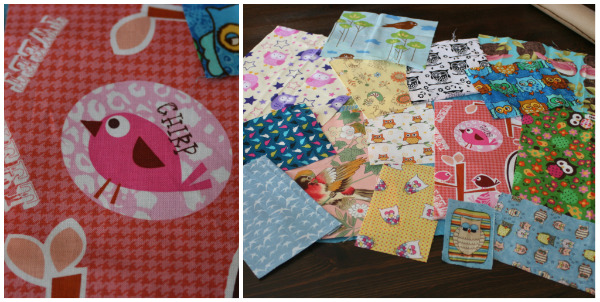
Finally I picked up some cute bird themed scraps from Starlit Nest who has odds and ends for sale and even offers a subscription program that lasts 6 months of fun scraps arriving in your mail box every month!

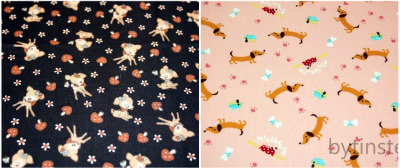
Oh AND I had some fun ordering some cute fat quarters from Bytinster. There’s some really adorable stuff there right now! I’m loving these.

Freckled Nest pin cushion swap!

Sometimes I don’t get to my RSS feed in time and miss a giveaway or some other timed event, which almost happened with Leigh-Ann’s Pin Cushion DIY and Swap. Luckily I got there just in time and now I get to be part of this super cool little craft making and gift giving extravaganza!

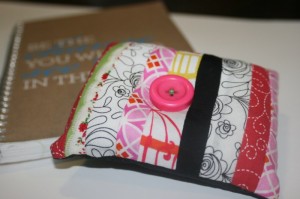
Today I had a few minutes, that’s really all it takes, to whip up a pin cushion using her tutorial. The awesome thing about it is you need very little fabric and it’s a great way to use up some scraps if you so choose.

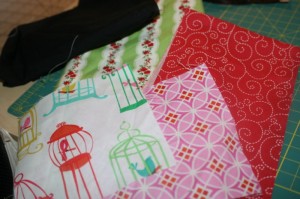
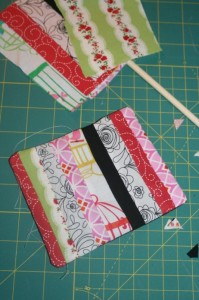
I pulled together some squares of fabric I liked and started sewing.   It was super easy and ironing between each step really helped flatten it out and make it look professional (sometimes I get lazy with that step).

It didn’t take long to have it big enough for the square, I put a black piece of fabric on the back and choose a but pink button for the front and a cute blue one for the back.  I had to get a little creative with sewing the hole closed, I wasn’t happy with my first attempt.  I think I’m going to go make another one and then decide which one I mail off to my partner!

Ribbon Christmas tree t-shirt.

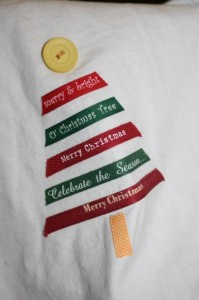
Made this today for my big little guy. I didn’t take an action shot for fear he’d get something on it and I hoped he can wear it out tomorrow.

christmas tree t

I picked the red and green design just to make it look a little boyish. i didn’t have a star button for the top, and I was eager to finish it so it’s a circle, I’m sure he’ll cope. I cut the ribbons and planned them out based on the sayings. Then I stuck them to my new friend, Steam-A-Seam and ironed away. Once again, I am impressed.

I came across the idea online in the last few days but can’t find exactly where. Today when I searched in google I found some other tutorials on it as well. So while I can’t claim I invented this craft I also can’t really know who did. But I do know it’s neat, easy and I like it!

Soft book tutorial.

I tried to make notes as I went along, and take pictures, but it’s hard enough creating something from nothing and then to document it as well!! But here it goes.  Using some advice from Bella Dia, and what I think is my own good sense here are the steps I used in making my fabric counting book.  Hopefully it’s enough information to help you create one too.
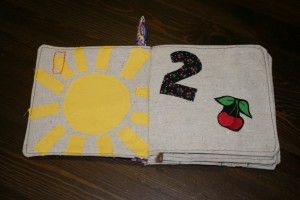
Soft book.

1. Plan – First, because I was lounging at the TV when I was struck with this idea, I sketched out my plan for each page. Knowing what materials I had on hand helped me decide on the page designs.   I made the pages like this:  1 sun, 2 cherries, 3 blind mice, 4 triangles on a kite, 5 fingers on a hand,  6 flowers, 7 colours in a rainbow, 8 fall shapes, 9 buttons and 10 bows.
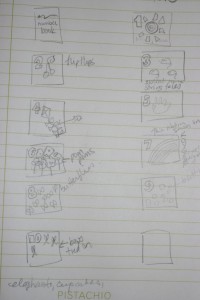
Sketch.

2.  Cut – I cut 10 pieces of fabric, 6 1/2 by 6 1/2 square. I was going to make the cover out of some other material but I decided in the end to use the same fabric and cut 2 more pieces. So you’ll need 12 altogether, split if you want to vary your prints.
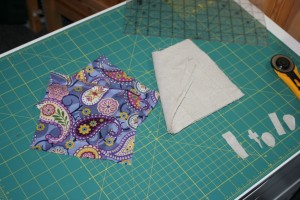
The cover I didn't use and the fabric for the inside pages.

3.  Create (I know it’s a vague step) – Based on your ideas for each page just go to work creating them on each of the 10 squares. I used a variety of methods to put my pages together.  Here’s a layout of all the pages before some finished touches and before they were assembled.
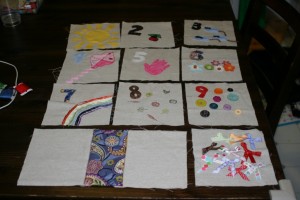
Group shot,

I used Steam-A-Seam, applique, yarn, rick rack, buttons, embrodery, ribbon, rubber stamps and paint to complete all 10 pages.  See my previous post for close up shots of each page.

4.  Page assembly – Pin pages 2 and 3, right sides together, here’s where it takes some thinking, leave the side that will go in the ‘binding’ of the book open for turning.  It’s going to covered by the printed fabric so it doesn’t matter about finishing that edge.   Since I placed all my numbers in the top left corner it was a bit easier to remember what side to leave open.  Turn and Press.  Repeat for pages 4 and 5, 6 and 7, then 8 and 9.  Sew, turn, press.
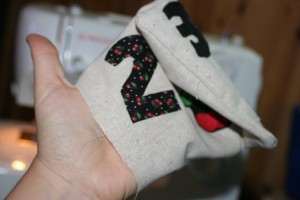
Sewn pages.

5.  Cover creation – Since I decided not to use my original cover pieces I went back and cut some from my linen.  But my supply was running low and I had to cut 6 1/2 by about 6, leaving me a bit short.  So I cut a piece of printed fabric to use as a ‘spine’ for the book.  I accidentally put my fabric where my cold drink of water had been and it got a bit wet, ignore the spots.  I zigzagged stitched the spine to the front cover and back cover of the book.
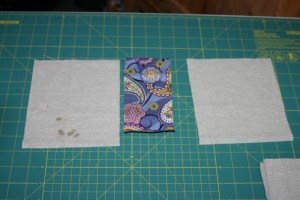
Covers and spine.

6.  Personalize – Attach any sort of label/saying you want on the back page of the book.  Fabric stores have those cute, ‘Made by Mommy’ or ‘For Someone Special’ labels that would work well here.

IMG_2944 [1024x768]

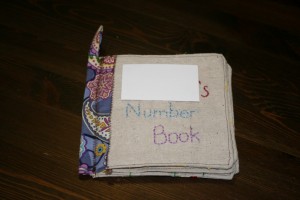
7.  More Personalizing – Decorate the front cover, I personalized mine and embroidered it.  You could appliqué it, or sew some 3D embellishments on.  Then when finished, sew page 1 to the spine, leaving the binding side open for turning.  (Name blocked out for gift surprise protection)
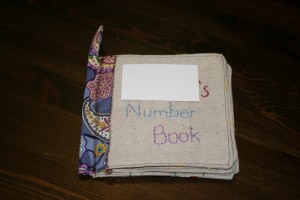
Cover

8.   Cover assembly – Sew page 10 to the back cover, right sides together, sew on the top, right and bottom leaving the left side open for turning.  Then sew page 1 to the front cover , sew on the top, left and bottom, leaving the right side open for turning.
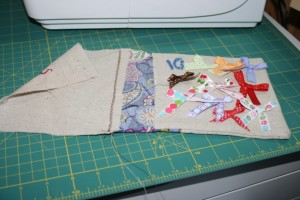
Page 10 attachement.

9.  Loop – I also attached a little loop piece of fabric, it was about 2 1/2 by 3 and I just folded it right sides together, sewed along the long side, turned it and pinned it to the top of the binding.  Sorry for the busy pattern of my ironing board.
Cover assembly.

10.  Top stitching – Top stitch around the edges of all the pages, as close as possible.  I used a brown thread so it showed on all my pages.  You could get fancy and change threads but at this point I was excited to get finished, hence the lack of photos.  Lay the book cover/page 1 and page 10/back cover page flat.   Fold over and press the book spine part to make a little hem.  Top stitch all around that piece.

11.  Inserting the pages – Once I finished all my top stitching I carefully set the pages inside the book making sure to line all the edges up along the inside at page 1 and 10.  Then I realized just how thick my book was and wondered how on earth I was going to get it under the sewing machine foot!!  I’m relatively new to sewing, and mostly I learn just by trying stuff out so here’s what I did in this situation.  I put the pages in, secured with some pins, folded the cover over the book and then slid it under the machine foot in the middle of the spine where it was thinest.  Then I sewed down to the bottom of the book and backstitched.  Turned the book over, inserted it where my stitching started and went in the other direction to the top of the book.
Page 3 and 4.

Cloth counting/quiet book for a mystery baby!

Within the span of about an hour on Friday night I went from having an idea for a cloth counting book to sketching out a plan and cutting the fabric.    So here’s a peek at the finished product.  I’m so hyped!!! I can’t believe how well it turned out.  Or how sad I am that I made it as a gift and have to give it away!!  Now I’ve started to work on one for my son so I can keep it around.  I personalized the cover so had to hide the name so the wonderful mom who reads my blog doesn’t discover what I’ve made her child for Christmas.

So mysterious.  Embroidered cover.  I added a loop to attach links for the stroller etc.

Embroidered cover.

This was my first attempt so there’s some things to iron out but I’m totally impressed with how it turned out!! Plus, in my opinion, the little things that make it imperfect are just fun details that come from a totally handmade gift crafted with love!  I added a loop to attach some links for the stroller etc.

Here’s a glimpse at what I put on each page.

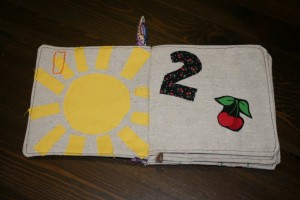
Page 1 and 2.

Page 1 and 2.

I only bought one thing and that was yellow thread so I could machine sew the sun.  Other than that, I made the entire project out of things I already had on hand, which I thought was pretty frugal and resourceful, but my husband said it means I have way to much stuff.

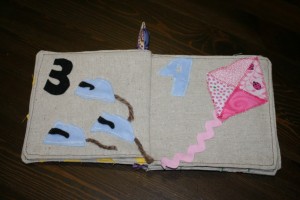
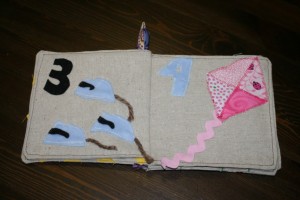
Pages 3 and 4.

Pages 3 and 4.

I started with 3 little mice and then realised how cute it would be to tie in some fairy tale reference, so there it is.  Their tails are yarn and freely flop around.  the tail on the kite is thick pink rick rack.  The mice and the number 4 are made out of super soft minky fabric.

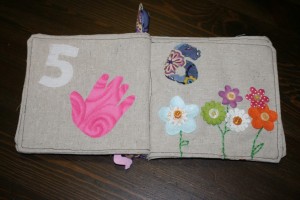
I fused the handprint on, cut from pink flannel.  The flowers are scrapbooking supplies, with button centers and embroidered stems.

Pages 5 and 6.

I used Steam a Seam and fused the handprint on, cut from pink flannel. The flowers are from my scrapbooking supplies, with button centres and embroidered stems.

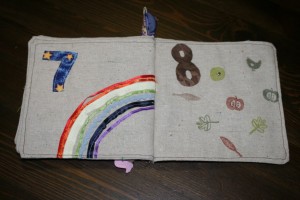
Pages 7 and 8.

Pages 7 and 8.

This page was a bit finicky.  I used ribbon, again what I had on hand, for the rainbow.  For my next book I think I’ll purchase thick ribbon for this page, it was a bit tricky to work with the thin ribbons.  However, the lumps and bumps here and there in the rainbow give it character!  I was a but stumped for page 8 and was going to use butterflies when I thought of stamping instead.  I was trying to vary the textures and colours in the book so this was a good opportunity to use something different.

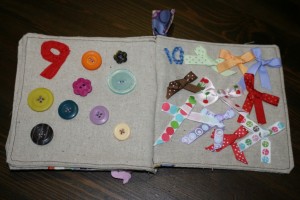
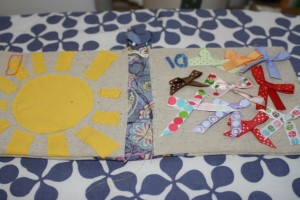
Pages 9 and 10.

Pages 9 and 10.

This is the super 3D double spread!  The buttons were a piece of cake.  The bows were a little more involved, tying them was one adventure and then sewing them on to make sure they weren’t going to undo was another!  I wish I had made the number 10 a little bit bigger but oh well.

Backcover with my label.

Backcover with my label.

My labels, which I finally got around to making, which I suppose is another post.  This book was great fun to make and I made it in a about 3 sessions at the machine, started Friday night done Sunday noonish.  Working on a tutorial to post soon.

Squishy ABCs.

I’m putting these on my to do list!

Jessica's rag quilt letters.

Found at Happy Together,  we have a store bought set but I’d really like to make my own. I’ve been keeping some special clothes I remember Wesley wearing, that Nate has now worn, perhaps that would be a good use for them. I was going to quilt them, but it might work for both projects!

I really like that I can use up scraps of material to make them, and that they are soft. After falling while putting Wesley to bed in September, landing on a wooden toy, splitting my knee open and getting 7 stitches I’m in the market for soft toys!!