Tag Archives: scraps

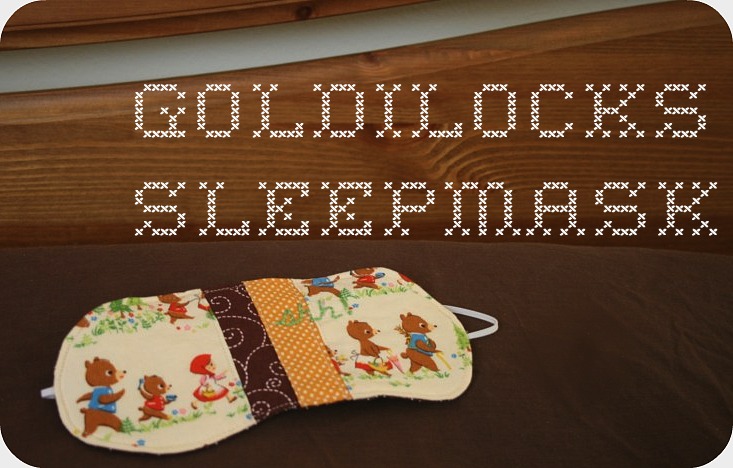
Your very own Goldilocks sleepmask.

Well I was doing some poking around and realized that while I shared this post on Wild Olive ages ago I never actually posted it here. So I thought I’d share.

Sometimes we all need a little nap and this sleep mask will help you have a restful slumber.  All while looking pretty stinking cute!

My husband and I take turns having a ‘sleep in day’ on the weekends.  I have to tell you I count down to that day every week.  I started to use a sleep mask to maximize my sleeping in experience.  It was just a silly freebie one from one of our airplane trips and I’ve already had to repair it a few times so I decided to just make a much lovelier one.

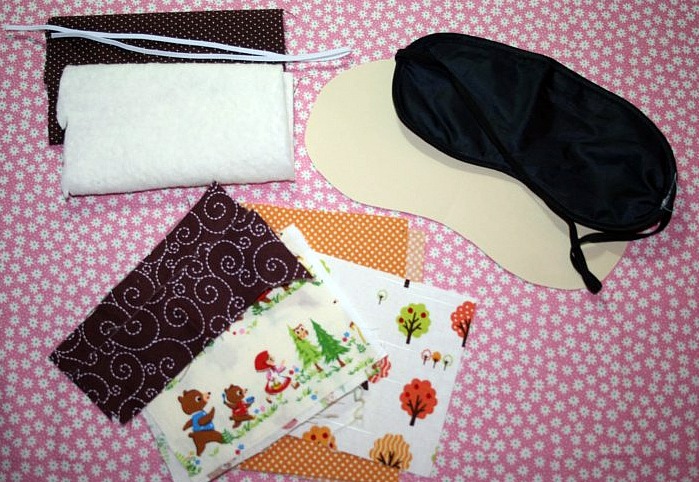
Here’s what you’ll need for this DIY project:

SleepMask

– batting or fleece

– fabric for the backing (something you won’t mind against your skin while sleeping)

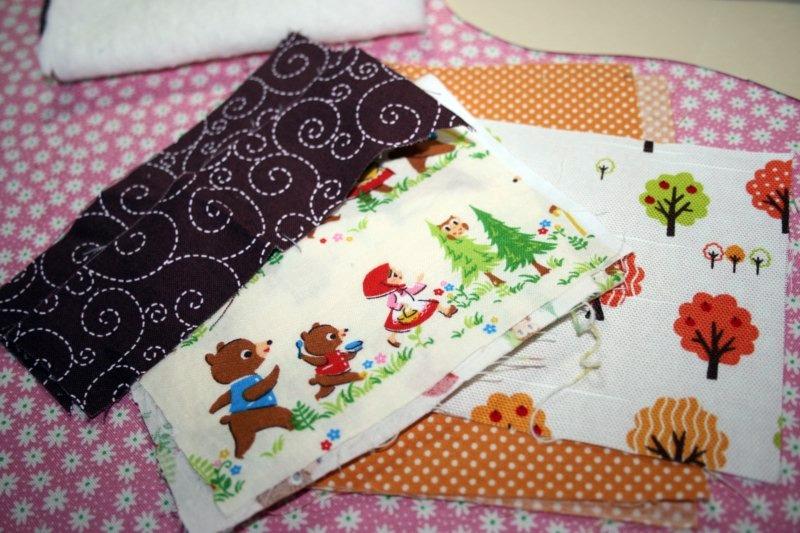
– fabric scraps at least 4 inches in height

– 16 inch piece of elastic

– usual sewing items, thread, machine, scissors

– embroidery floss and needle (optional)

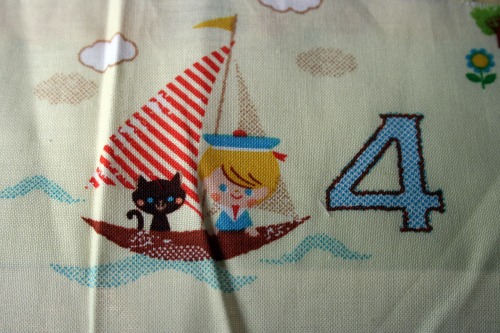
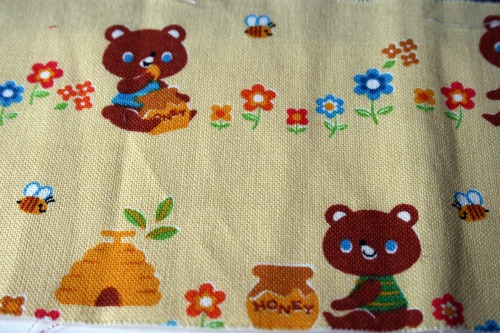
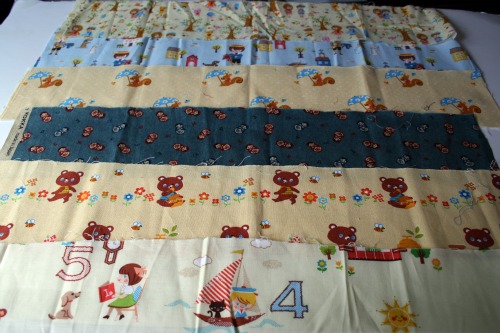
I manged to find some Goldilocks and Three Bears fabric in my stash so I was a bit fussy with the placement of the pattern.

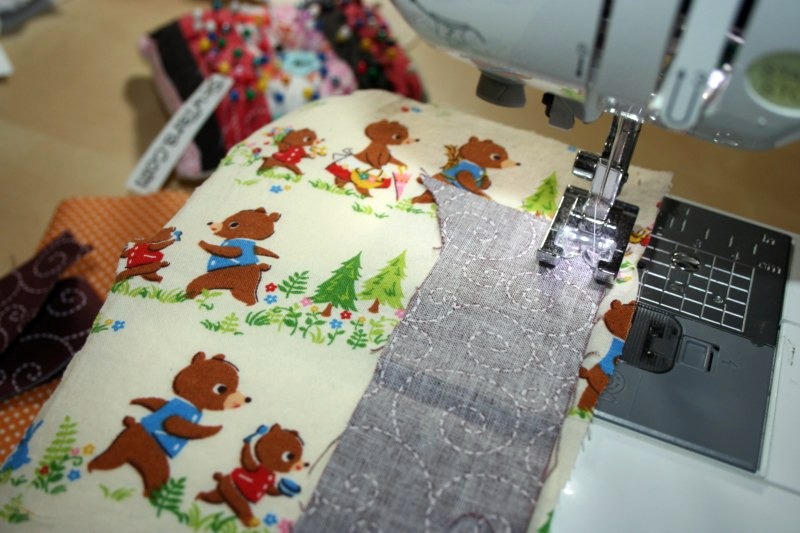
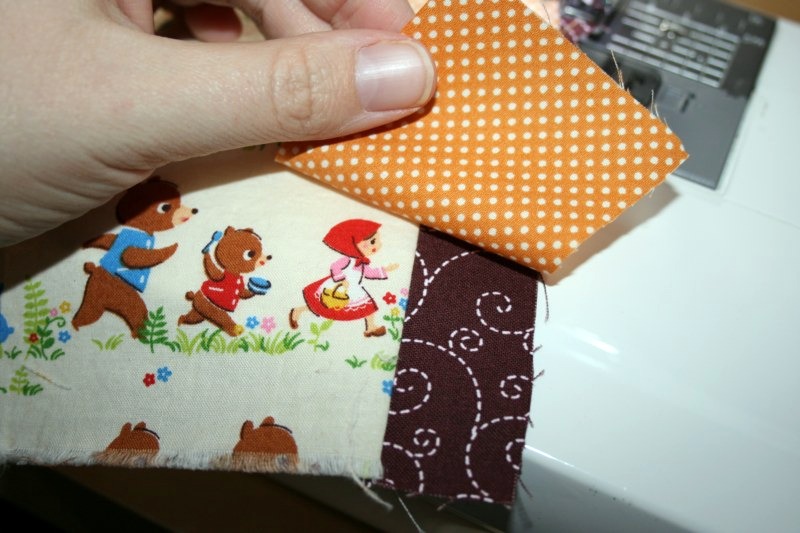
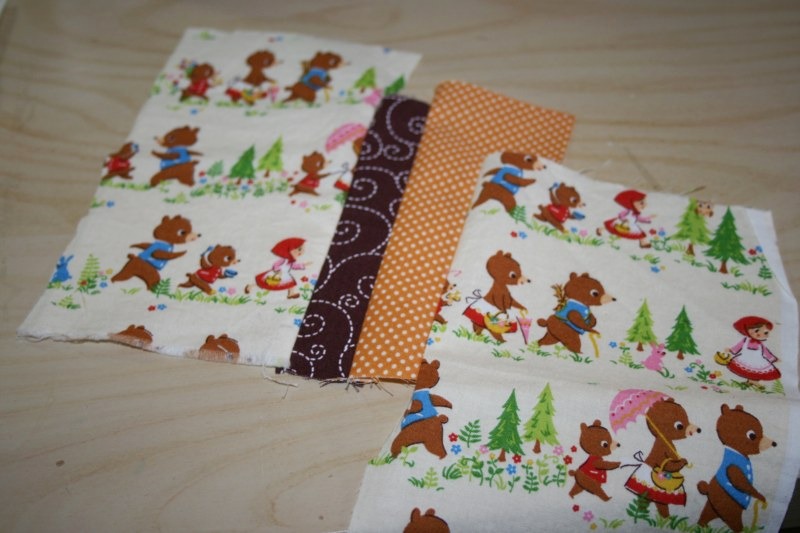
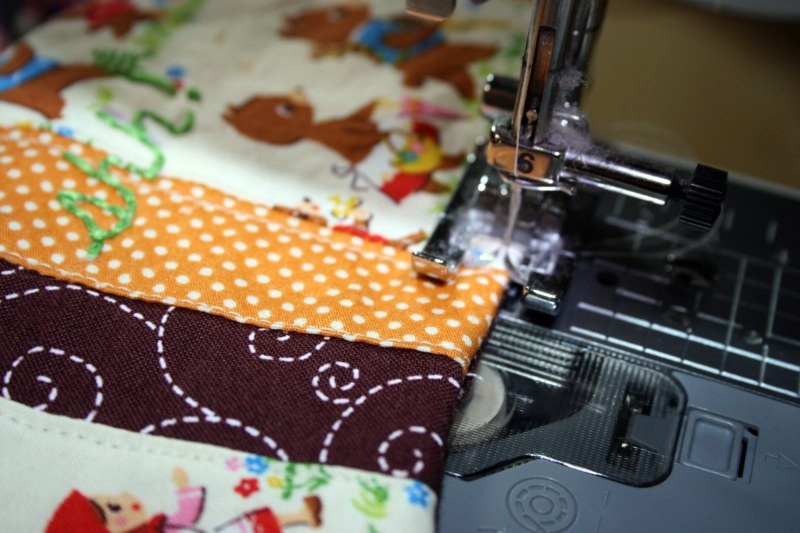
We’re going to use quilting techniques to piece the scraps together.  Think about how you’ll want your pieces positioned if you have a particular pattern you want to highlight and place the next print at the edge of the first print with right sides together.  Sew down the edge, seam allowance isn’t really that important just make sure you have a straight stitch.  My Goldilocks print was uneven so I lined up the brown swirly print to create a straight edge.

Add the next fabric print just like you did before.  Right sides together and sew down in a straight line.  Continue attaching pieces of fabric until you have a piece that measures at least 8 x 5.  My last piece is lower because I was lining up the print in a certain way.  Plus this way I’ll still have some usable scraps left over!

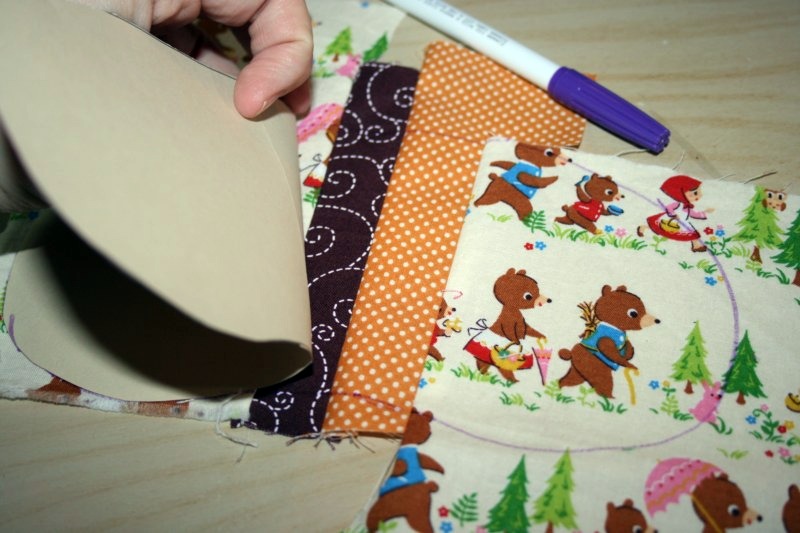
Now take your printed template and trace the mask outline onto your little quilted bits.

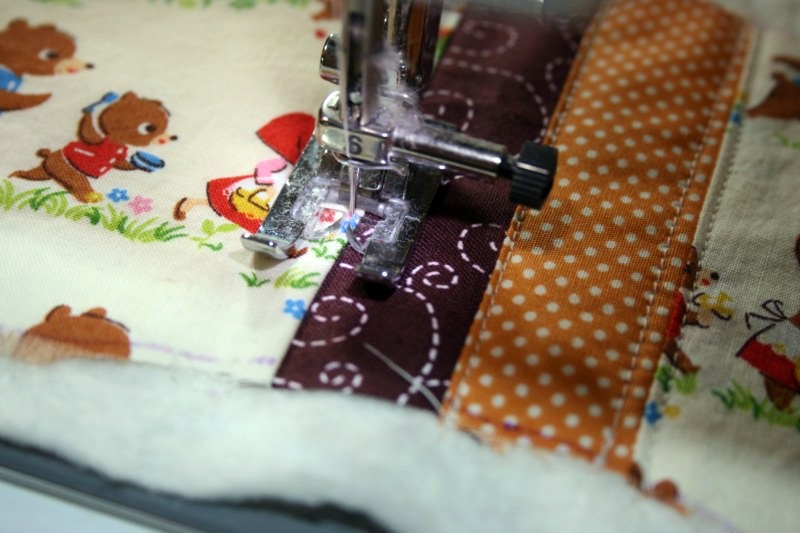
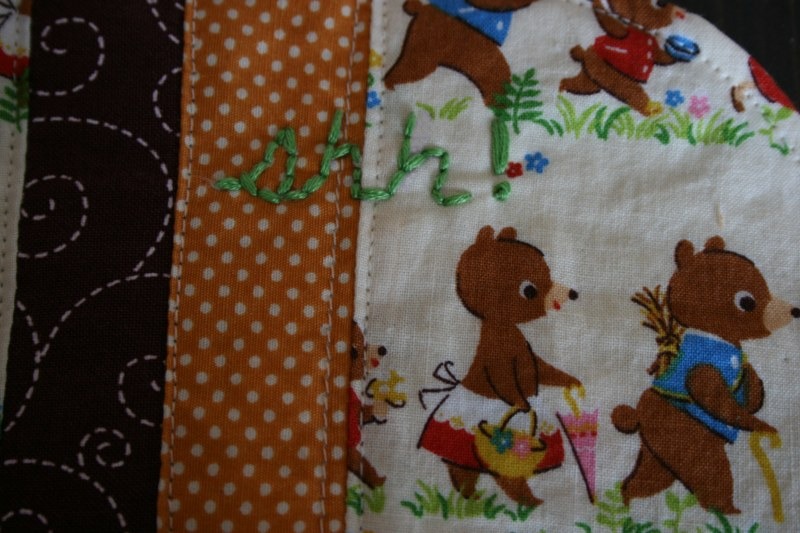
Cut along the outline.  Lay your cutout right side up on top of your batting.  It’s not important to trim it down just yet, we’ll do that in a few steps.  Add some stitches just to the right and left of your seams.  This is a fun little decorative detail and will help hold the inner batting in place.  I stuck with my cream coloured thread but you could use matching thread, or something crazy and contrasting.

I decided to get even more creative and stitched ‘Shh!’ onto my mask.  If you’d like to add any embroidery stitches to your mask do it now.  Draw on the design with a water soluble or disappearing fabric marker.  Stitch through the 2 layers.

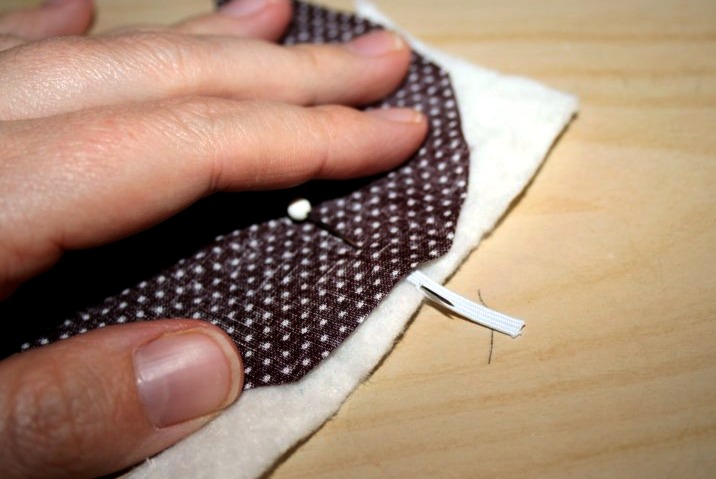
Now trace the template onto your backing fabric.  Cut it out.  Place your quilted fabric with the batting side on your work surface.  Next put the elastic piece down with about 1/2 inch sticking out over the edge of the mask cutouts.  Place the backing piece on top right side down.  The elastic will be sandwiched between the 2 pieces of fabric.  Pin the elastic ends in place.  Make sure the pin is going through all the layers.

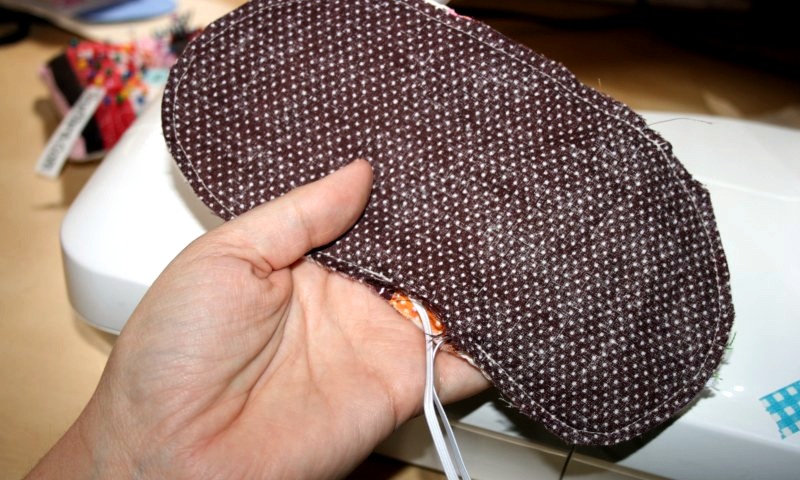
With the wrong side of the backing facing you sew around the entire mask outline with a 1/4 inch seam allowance.  Backstitch over the elastic bits for some extra stability.  Leave an opening about 1 inch in length for turning.  Trim the excess batting away.  I usually make sure to leave a little bit at the opening just to make sure it will close when topstitching.  You should be left with something like this.  Make sure the elastic wasn’t caught up in any of the stitching.

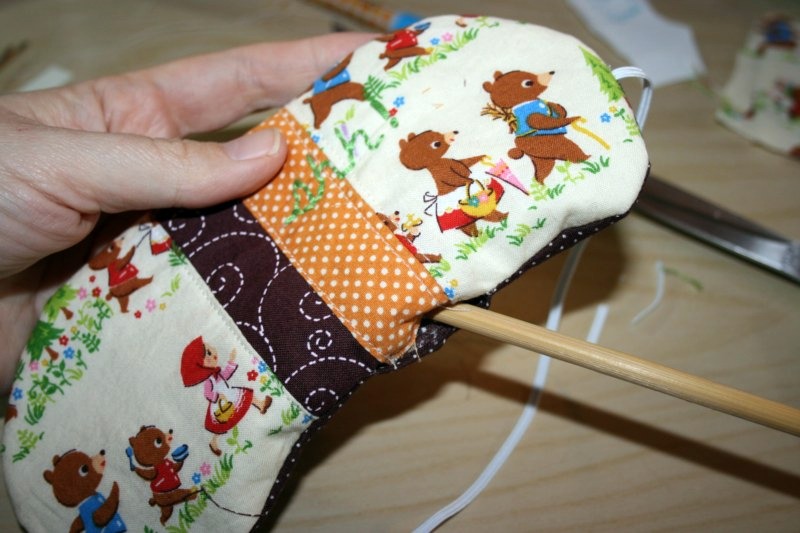
Turn the mask right side out.  Use something pokey to make sure it’s pushed out all along the edges, I use a chopstick.

Once it’s all turned out you can give it a quick press to get the edges all nice and flat.  Then topstitch all around the entire mask fairyly close to the edge with an even border.  Again, make sure you aren’t catching the elastic while stitching.

And you’re done!  Enjoy the many extra hours of sleep protected from the sun’s evil “I’m here to wake you up!” rays.

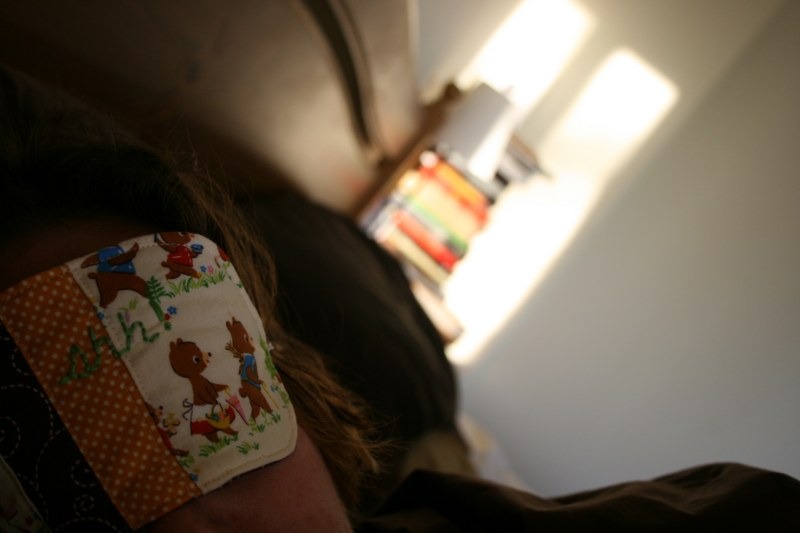
It’s really hard to take a picture of yourself pretend sleeping, but that’s authentic bedhead and sleepiness.  Sadly, the sleep mask won’t stop your children from jumping on you and waking you up.

Create Along Friday

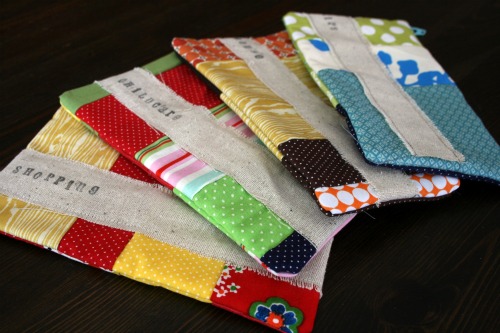
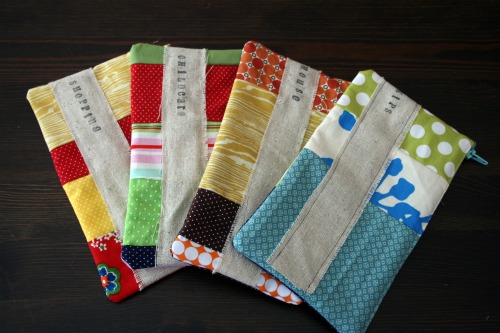
Okie so here’s my cute little zip pocket pouch.

I’m proud of it for many reasons.

1. it’s made entirely of scraps from my ever growing pile.

2. it’s the 7th Keyka Lou pattern I’ve made (I have more of her PDFs, untouched)

3. did I mention I got to use some scraps


I love Michelle’s patterns.  Not only are the designs really nice but the patterns are clear and simple to follow and I usually learn something new.  She’s got great sewing tips on her blog and all sorts of little tricks to make finishing touches easy.

Please let me know if you played along, and I’m sure she’s appreciate if you added your photo to her Flickr group.
Next up!

See Kate Sew is doing this great sweet scalloped tote sew along and so I figured I’d join in and let you know about it too. Plus it’s a free pattern and tutorial! She’s also following it up with a linky party so if you get yours done by the 15th you can even link up on her blog!
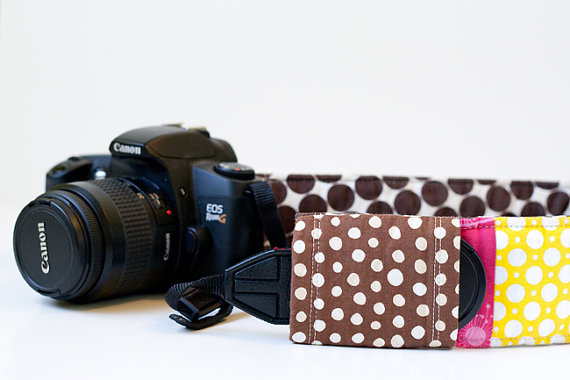
Camera strap reveal.

Finished my camera strap, once again my sew-a-long project was finished on a Thursday night. Photos taken today, yeah I live on the edge. I’m also a bit of a dork since I put the strap on my camera and it was all pretty then realized it was going to be tricky to take the photos. Yeah, I’m rocking the brain power lately folks.

If you’ve created along with me lbg also has a Flickr group for sharing things made from her tutorials and patterns. I promise her convertible tote will be in this feature some day soon.

I used my new dying of cuteness fabric, had a hard time cutting into it but hey what else is it for? I paired it with some scraps I have kicking around.

I didn’t have fusible fleece so I just used some scrap fleece i had lying around instead. It feels pretty puffy but I’m not sure that’s the way it should be.

Next challenge a boxy pouch! Perhaps you’ve made one of these, perhaps not. I haven’t and I’ve wanted to for a while. Now that I’ve got zippers and flat pouch making down I’m ready for this twist.

I found 2 tutorials that seem like they’ll work, these first two are lined and the first one will be seamless and the other will have seams on the inside (which means no tricky turning), this one isn’t lined at all and might be good for a thicker fabric. So choose your weapon and come play along!

Done and next!

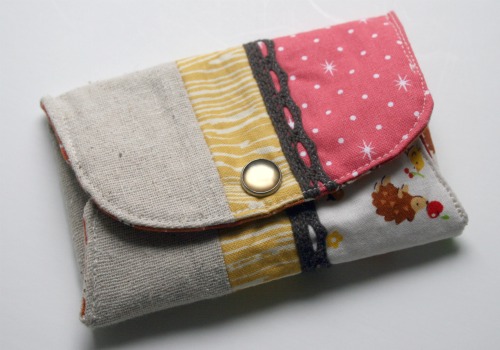
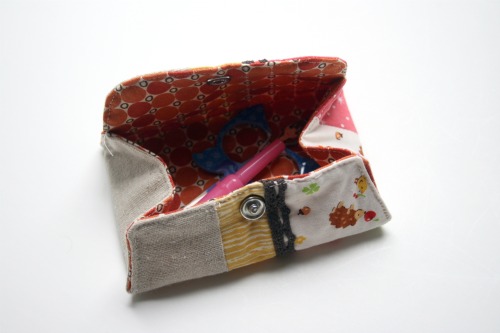
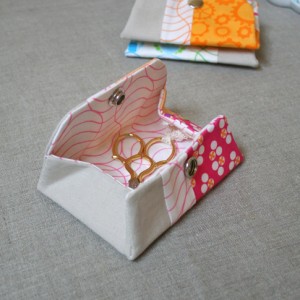
So I finished my lovely little sewing kit thingie, thanks to Rashida’s tutorial.

Some things were confirmed with this little project.
1. I deviate from patterns, constantly
2. Taking photos in natural light is getting impossible this time of year.
3. Now that my work days have shifted, working all day Thursday is really cutting into this feature.
4. Me and snaps don’t get along.

I cheated and used my machine to sew up the sides, I was too tired and short on time to hand stitch it.
I also wish I’d used my cute Japanese fabric where the pink fabric is instead. That too tired thing got in the way of thinking clearly I think.

For my next trick I’m going to make this camera strap from lgb. Not only does it use up scraps and make your camera look fun it’s got a little pocket for your lens cap which I sooo need.

Join me if you like, your assignement is due next Friday. If you’re too busy, lazy, uncrafty, or tired to whip one up you can just click and order one here.

Sharing links if you’ve played along, or sewn on in the past, on Fridays is always welcome! Or you can add to the currently pretty empty Flickr group I created.

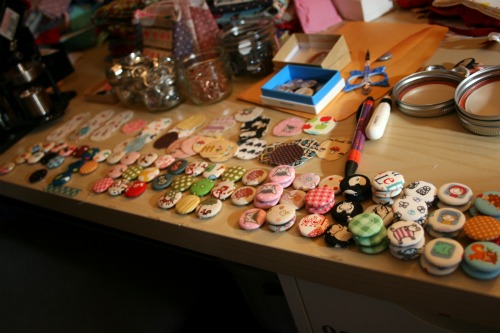
Need a magnet?

I sure don’t, I’ve been making a few. Just a few.

I love you button making machine.

Now to iron out my packaging . . .

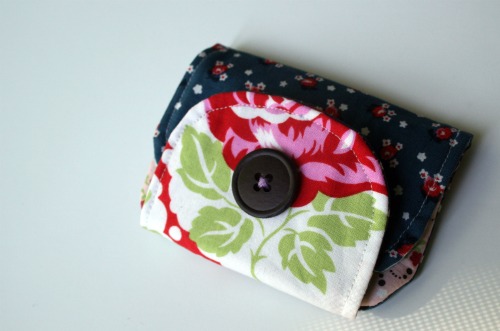
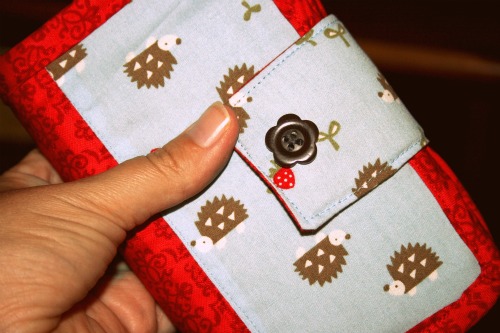
So I have a new wallet . . . .

and I’m going to use this thing until it falls to pieces in my hands! My goodness this was a crazy sewing project! Who’s idea was this!?!

Ok so I have to tell you I did have a great time sewing my wallet. I learned some new things, I found it ridiculously finicky at times and I don’t know if I’ll be making another one anytime soon but I’m really happy with the finished product.

It started with some fabric debating, at this point I actually thought I might make someone one for a gift as well. I decided on the fun fabric and set aside the more grown up one for later, yeah right. Now I have a few work in progress pics and my wallet is done so I’m a superstar as far as all that’s concerned. Where I totally suck is that I missed the chance to take some good photos of it today, my son’s birthday & party are tomorrow, and I was ridiculously busy today. Add to that the fact I took my class to the zoo all day yesterday and had a ‘Daddy was out’ night last night and I’m totally exhausted. Here’s a little flash ridden peek at what I did and I’ll post lovely pics ASAP.

I deviated from the pattern, as I usually do at some point, and added a magnetic snap and cute little button. I’m happy with it and it’s super adorable but boy was it challenging!! I’d love to see/hear about your experience with this pattern.

Here’s my next proposition and good news, it’s free! It’s a fun little coin purse tutorial, however I plan on using it as a wee portable sewing kit since I do a lot of crafting on the go. It’s the creation of the wonderful and inspiring Rashida Coleman-Hale

I think it will be a nice quick project and another bonus point is you can use up some of your scraps. So get sewing and I think over the weekend I’ll get a Flickr group up and running for this creative party I’m starting to run. I’ll also post much better pictures of my wallet. I promise.

Wheee!

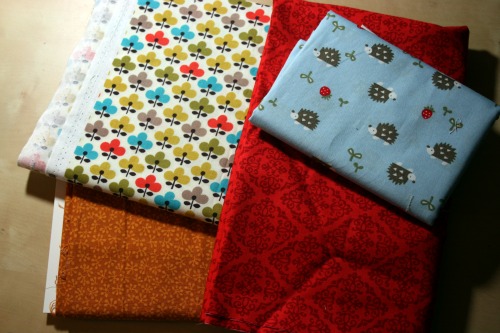
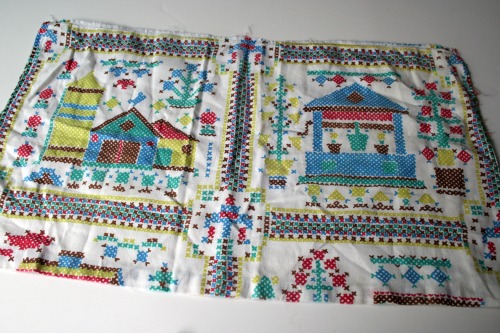
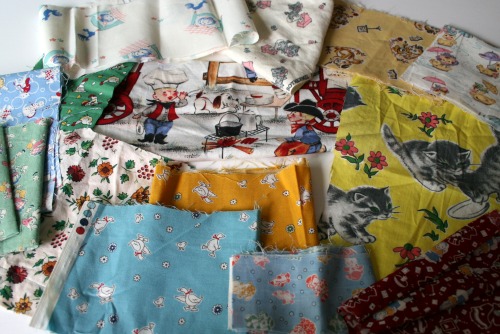
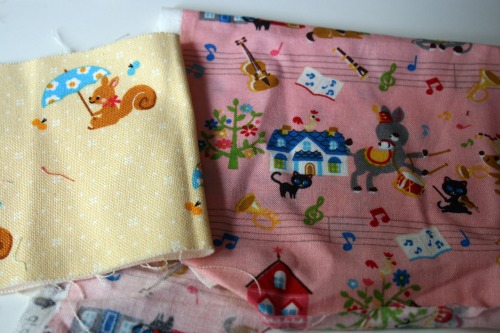
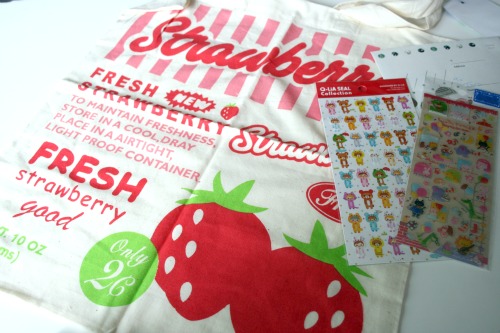
Ok, I got the most amazing scraps in one of my scrap swap packages. I can’t even begin to tell you how awesome the pieces were and how great they fit with the fun fabrics I love! Not to mention she threw in some fun stuff left over from when she ran a Japanese store online.

Here’s some eye candy.

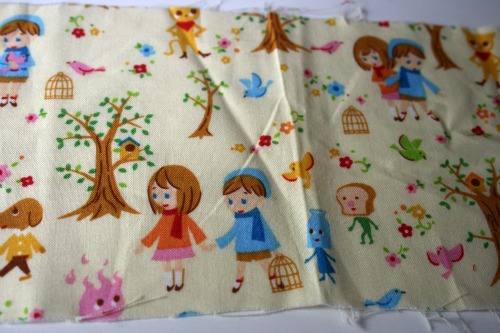
Some of these Japanese prints are amazing! I don’t know if I can bring myself to cut them up and actually sew with them.

This one is great but I’m totally baffled on what it’s about. Must be another strange Japanese fairy tale, seems to be a lot of people on fire in those.

Anyhow, I’m smitten with the contents of this package. And remember to store your strawberries in a DRAY place.

Honey, I overspent because . . .

we didn’t have these last few budgeting envelopes to complete our set! Now it’s all good!

It’s taken a few months but I finally finished the last few pouches we needed. So now they’re all fun and matchy instead of that ugly little kraft envelope from the bank.

In other news I’m getting really good at lined pouches. I’m also back at work today after the summer off . . . making money to fill these pouches!

It’s tea time!

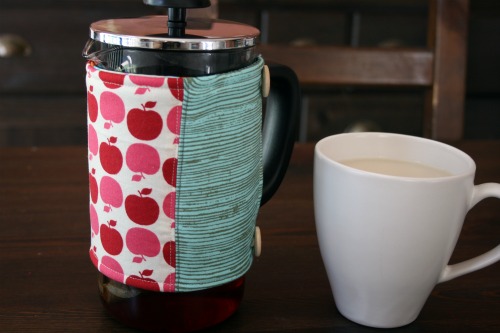
Last year while working at a craft event I picked myself up one of these tea thingies. Mostly it was supposed to be a way to get me to use up all the loose tea I have lying around. Usually I just toss a boring orange pekoe tea bag in the bottom and add hot water.

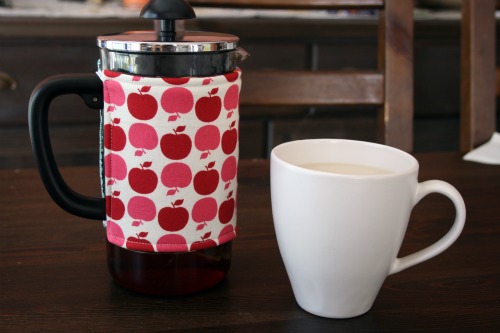
With the cooler weather on the way I decided to finally stitch up a little cozie for it. Then I can take it down to my creative area late at night and have cup after cup of tea!

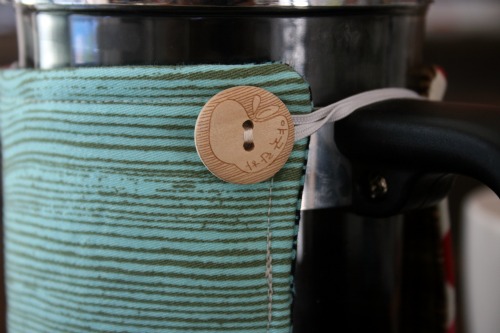
I used some scraps I had lying around. Also, I snuck in these great wooden buttons I had from a previous Etsy purchase. The fantastic apples came from a bundle I ordered recently from Sara at The Split Stitch. I keep missing her other stash packs in her shop, curse me for being behind in my Google reader! I’m a sucker for scraps.

The inside is also scraps of fabric all quilted together, guess I should take a picture of that part too . . . when it’s not warming tea.

Scrap Swap partners!

Here we go again. Here are the pairs as I’ve magically matched them up using my children as a labour force. Pardon me for being a day late, my Mabel’s Labels giveaway took a day longer than I thought.

Speaking of the day 3 winner is . . . . thanks to random.org this time is Laura!  Congrats!

Ok back to the partners . . .

SewTara & Elizabeth
Oh Leela & Sarah
Hazel & SewTara
Lauren & Sara
Marysza & Nerina

Please get in touch with your partner, I’m sending out emails today, find out mailing info and start destashing!

And I am off to a cottage for a week! For the first time in a few years I’m heading out to a cottage. It’s going to be great, right on the water, sandy area for the kids, a dock . . . oh the list goes on. I’m not sure what the internet situation is up there, and if our phones have a signal my hubby is going to be tethering and using most of our data plan so I thought I’d go easy on it and take time to read and be offline a bit.

But fear not! I’ve worked on some of my blog land friends and I’ve got a few guest posts lined up so it’s going to be a good week at SewTara even without me.