Tag Archives: scraps

DIY kitty toy

I shared this post last week on Meremade and in case you have a feline friend in your house and missed the post over there I thought I’d share it here.

With loads of crafty supplies and some cats in the house I thought up this fun DIY craft that the feline in your life will appreciate. This project can be hand-stitched or made with a sewing machine. It’s also very scrap friendly and you should be able to find all these supplies in your crafty cupboard.

You’ll need:
– fabric scraps
– ribbon (cut in 4 pieces, one 6 inch and 3 3 inch pieces)
– stuffing (polyfill or scraps cut up really tiny)
optional
– 2 buttons
– catnip

First cut out a head and tail shape from your scrap. Sew around leaving a small opening for stuffing.

I cut up a small scrap of flannel into tiny squares to act as filling. Stuff the head with filling and add your catnip. Tuck one end of the long ribbon piece into the opening and securely attach it with hand stitches or using your zig zag stitch.

Sew the tail piece leaving a small hole for stuffing. Stuff it and attach the ribbon just like you did for the head.

Tie the smaller pieces of ribbon to the fish ‘body’ so they look like little bones.

Sew the buttons on the head for little x’ed out dead eyes.

Ta Da! All finished. Now toss the toy to your favourite kitty and sit back to enjoy the silliness.

DIY with loads of sharing

You will need:

Some fabric scraps
Modge Podge
Knobs (screw pieces if they don’t have them)
Wall anchors

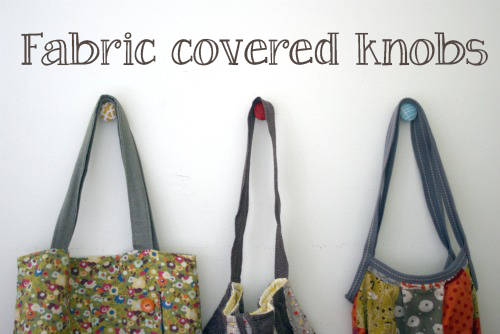
Cut a scrap of fabric and wrap it around the knob to cover it. Pour Modge Podge on the front and smooth it down saturating the fabric and gluing it to the knob.

You can secure it with an elastic to help it dry in place. Once it’s dry trim away the excess fabric.

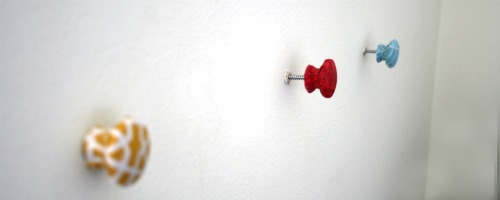
The knobs I bought didn’t have screws on the end so I had to glue some in.  If you’re repurposing cabinet handles you may not have to do that step.  I choose 3 colours that would compliment my handmade art wall.

Decide on your spacing and drill holes in the wall.  Secure the anchors and make sure they are flush with the wall.  Then simply screw in the knobs.

The next step is the best, hang your accessories!

I used mine to display my growing tote/purse collection. Bags are from (left to right)
Kimmy Kingsbury, Hot Butter, and me!

Fabric scrap pendants

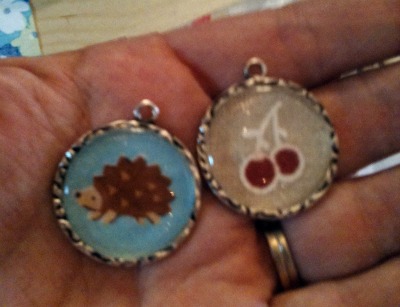
I’ve been coveting some things on Etsy recently, haven’t we all?, and I started to think “I can make that!”, again, haven’t we all. At Michael’s I found these pendants that come with little peel and stick domes.

I just positioned the domes over scraps of fabric and then cut them out with my tiny sharp embroidery scissors. Then I stuck that bit onto the pendant with some glue dots.

Then I got brave. I picked up some pendants on clearance and figured I’d try some Modge Podge Dimensional Magic. My friend Joanna has tried, and struggled with resin so I didn’t even want to try that. I figured Modge Podge would be easier to work with. There were bubbles but getting rid of them was super easy. The problem came from the liquid soaking into the fabrics and changing the colours. This elephant was from the very edge of a piece of Japanese fabric and I thought it would make a great pendant. This is an Instagram shot so the filter played with it a bit, but in normal lighting the ‘white’ area is almost identical to the grey of the elephant. It was disappointing.

So now I’m back to finding a liquidless way to do this since that works best with fabric. Has anyone done this before? Know any tips or tricks?

I’ve been making hexies.

Like a lot.

They’re ridiculously addictive.

I was inspired by Rachel’s hexie kit I stumbled upon while Googling hexies and sort of put one of my own together. I thought I had a punch but it appears I have every shape but a hexagon, it figures.

The pouch houses all my hexie worthy scraps, scissors, thread and the paper pieces. Then I keep my other scissors (why two? who knows) in the other container and plunk the finished hexies in there. I had a bunch that I’ve already sewn together but they’ve already moved down to my production area (aka corner of the basement).

DIY fabric covered wooden brooch

One of my goals is to accessorize more and while I have bought a few things here and there I figured I should also make my own pretty things.

You will need:
– a scrap of fabric
– a wooden cut out
– glue gun
– pin back
– scissors
– Modge Podge or white glue

Trace your wood shape on the wrong side of your fabric. If you have a special part of the pattern you want to capture make sure you’ve placed it in the right place.

Spread Modge Podge on the wooden piece. Cut out the fabric and place it on.

Plug in your glue gun and add your pin back with a little blob of hot glue. You may need to trim excess fabric from places with small scissors or an exacto knife.

Next have someone around to take a finished photo for you because propping a camera up on items and hoping for a good shot is very hit and miss.

You get the idea.

Winter cleaning happy mail?

I’ve been clearing my work area and I plan on kicking butt on all these half finished projects cluttering up my space. While I was going that I came across a bunch of neglected, unloved supplies. Perfectly good things but I haven’t used them in ages or probably won’t get to using them.

I had the idea of doing a giveaway but then I thought maybe other people are having the same problem and we could set up a swap. I’ve got some things that came as freebies with Etsy orders, or items from other swaps, cute sticky notes, stickers and of course ribbon, fabric and buttons that I’ll probably never get to using!

Sooooo anyone want to play along? Sign up below until Wednesday January 11th. I’ll match us up (open internationally unless you tell me otherwise) and email partners so you can work out addresses and such. I suppose the contents should cost about $10-$15 but I’m hoping we can all just share some neglected creative stuff and pass it on to someone who may be inspired. Of course you can also include a handmade by you item, I know I will.

I was also hoping this post will distract from the fact that I haven’t completed a CreateAlong project in a while . . . next week I’ll reveal all my neglected projects, I promise!

Winners!!

Woohoo!!! A big giant thank you to all the lovely people who popped over to my blog and left a lovely comment. I even got a few sweet emails as well.

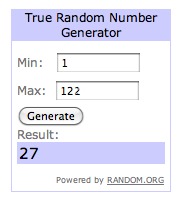
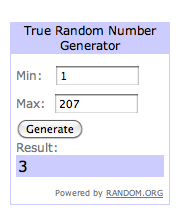
So for my cup cozie giveaway the lucky winner is Bryanna!

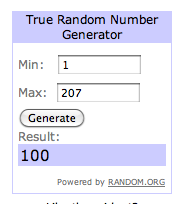
For a 10 ounce bag of new to you fabric scraps the winner is Meredith!

And because I have a huge bin of fabric scraps and why not share the love I decided to choose a second winner, so congrats also goes out to Heather!

Emails coming in a few moments ladies.

I’m also being totally lazy and skipping on sharing my Create Along for this week, things have been so busy at work and home. I did not have time to crochet up those adorable slippers. However, we are going away for a week over the holidays and I just might take that project with me since it’s more portable than my sewing machine!

But for the next week I’m going to choose something pretty easy since we’re all busy and I’ll be going crazy with a Nate’s turning 3 party to organize, Christmas to organize and a trip to get ready for!  Let’s make one of these handy pincushions. The PDF won’t let me steal an image to put here but click on over and see what it looks like and if you can squeeze it into your busy week play along with me!

Sew Mama Sew Giveaway Day!! Part 2 of 2

Here’s my scrap goodie bag giveaway! Cup cozy giveaway is here. Feel free to enter both. Sorry, giveaways are all done.

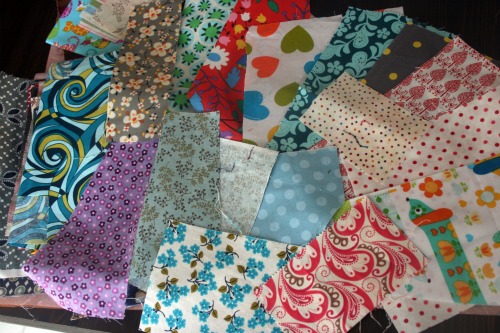
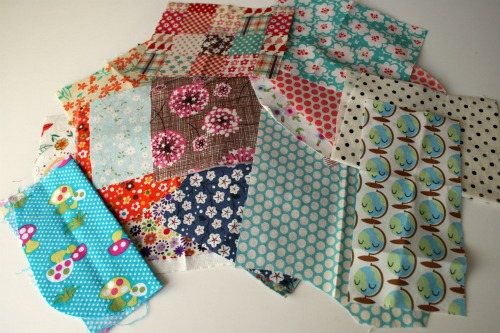
One lucky winner will get 10 ounces of fun scraps from my stash! I’m sure I’ll toss in some other fun goodies too. Picture below is just a random scrap photo I had, actual scraps will vary.

Leave a comment and good luck!

Sew Mama Sew Giveaway Day!! Part 1 of 2

Yipee!!! It’s here again! Sorry this giveaway is all done.

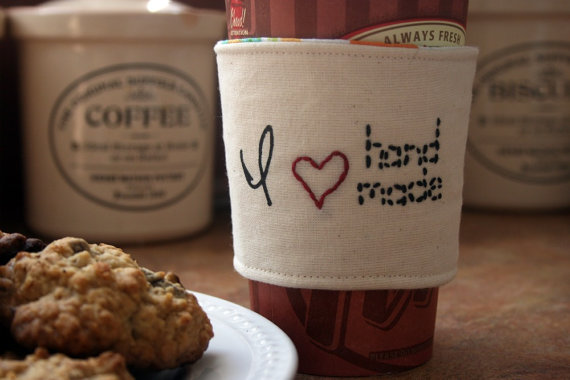
Here’s my handmade item my I

Perfect to keep your hand nice and cool while you enjoy your favourite warm beverage.

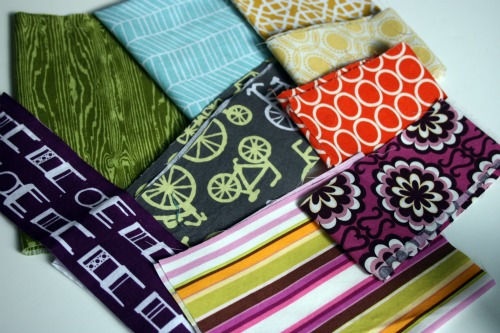
I’m also giving away 10 ounces of fabric scraps, enter that one here. I have a bit of an addiction and I’m sharing it with you. Here are some of my recent scrap acquisitions, you’ll get a random surprise pack made up of this and that (possibly with bits and pieces of what’s below)

Create Along Friday

Wow, so I guess I was busy this week. Friday is now my full day at work, thanks to this whole day 1, 2, 3, 4, 5 thing we do in my school board, and I realized as I was drifting off last night that I hadn’t actually written today’s post. Then of course a day of work, a busy evening and last minute craft show prep has kept me from actually posting it. But here is my dumpling pouch a free pattern from my pattern selling friend Keyka Lou. **Her patterns are still just $5 until November 27th**

I love the fun rainbow/froggies in the rain print. For the inside I just reached into my scrap stash and grabbed something.

The pouch opens up ridiculously wide, it would be great for lots of little things like make up, art supplies, or crafting stuffs. The zipper goes in really well once you cut the little notches in it and my dumpling is only a little bit wonky on one side.

Just tilt your head a little and it looks like a really good pouch. Now I have no idea what advice to offer to get this side looking good. Maybe “close your eyes”?

I have absolutely no stinking idea how that happened and I’m stumped on how to fix it. I’ve turned the pouch and tried to resew that seam and every time I turn it back right side out that one corner is all stupid. Soooo oh well I’m just going to have to live with it. However, I will be trying again once I had some spare time! But if you don’t look to hard, or need the pouch to stand up on it’s own it looks great!

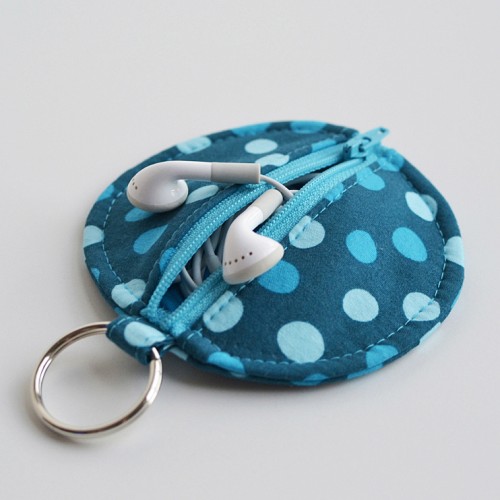
For my next trick I’m going to be sewing up one of these handy things. I’m usually fumbling for my headphones in the car to use my phone, or they get all tangled up in my purse or gym bag. I’m hoping this little friend will solve all those problems. Plus it’s got no corners so I can’t really mess it up too much!