Tag Archives: scrapbusting

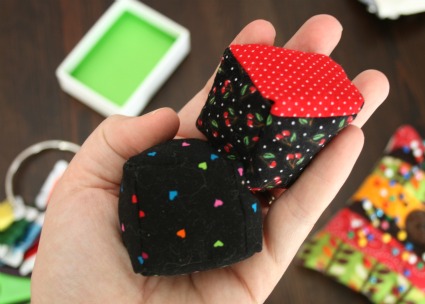
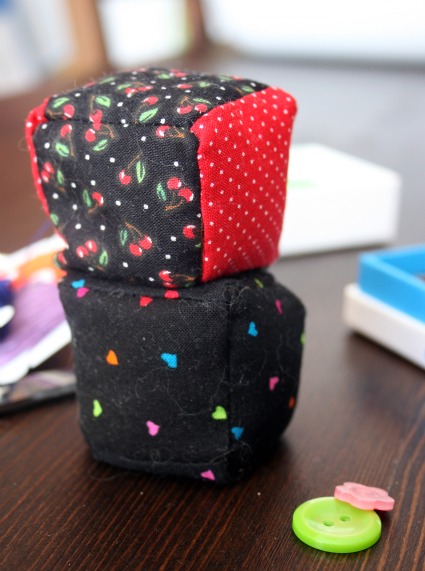
Pattern weight thingies. Or just fun cubes to toss around.

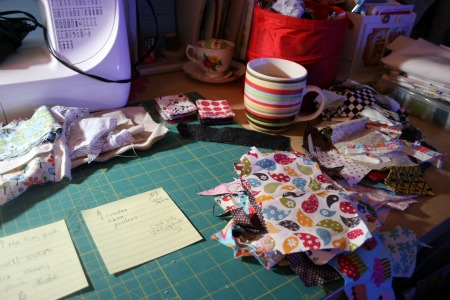
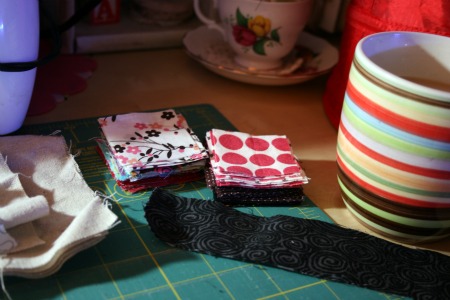
I stumbled across Zaaberry and found this neat little tutorial on making little weights to hold down your patterns while you trace and cut.  Bye bye pins.  Luckily I had previously cut a bunch of my scraps into little squares so they were perfect for this project.  It’s a really simple project, just sew squares of fabric together, fill them up  with someone that has a bit of weight to it and sew them shut.  I filled mine with some flax left over from my eye pillow making.  There’s even some lavender bits in there too I think.


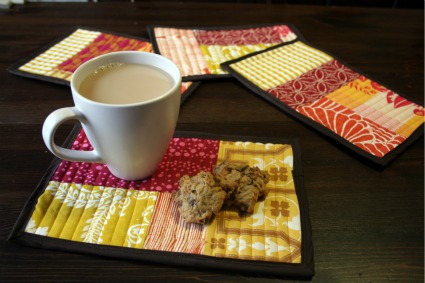
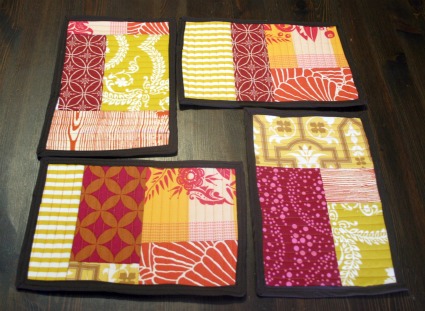
Scrapbusting strikes again. This time in the form of mug rugs.

I did it again!  I’m in love with the scraps from my swap.  Not only are they nothing like I have in my own stash but they’re so bright and colourful and beautiful.  I know I’ve said it a bunch but thanks Jessica!

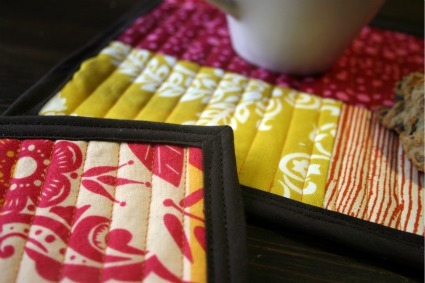
I made some mug rugs.  I love tea and, sadly, I’m pretty fond of cookies and other baked goods.  Now I have a way to enjoy them that looks absolutely fantastic.  Those cookies are from a recipes Deceptively Delicious by the way, they’ve got chickpeas in them and they’re amazing.
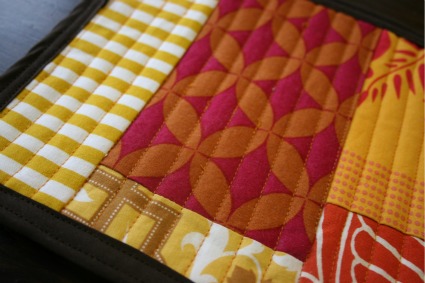
I quilted various bits together to create a 7 x 10 1/2 inch matt.  Then I sandwiched some batting between the colourful top piece and a plain linen cotton on the back.  This is the first time I’ve actually quilted something so I kept it simple and just did lines.  I used the edge of my machines foot to keep me in track.  I chose a yellowy thread, it’s sort of a mustard colour.  I love the results.
I was going to get brave and make my own bias tape for the first time but I decided against it.  I haven’t really used bias tape much and so I wanted to keep it simple.  Sadly it wasn’t simple at all!  I had a tough time lining it all up, I double stitched it to echo the quilting of the matt.  If you look closely the edges are a bit wonky but oh well.  If you come to my house and I put a nice hot tea and a yummy treat served on a beautiful mug rug and you mention the wonky edges I’m taking it all away.  You’ve been warned.


Scrapbusting with an iTop hack

I’ve vowed to myself to post more DIY projects this year. I got even fancier and decided to combine this idea with scrapbusting!   Hoping to help you create some fun items while decluttering your scrap bin/box/bag/whatever.  This would also be a great idea as a way to save an important item of clothing, or other fabric.  So on with scraps idea #1.

I was wandering Michael’s the other day and stumbled upon make your own buttons, brads and magnets in the scrapbooking aisle. At first I was super exicted and thoguht of all my scraps, then I realised there’s a few tools to make it all work. The iTop tool was $49.99, then there’s the punches or templates, the hardware for the actual buttons/magnets/brads . . . I realized it could add up. So in an attempt to be thrifty I spent $4.99 on a package of the magnet pieces and decided I’d see what I could do.
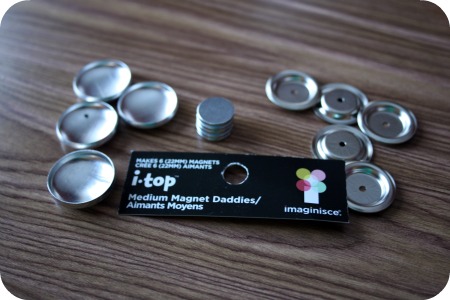
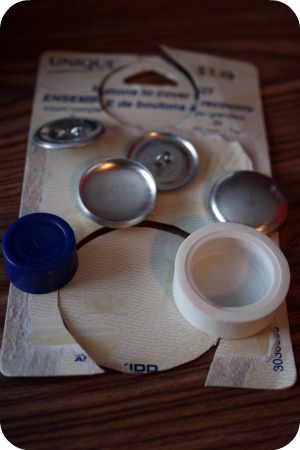
The large magnet pieces I got measured 22mm so I headed to the fabric store and purchased the $2.49 Unique kit for covering 22mm buttons.  It came with pieces to make 3 buttons and the little casing thingie to snap it all together.  Pardon the bits and pieces.  There’s a template on the back for how big the fabric bit should be.  I think it lies, I had to do some experimenting to come up with a size that worked.
Recently I went through my larger scraps and cut 2×2 inch pieces where I could.  Turns out they’re the ideal size for this project.  However, if you’re trying to get a specific part of the pattern.
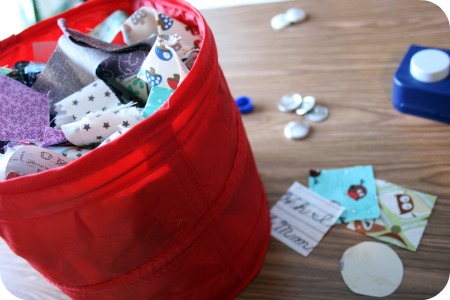
Grab a piece of fabric that will work for the image you want on the front of the magnet.  I was trying to get one of the little owls from my Round Robin print so my 2×2 squares weren’t working out.
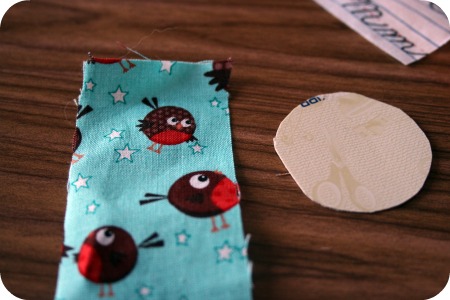
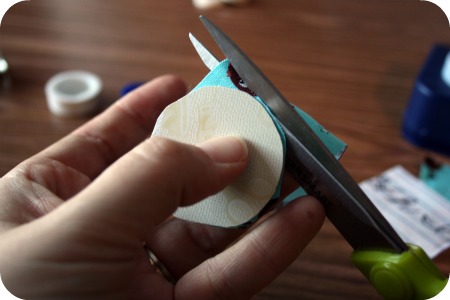
Cut out the circle using your template which should be about 42mm, that’s what mine is.
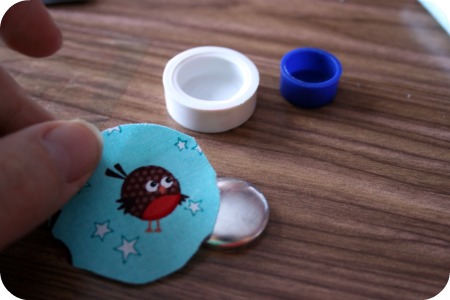
Place the fabric over the magent front positioning your design how you’d like it.  Then pop it into the setting tool.  Try to keep the fabric the way you want it, it can move around on you.
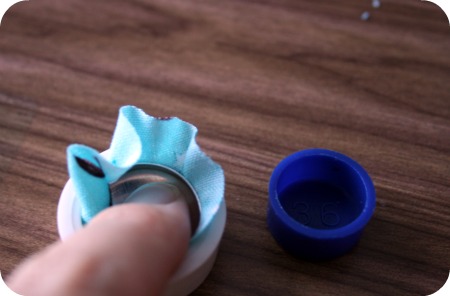
Next you just plop the backing piece into the holder, the magnetic disk should be sandwiched between the front and back pieces, and push down to snap it into place.  Make sure all the edges of the fabric will be squished inside.  The dark blue thingie is a ‘pusher’ to assist in this process, I just used one of my stenciling brushes I use when screen printing.  I’m very technical and particular with my tools.
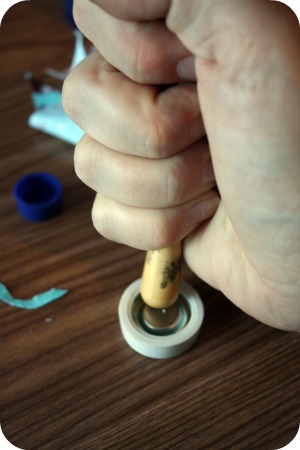
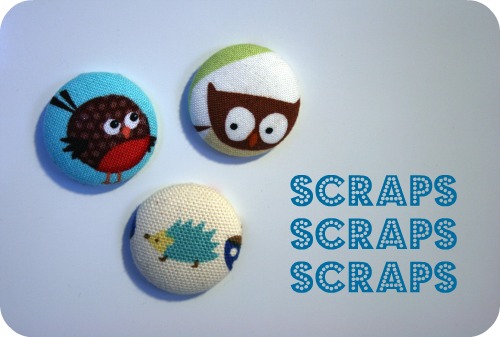
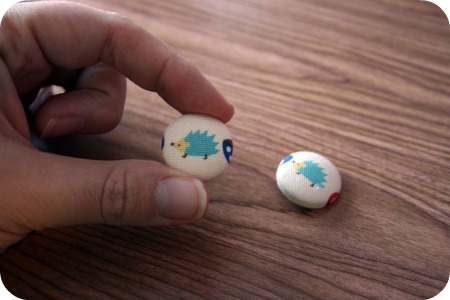
Finally just pop out your new little magnet!  Pardon the fabric switch, it appears I got all excited and ran to the fridge shot without documenting the final stage of my little owly friend.  Here’s a magnet and button I made.  Easy peasy!
Preparing for the new year.

I’m slowing making my way through cleaning up in the basement. We’ve been purging things for a while, my son has been very excited to “share” his toys with other kids who can use them. I’ve taken things into my school for classrooms, to the consignment store and off to donate. I’m doing everything to avoid making garbage. The other day I spent a load of time sorting my scrapbin. Since I’ve changed my cup cozy design a bit there were some pieces previously too small that will now work. Usually I make pin cushions but I’m getting a little tired of that. I’m going to make some of these pouches, with Wesley’s help, for some of the important women in his life. I also want to make a cover for my bodem so I’ll quilt the little pieces into a larger piece of fabric to make that. Plus I really want to try Keyka Lou’s technique.

So I cut what I could into 2 X 2 inch squares. Not entirelly sure what I’ll make with them yet but I’ll figure something out, or ideas are welcome!

Well duh!

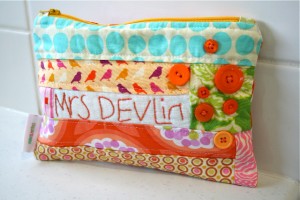
Ok so how lame is it that I’m a teacher, and a crafty one at that and I’m only realising now I should have made my son’s teacher a gift!?  Again a sign of how busy I have been these last few weeks.  So while I don’t have a gift to send in with Wesley today I’m totally planning on making this lovely teacher one of these before the school year ends!

It’s super cute, functional, personalized and handmade!! How can she not like it!  From a crafty sewer perspective my son can help with writing her name and choosing the buttons and fabric and I get to use up some of the fun scraps I have lying around.  It’s all win win. Thanks for sharing Make It Perfect!

Probably the reason I hadn’t picked her up a gift yet is because I know how tricky it is as a teacher at Christmas/end of year when you get gifts.  It’s sort of a weird time especially depending on the school you’re at.  Not every student will get you a gift and the ones who do might want to see you open the gifts but you don’t want to make a big deal about it if some students don’t have the means to buy gifts.  It can be awkward.  I’m also a terrible lair and have a horrible poker face and Christmas teacher gifts tend to be of the mug/snow globe/ornament nature, which while totally thoughtful there’s sort of only so many you can have.   So pencil case it is!  Perhaps I’ll even use my 2 weeks off to craft one and send it in for January, random gifts are cool too.