Tag Archives: repurposing

Juice totes and my son’s counting book in progress . . . . finally.

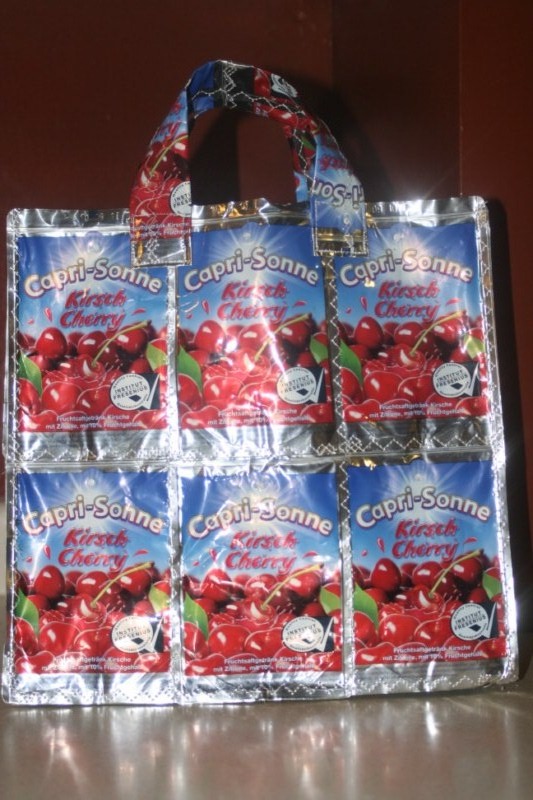
Although it feels like I haven’t been very crafty lately somehow I’ve managed to create things.  I finally assembled my German juice pouches, from Spain, into a cute little tote that I now use as my work bag.  If work is at a school is it a ‘school bag’?

When I came upstairs with it my husband said, ‘Oh cool, are you going to sell that one?’.  I nearly died, after all that drinking and saving and trying to explain with gestures to the maid at the resort the pouches weren’t garbage . . . AND packing them to fly to England and then back to Canada!  No way.  This bag is mine!  Plus they say ‘kirsch’!  How cool is that?

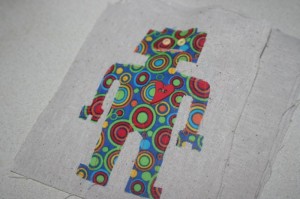
I’m going to visit my cousin tomorrow for the night, I’m packing the cover and some pages for Nate’s counting book.  Some embroidery is needed so perhaps I can get that done while the gaggle of our 5 children play.  Here’s a shot of the #1 page, there’s a robot on it.

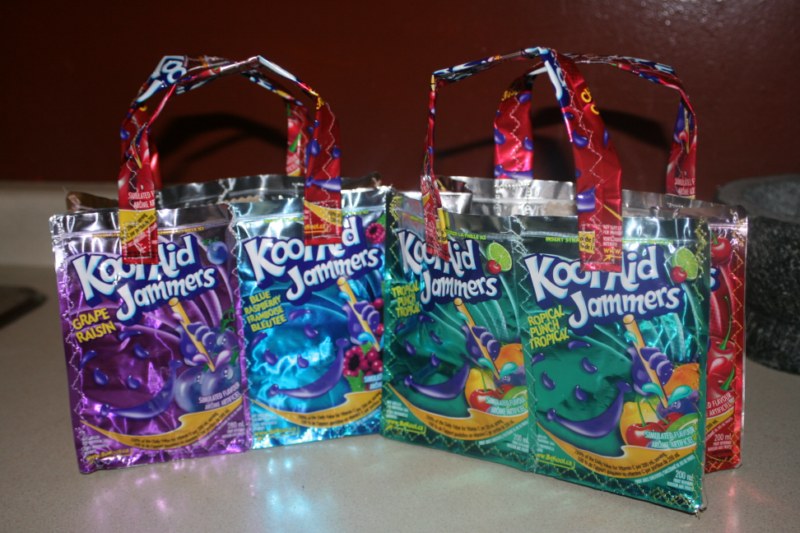
I’m taking her daughters some crayon cozies gone wrong, I cut them a tad too short and they only hold 15 crayons instead of 16.  They’ll still like them and I figured rather than waste fabric I’d make them anyway.  I also made them  some little juice pouch totes as well.  Lately some of students in my class have been bringing them for lunch so the lunch lady has been saving them for me.

A brilliant idea for lost lonely single socks.

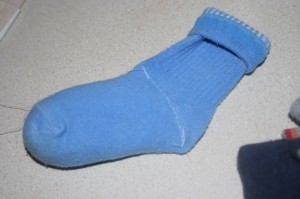
As if losing my own socks wasn’t enough, then there was a husband’s socks for me to lose.  Now there’s 2 little ones and more socks I have to keep tracks of!!  So I’ve been keeping this little pile of lonely socks lying around for months ‘just in case’ the other sock reappears.  Then I had an idea.  Wednesday I brought home a paper box from work and started my project.

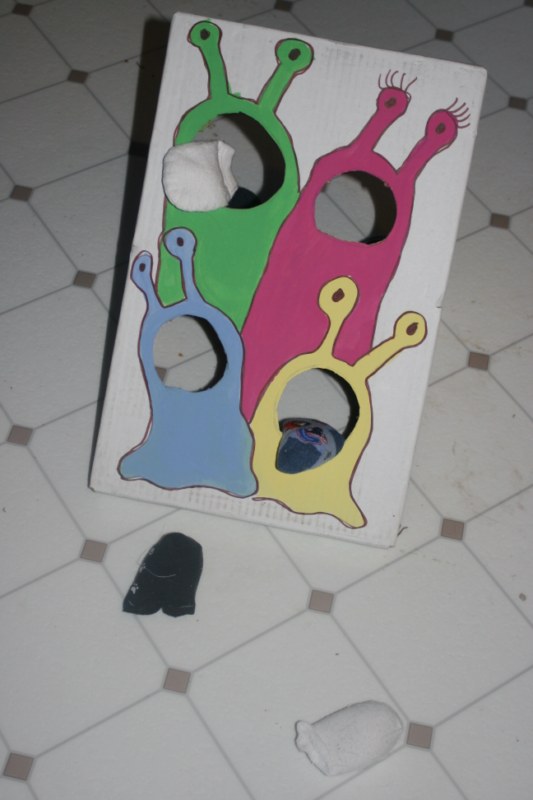
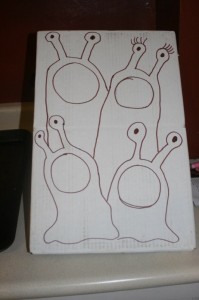
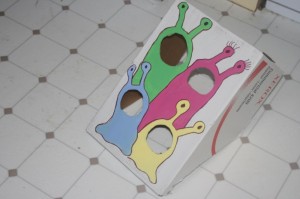
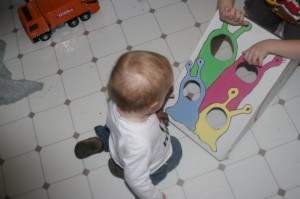
I cut off part of the box to make it angled to sit on the floor nicely.  With a Sharpie I drew some big circles on it, I was going to make flowers but then I figured two boys would probably go for something a little less girly.  So I turned the circles into mouth of goofy looking aliens.  They’re sort of our family, a big daddy alien, a eyelashed mommy alien, a boy alien and a little baby alien.

Cut out the holes with a blade or sharp knife.  Then I painted them in, while watching LOST.  I just used craft paints, nothing special.

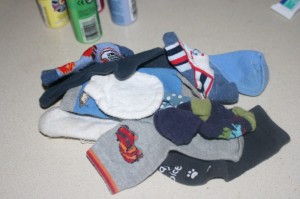
Back to the pile of socks, pictured here.  I also used a lonely single scratch mitten since we don’t need those anymore.

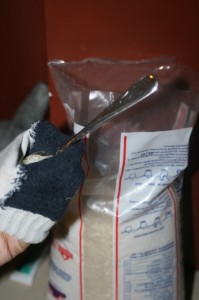
Since, coincidentally, I had been researching bean bag fillings I decided to use rice.  You can rinse them and air dry, if it breaks open it’s pretty easy to clean and if Nate did try to eat it no big deal.  The socks were pretty easy to fill, I just used a spoon and sewed them shut with the machine since it was fast, hand sewing would work.  Cut off the excess sock and you’re ready to go.

I hoped for an action shot today but it was harder to get than I thought.  Wesley turned the game box into a machine and was driving it around the house while stacking the ‘bubbles’ (aka the socks) in a pile in a corner of the kitchen.  Oh well, the point was for them to have fun and they did.

Stitched cardigan.

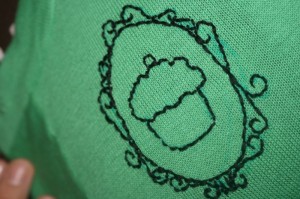
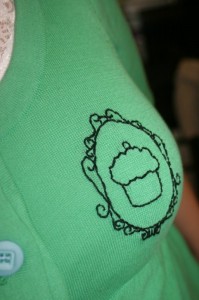
Went thrifting a while ago looking for things for my Style School assignments, idea by Elsie.  I found a cute little green cardigan with sort of flared sleeves and hideous buttons.  I’ve had it around for a bit because I couldn’t decide what to embroider on it.  Then I figured I couldn’t go wrong with a cupcake!

I wanted to do a silhouette sort of thing so first I Googled images of cameos to find something to base a frame on.  My blue wash out fabric marker didn’t really show up too well on the green sweater so I had to free hand here and there.  I’m happy with the frame and cupcake outline but once I took the hoop off and slipped it on I’m not sure I’m happy with the placement of the design.  It’s a little low I think and not very crest-like, more breast-like!  Might have to do some restitching tomorrow.

Style school project 10? And I didn’t even know!

So I was so busy finishing my pillow last night and blogging about it that I ran off to bed later than I meant to.  Today I wander over to check what the Style School assignment for yesterday was and lo and behold it was the favourite quote pillow!  So while this isn’t really a ‘favourite quote’  it’s still pretty darn cute, a quote and finished on the day a pillow was assigned!

I think I’m going to make a few more to go on our bed with this one.  I’m going to scour song lyrics and other inside jokes and use those, things that mean something to us or is an inside joke only we will get.  Can’t wait to have a few all prettily placed on our bed!

Handkerchief pillow tutorial. Complete with cute embroidery!

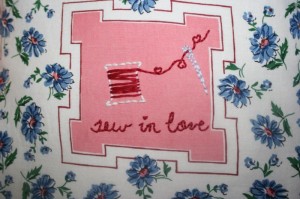
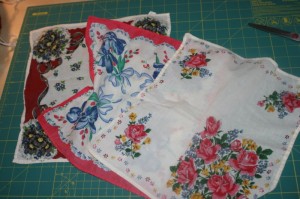
My friend gave me a few handkerchiefs her Grandmother had lying around figuring I could make something with them.  I had the idea to make them into little throw pillows for my bed.  I was going to make her one and give it to her, but I’ve already given her a pillow I made so I figured I’d be keeping it.  Then I realized one of the prints would be perfect for embroidering a little something right in the middle.

Perhaps a heart with our names in it?  So I cut out a heart and was just about to trace it when I remembered the awesomeness I had just ordered from Peptogirl!

I flipped through the patterns and found one I liked and I took the liberty of making a slight adjustment.

Here’s how I made the pillow:

First I cut a piece of plain unbleached cotton fabric a little bit larger than the hanky. Then I ironed the two pieces so they’d be nice and flat. In hindsight I should have cut the cotton a bit bigger, I ended up losing the border when I squared it up before putting the backing on.
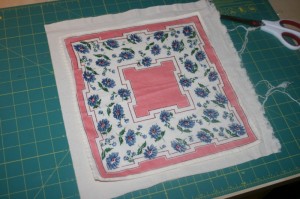
Next, in a very high tech. transferring process, I freehandedly copied the ‘sew in love’ pattern onto the hanky, adding my own little touch.
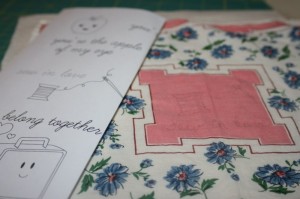
Then it was onto embroidering before a repeat ironing performance. I just put the hanky and fabric in a hoop together and stitched my design. When I took it out the stitching was through both layers holding it together.
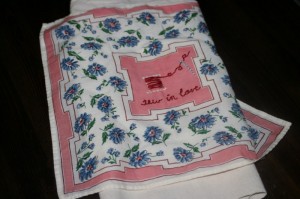
So off to my machine I went where I stiched around the edge of the hanky, I went on top of the hem stitching with the same colour so it wouldn’t show.
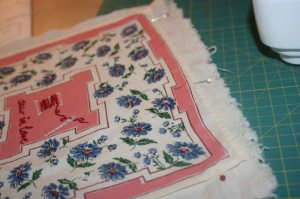
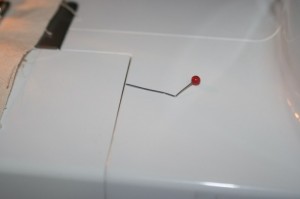
While doing that I hit a pin!! Never in all my time sewing have I actually hit the pin. CLUNK! went the machine, and I totally expected the pin to have snapped and tried to pull it out, but nope! It was just bent like crazy! Everything seemed fine so I just took it out and kept going.
Then I chose some fabric for the back, our duvet cover is brown so I was going for something that would make this a nice little pillow to toss on our bed. I squared up the edges around the hanky and then I laid down the front, right sides facing, to see how big it was and cut a piece for the back.
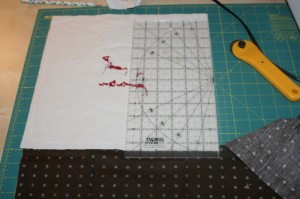
Then I pinned it together, with the pins waaaaay inside to make sure I didn’t hit one again, and sewed around with a 1/4 inch seam.
In retrospect the hole I left for turning and stuffing seemed a tad too small but I got it. When I went back to my bag of stuffing to grab some more I found this peaking out.
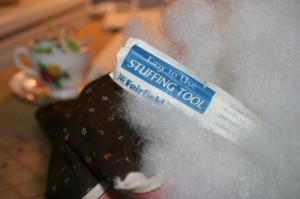
I was so excited, a stuffing tool?! Wow. Was stuffing going to be easier?! Why hadn’t I found one in my last bag of stuffing?! Then I opened it and realised it’s really just a chopstick and I could have gotten one of those from the kitchen. My hands worked just fine.
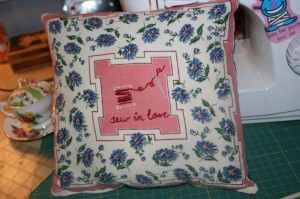
Stitched the stuffing hole closed and ta da! A cute little pillow to enjoy!

Cheap fun! and reuse before you recycle!

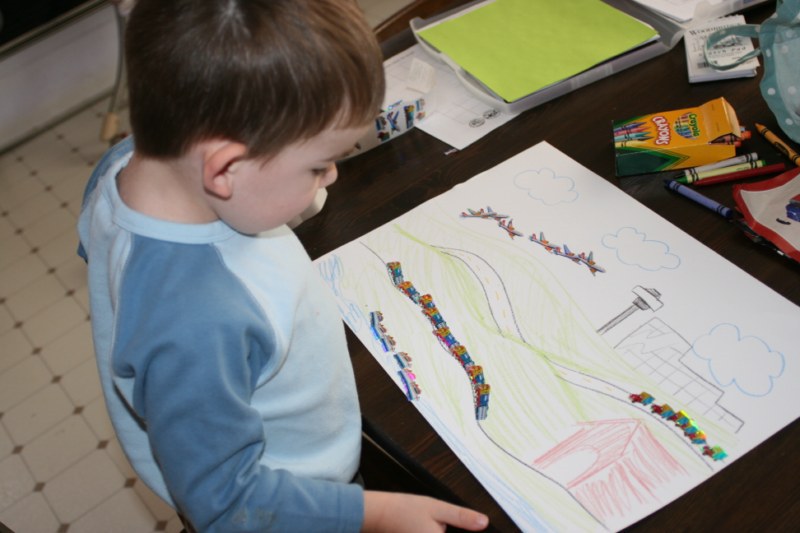
The other day I thought I was pretty smart when I got out a roll of transportation stickers I had kicking around and made Wesley a little paper with a road, train tracks, an airport, water and a train station (that looks a lot like a dog house I know).  He had a blast sticking on all the stickers and making a cool picture.  He asked to do it again a few days later.

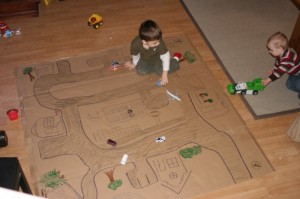
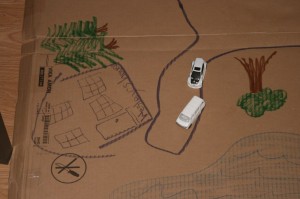
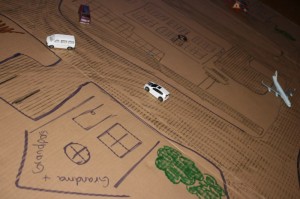
Today after setting up my lovely table from IKEA I brought the box upstairs to flatten out and draw some roads on.  We made roads to Grandma and Grandpa’s, our house, Nana’s, some of our friends houses, the preschool, the indoor play place we hang out at and “Daddy’s friends’ house”.  I tried to get some specifics about who those friends were but that was the only answer I kept getting.   So while Daddy indeed have friends, apparently Wesley isn’t too concerned with their names.

That's 'Mommy's van' and 'Daddy's car' in the dirveway.

Of course after I had drawn all those places and added some trees, bushes and flowers Wesley requested an airport.  Into city planning mode!  I found some space behind the preschool for it.  Hope Grandma and Grandpa don’t mind.  When they got their 17 acres out in the country they probably didn’t think an airport was going in across the street.

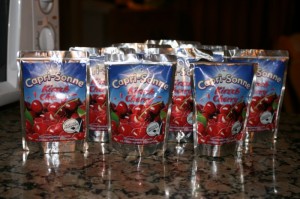
Juice pouch jackpot! Or however you say that in German.

Here’s my stash of juice pouches from the trip! Not sure why they’re in German since we were in Spain . . .

I can’t wait to make myself a little bag that, hopefully, no one around here will have!

Pocketed pillow, mark it with a C!

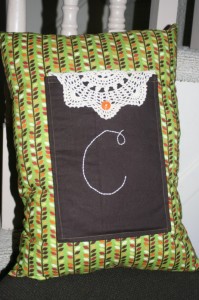
More Style School inspiration, well actually the bonus project this time. Decided to make it a gift for my soon to be married friend. Luckily both their last names start with a C so the pillow works now and after the happy day!

pocketed pillow

I used Leaves Vine Stripe, from the Apple fabric by Alice Kennedy.  It’s available from Timeless Treasures.   Or, be like me and get yours on Etsy.  The back panel and the pocket are just dark chocolately brown cotton fabric.  I got the doily from the thrift store and I had the cute little button kicking around.

Place setting stockings.

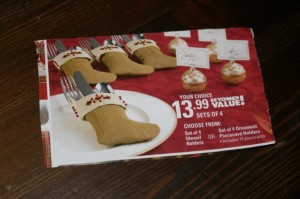
The other day while looking through the flyers I found this neat idea, for $13.99.   Of course I instantly figured I could make something similar quite easily.  And so I did!
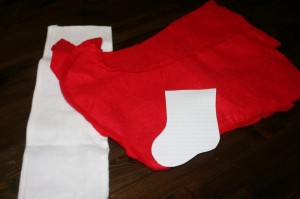
ad

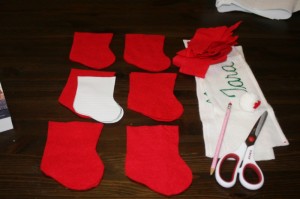
I started with our old stocking.  I believe I got them at the dollar store years ago, and they say our names and I figure we should be Mom and Dad now so it was time for new stockings anyway.  So I disassembled them to re-use the fabric.

old stockings

With the help of my friend google, I searched for an image of a stocking and sized it to a size I liked and began cutting!
you get the idea

whee!

I recovered enough fabric to make 6 stockings.  We’re travelling at Christmas this year and won’t need our stockings and so I have a whole year to make us something snazzy and neat.

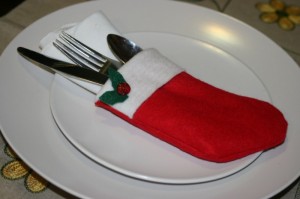
table setting

I don’t have any wonderful dishes but you get the idea.

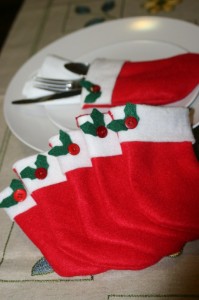
table setting friends

Here are the other stocking friends.  They could also be used as place holders if you stitched names on the stockings.  Perhaps I’ll get to that for next year.

Spontaneous craft.

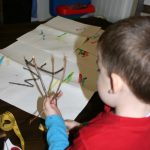
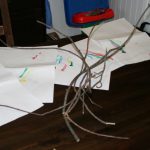
I really enjoy reading the Frugal Family Fun Blog, I’ve come up with similar ideas for either my classroom or my kids.  One day we were out somewhere and our son was getting restless.  I grabbed a stick and started to form it into letters for him to guess.  We made a W for Wesley and some other letters I knew he would recognize.    Today, after playing in the yard for a while he came running to the door to tell me he found letters.  He had a pile of sticks and was excitedly telling me all the letter he had found.