Tag Archives: repurposing

Recycled candle making DIY

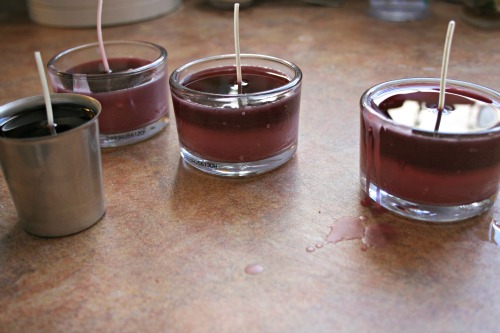
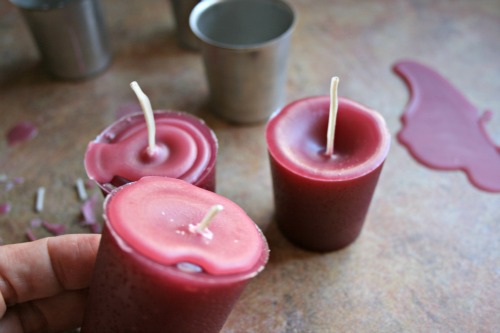
I made candles! Candles from all my old odds and ends of other candles.

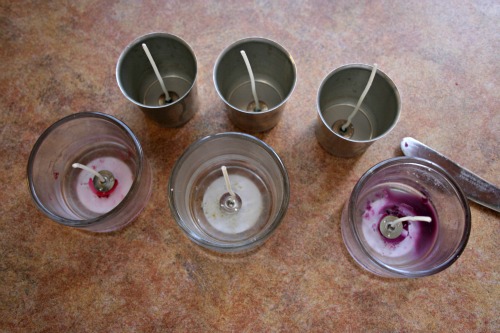
I collect the bits and pieces for a while. You can pick up wicks and the little holdy things for them at craft stores. I had some around because I made candles for people for Christmas gifts years and years ago.

The easiest ones to use are the waxed ones that stand up on their own but you can buy string like wicks and you just have to tie them to some something to keep them straight up.

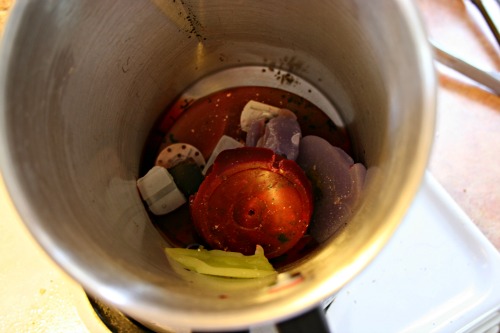
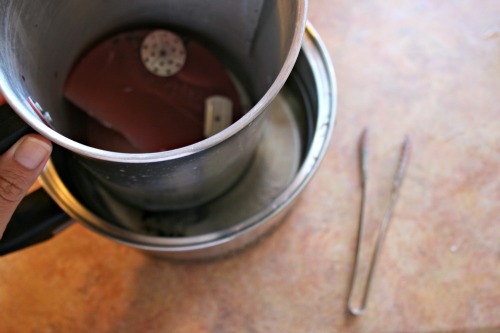
I have a special metal jug/pot thing from Michael’s for melting the wax but you could just dedicate a pot to it. I did do it inside a pot of boiling water, I think the wax *could* catch fire if you were neglectful but you need to be right at the stove for this. Melt all the bits and pieces and then fish out any garbage.

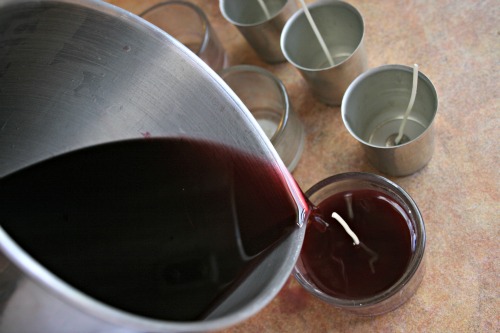
Then you just pour the new melted wax into the containers and molds. I added some colouring things I had and some stuff that makes the wax smell good too, again I got those at the craft store.

As the wax cools it sort of dips down a little bit so you can leave it like that or I went back and just topped up each candle.

Once they’re cooled you can just pull them out if you made votives or leave them where they are if you re-used previous candle containers.

Jam filled weekend.

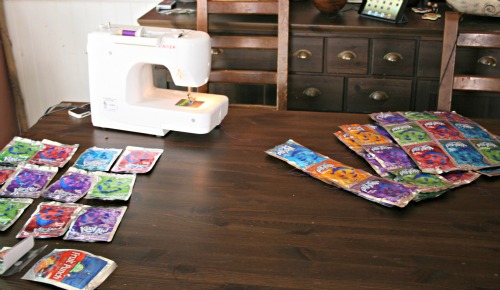
Spent most of my weekend doing this. I also depleted my stash of Kool Aid Jammer pouches! Which means I either have to buy them for my kids to drink, which is sugar they don’t need, or I need to get begging!
Brilliant packaging.
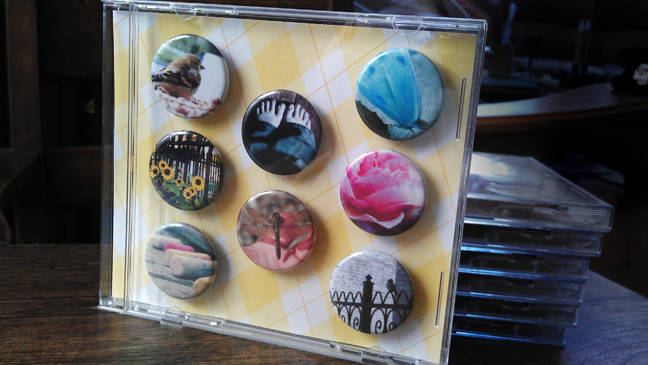
While I own a 1 inch button maker, my friend Joanna and I rented a slightly larger one for a weekend a while back and went crazy making larger magnets. I packaged mine into little zip locks, in sets of 2 or 4. Joanna had a great idea to create larger sets of her photography magnets and she packaged them in old CD cases.

They look great and it’s a great use of cases when you store your CDs in another way.

WIP

I should be making loads of new stock. Instead I’ve been sidetracked by making a new table cloth for my craft shows.

I ran out of doilies. But the beauty of this project is that it looks pretty awesome the way it is. I was planning on going all the way up so that the entire hanging down part of the sheet was covered in doilies. I’ve got to run off thrifting.

I usually use bright crazy coloured vintage sheets but I think my bright products will show up better on a more neutral background. I’ll take some photos at Saturday’s show and let you know. If you live in Peterborough come by the public library on Saturday afternoon, I’ll be hanging out there!

Guest post!

Hello everyone, well hopefully I’m enjoying some great weather in Belize, maybe I’m even on a beach! Which is why I asked Janee of Yellow Bird Yellow Beard to guest post for me. Here’s her cute DIY.

Hi Fun People!

I’ve seen these adorable little figurines floating around the internet recently, I’m sure quite a few of you have seen them also. Now I’m normally not a huge fan of glitter, but these are simply irresistible. Enjoy!!!

DISCLAIMER::: I’m going to say this just in case you’ve been living in a cave up until now and have never worked with glitter before. Your going to want to do this on an easily cleanable or throw-away-able surface. Or better yet, outside. Or even better still, outside on a throw-away-able surface.


xoxo
Janee

Craft swap fun to keep my ipad cozy.

So I signed up for 2 craft swaps this year and in the first one I was lucky enough to get Shealynn for my partner. After a few emails I wasn’t really sure what to send her, she makes/made these great camera strap covers and I didn’t know if I could impress her with anything.

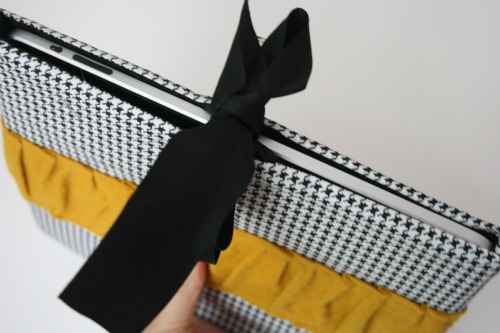
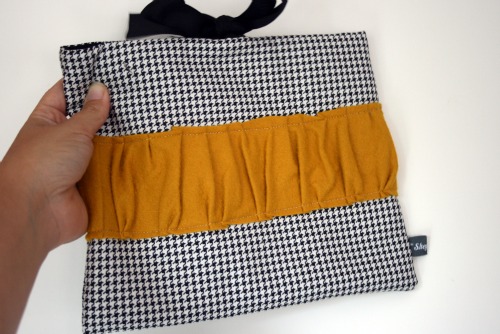
So I just plunged in and sent her a sewing machine cover and some other goodies. I figured if I went first I wouldn’t feel pressure to be awesome like her creations. Sure enough, this amazing ipad cover arrived for me a little bit ago.

Now I had made myself an ipad cover before, but it was showing signs of wear and it was like a sleeve and there have been a few times my ipad was on the verge of just sliding right out when I wasn’t paying attention. So a snazzy new cover was just the kick in the butt I needed to finally cut my old one up and reuse the material.

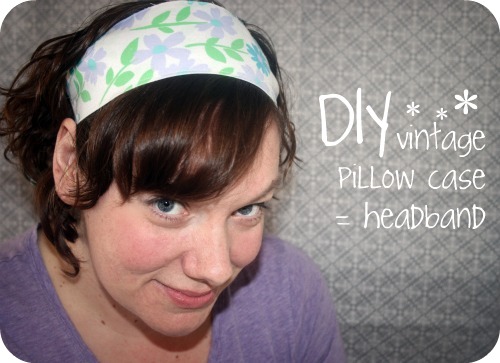
DIY vintage pillow case restyle.

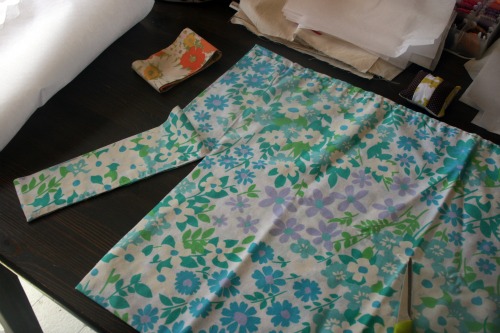
On the weekend I turned my kitchen table into a bit of a nightmare so I could squeeze in some crafting while Nate was avoiding his nap. I was working on a project with vintage pillow cases and inspiration hit and took me on a bit of a detour.

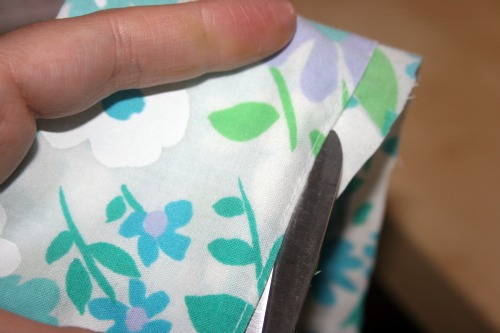
Start with a vintage pillow case and trim off the nice finished edge at the opening where you put your pillow in. You can either trim really close to the stitching and have a closed loop piece, or cut into it and have an open edge. I’m going to show you how to work with both options.

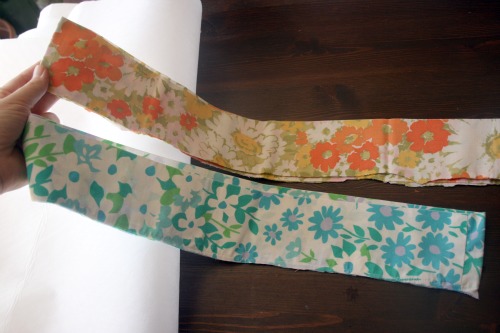
Now you have 2 big loops, cut off the seam so you have one long piece of fabric.

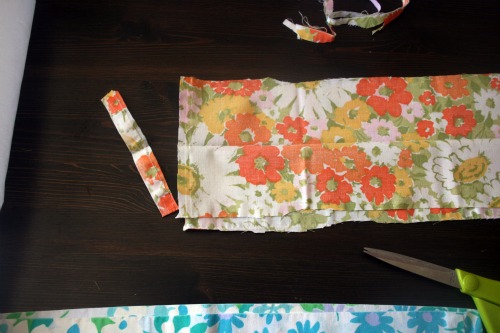
I was cutting the orangey one for another project and in the process I trimmed a bit into the seam and created an opening on one edge. So here’s how to finish that off and make a nice clean edge, and a thinish headband.

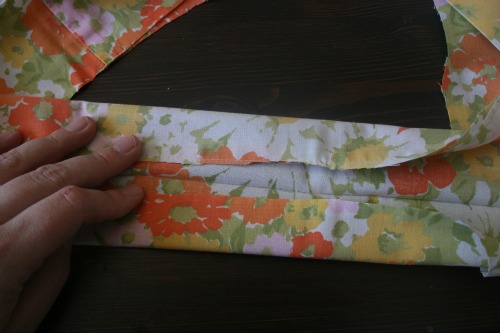
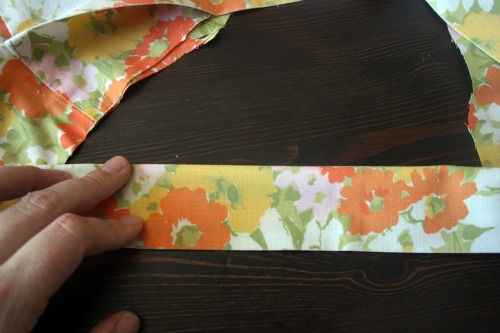
Open the fabric up and use the fold inside, the part that was the very end of the pillow, as a guide to fold the unfinished edges inward. I didn’t go all the way because I wanted my band a bit thicker.

Then fold it again so the raw edges disappear inside. You can iron and pin at this point before you sew. Of forge ahead like I did.

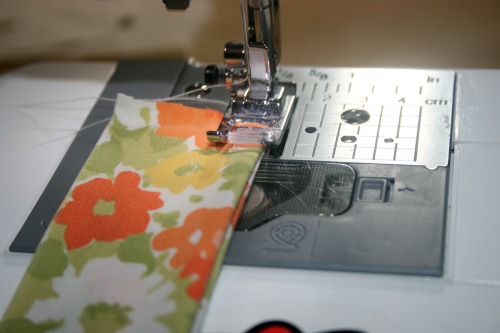
Top stitch along the sides to make nice clean edges. Fold the bottom raw edges up inside the ‘tube’ to create a clean edge and topstitch to seal it all in. Then you have one nice ruler shaped piece of fabric that you can wrap around your head and tie at the back.

For my blue headband I just carefully trimmed around the pre-existing stitching. Why make more work?

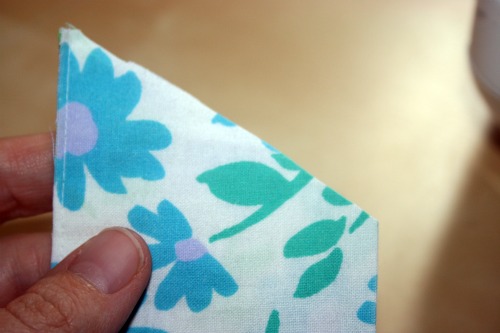
Then I cut the ends on an angle just to had some interest to the ends. Fold the raw edges inside and top stitch around the whole thing.

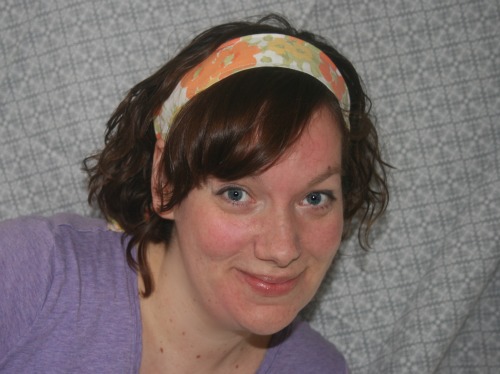
There you have it, a lovely new headband that was half made already!

Preparing for the new year.

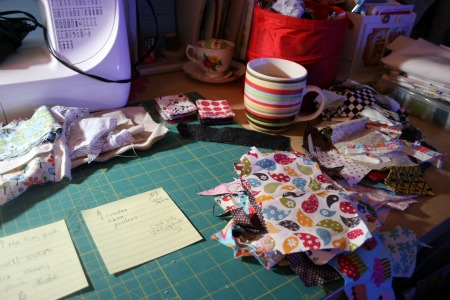
I’m slowing making my way through cleaning up in the basement. We’ve been purging things for a while, my son has been very excited to “share” his toys with other kids who can use them. I’ve taken things into my school for classrooms, to the consignment store and off to donate. I’m doing everything to avoid making garbage. The other day I spent a load of time sorting my scrapbin. Since I’ve changed my cup cozy design a bit there were some pieces previously too small that will now work. Usually I make pin cushions but I’m getting a little tired of that. I’m going to make some of these pouches, with Wesley’s help, for some of the important women in his life. I also want to make a cover for my bodem so I’ll quilt the little pieces into a larger piece of fabric to make that. Plus I really want to try Keyka Lou’s technique.

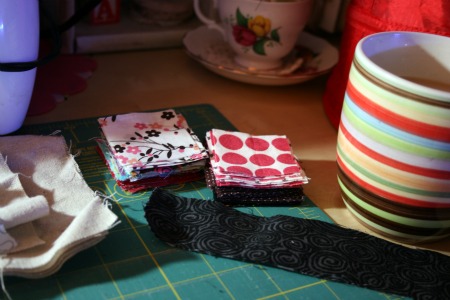
So I cut what I could into 2 X 2 inch squares. Not entirelly sure what I’ll make with them yet but I’ll figure something out, or ideas are welcome!

Friday Find – JewelzyBug Designs GIVEAWAY!!

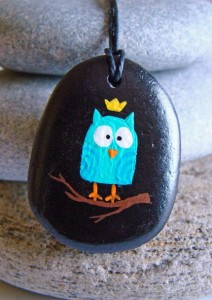
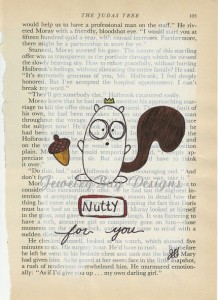
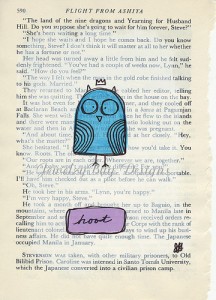
As if playing around on etsy isn’t dangerous enough already, the other day while poking around I clicked ‘shop local’ and stumbled onto some pretty neat stuff. My favourite was JewlezyBug so I’m sharing her first! Julie has created some really cute characters and uses some interesting materials. She paints on rocks to make neat pendants and uses pages from old books and phone books as the canvases for her whimsical paintings!

I sent her a message on etsy and she seems really fun and agreed to do a GIVEAWAY!!!!! Soooo free stuff to someone who’s in need of cuteness! Julie is willing to giveaway one of her prints, see them all here in her flickr pool, just leave a comment here telling us which one is your fav (they’re numbered 1-90). I like this little guy.

I asked her a little bit about herself and she sent this little blurb, thanks for sharing!

“I have always doodled and painted for as long as I can remember. I am drawn to bright colours and happy motifs that catch the eye and make you smile. I like my art to make you feel good and brighten your day. I use old books and phone books as my back drops because they visually stimulate the eye and provide texture to the art. I feel my art is a reflection of my inner child just wanting to play. I take inspiration from colour, from my day, nature, from the people in the my life and from my furbabies (4 cats and 1 dog: Jewels (hence the name!)”

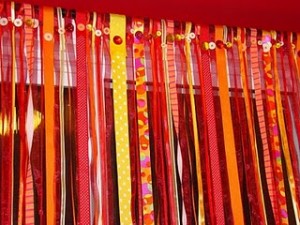
She also has a blog where she shares her new creations, fun crafts and her cute animals. I love these ribbon curtains she made.

I’ll do some magical random winner picking Sunday night and announce Monday morning! Ohhh the suspense, I’d better set my iphone alarm . . .

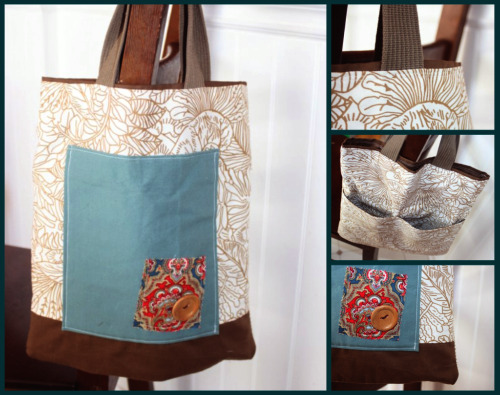
Tote #1 finished . . . .5 months later!

Remember this? That I was soooo excited about? Yeah, it’s been sitting neglected in my craft area all this time. That’s a little embarassing. Last night, for a change from taggie blankies and juice pouch totes, I picked it up and finished the little sucker.

The handles are made from a belt I thrifted and the main white fabric with the brown plantlike print was on crazy sale for $3 for a big huge remnant. I love the little detail of the brown inner fabric peaking out at the top. I’m pretty happy with the results considering it was my first attempt.