Tag Archives: quilting

Tinkertote madness!

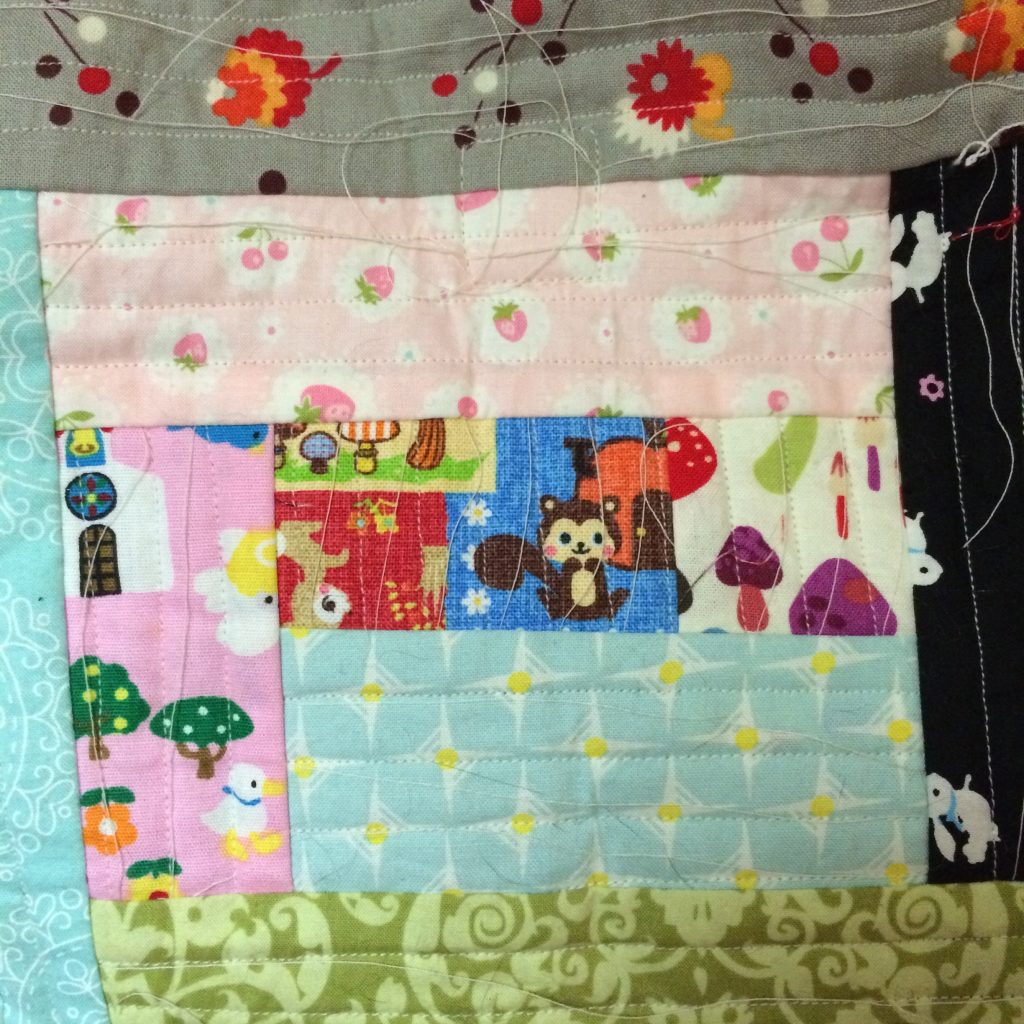
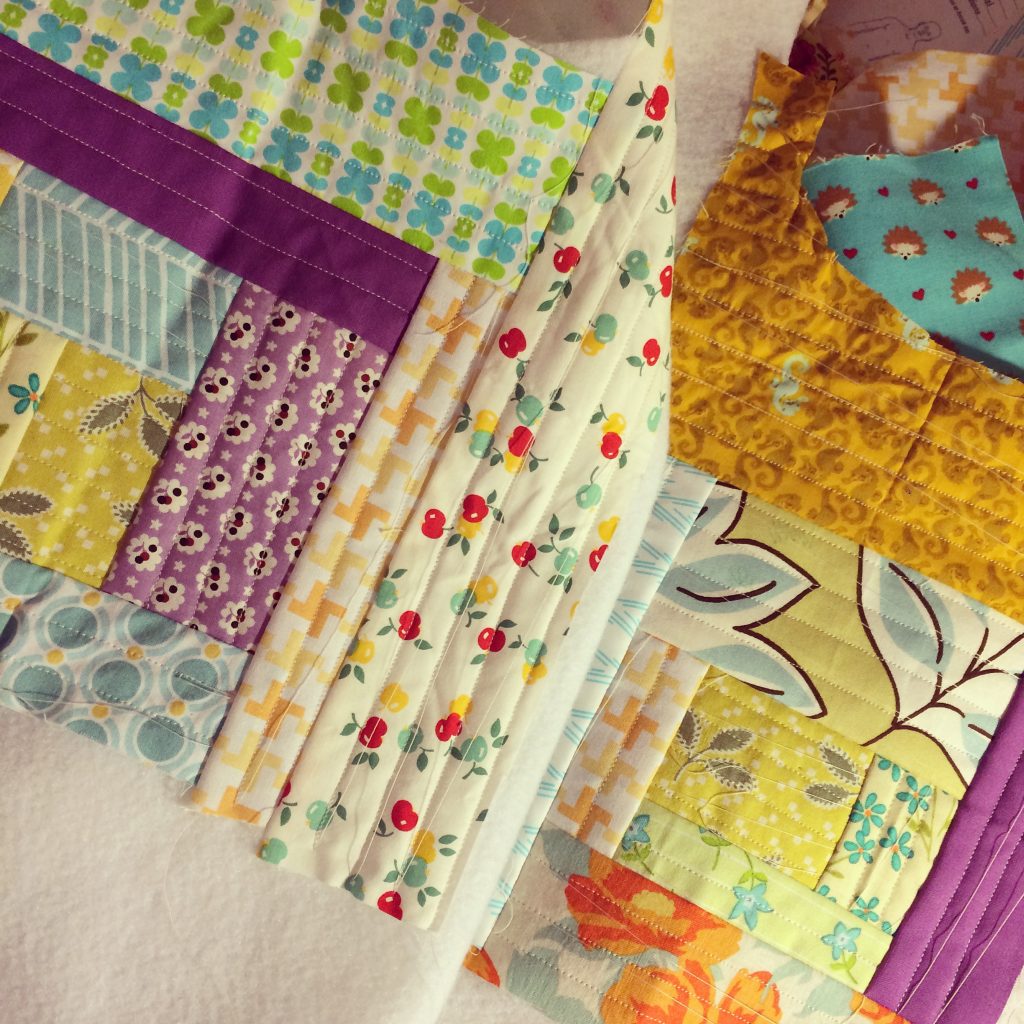
I swear I am in complete and utter love of this technique and making more of these beautiful creations of Tara Rebman’s Quilt-As-You-Go: Patchwork Bags

IMG_1868

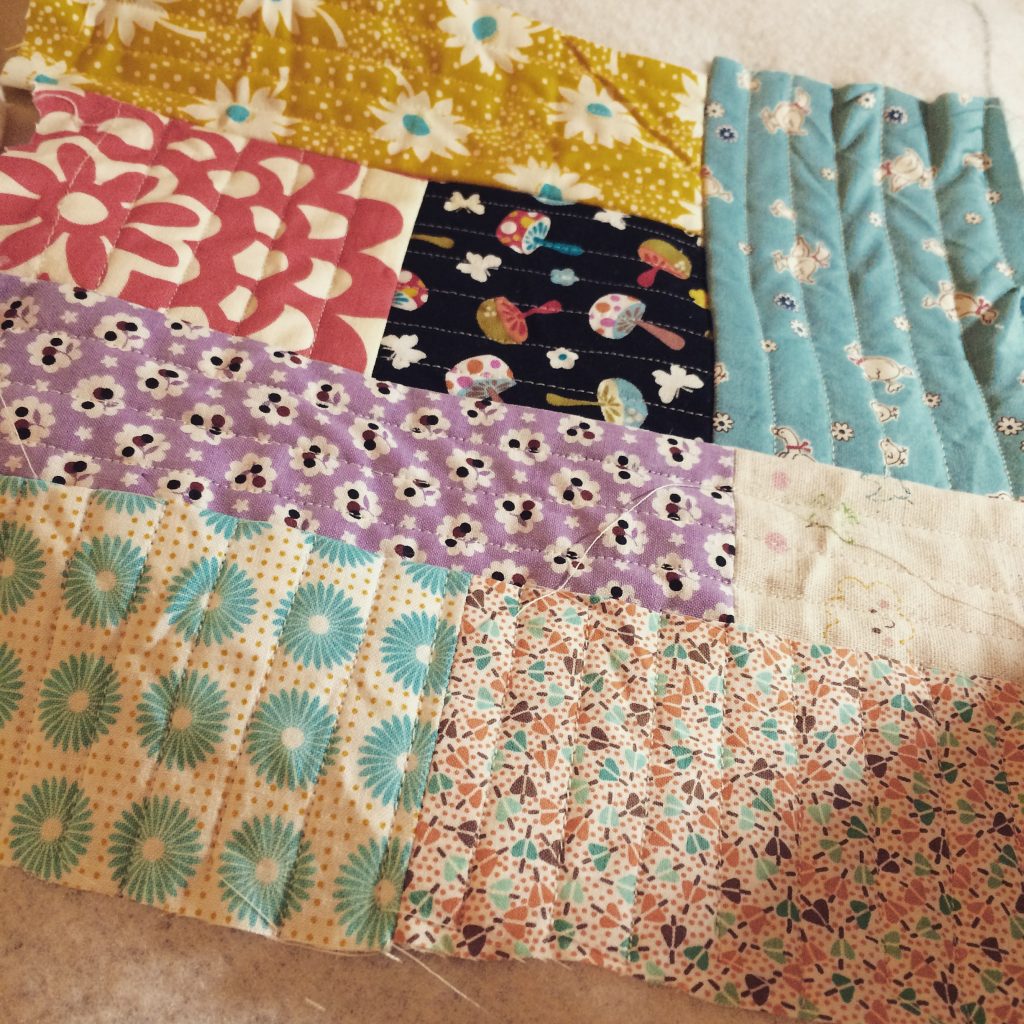
I love using up my scraps, making them work together or just throwing whatever with whatever and seeing how it goes.

IMG_1877

That’s how I’ve pieced the scrappy wallets I make and I love how they turn out with so many bright colours and patterns.

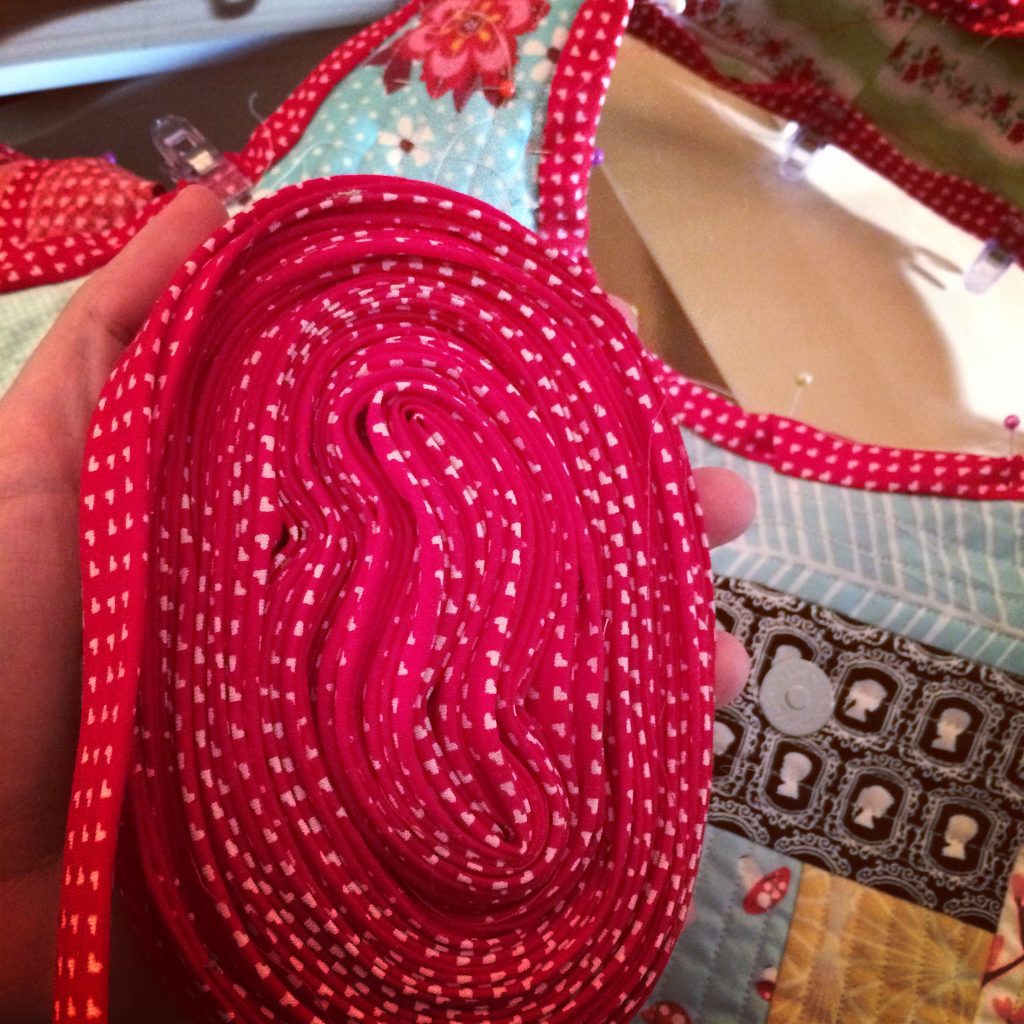
IMG_1718

They look absolutely fantastic if you go the extra mile and make your own bias tape. It is time consuming and a bit finicky but the results are great.

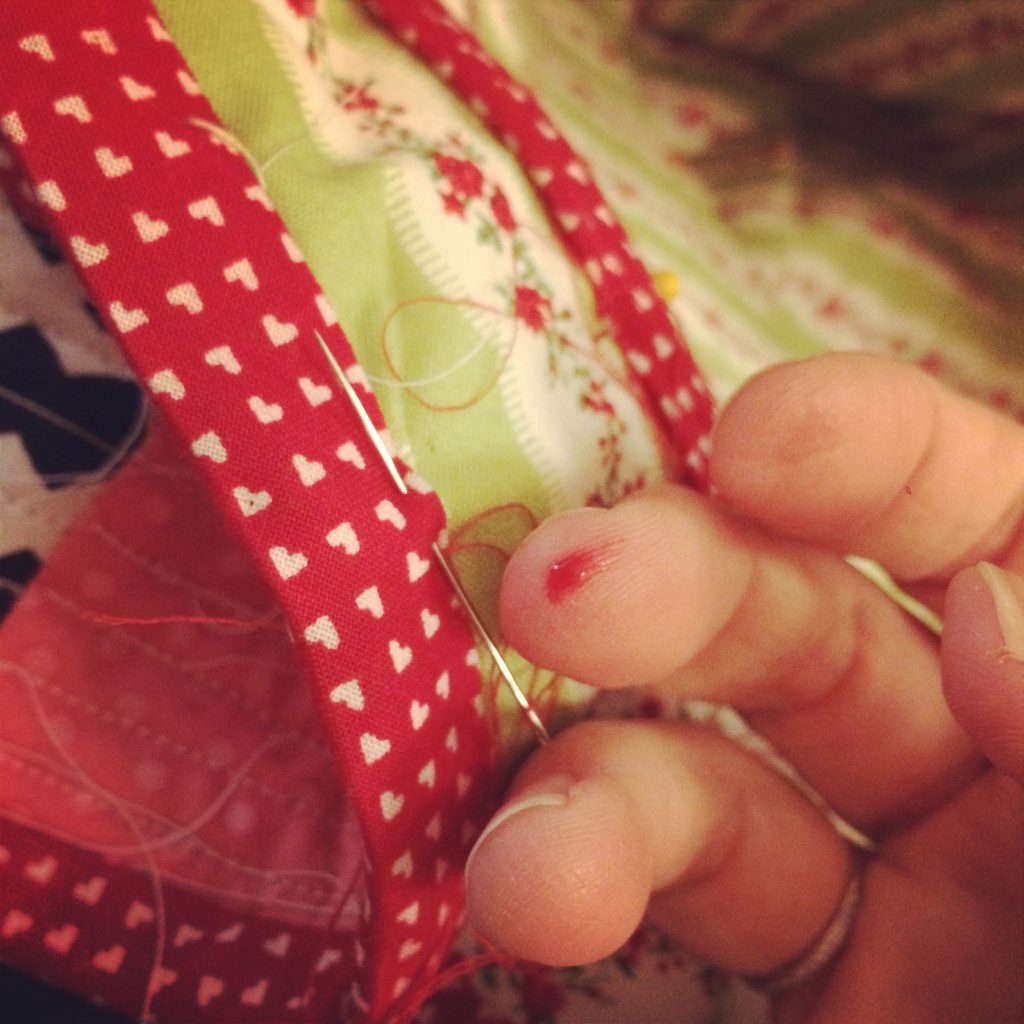
IMG_1728

Hand stitching the second side of the tape on is the best way to go. Keeps it really nice and tidy. But beware! Thimble recommended.

IMG_2093

Finally quilted my lap quilt!

My mom bought me a really nice fluffy soft blanket for my birthday a few years ago. It lives in a basket next to the couch. It’s cozy. However, when it’s not in the basket it’s wrapped around one of my children! I can’t get a turn with my own blankie!! So I decided to make my own.

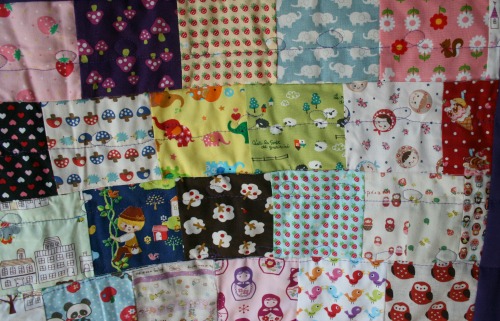
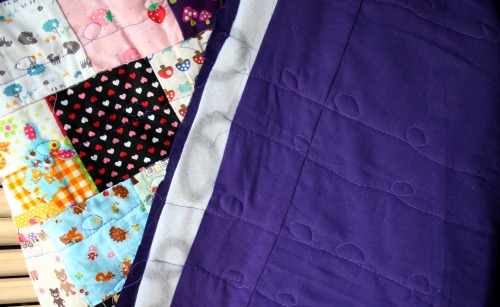
I went with squares of Japanese fabrics and just tried to use a bunch of a favourites. It’s pretty busy.

For the top stitching I used free motion quilting. I’m *very* new at that so it’s quite wonky in places but that’s ok, it’s my blankie and I made it with love.

I just have to do some trimming and squaring up and then bind it. Off to cut the fabric for that now!

Your very own Goldilocks sleepmask.

Well I was doing some poking around and realized that while I shared this post on Wild Olive ages ago I never actually posted it here. So I thought I’d share.
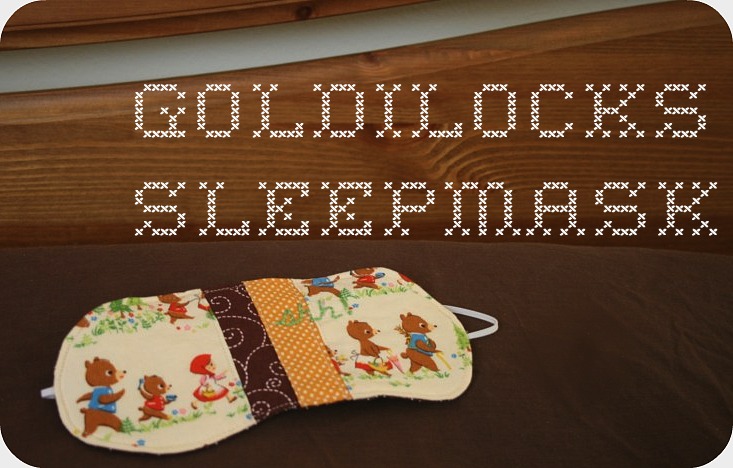
Sometimes we all need a little nap and this sleep mask will help you have a restful slumber.  All while looking pretty stinking cute!

My husband and I take turns having a ‘sleep in day’ on the weekends.  I have to tell you I count down to that day every week.  I started to use a sleep mask to maximize my sleeping in experience.  It was just a silly freebie one from one of our airplane trips and I’ve already had to repair it a few times so I decided to just make a much lovelier one.
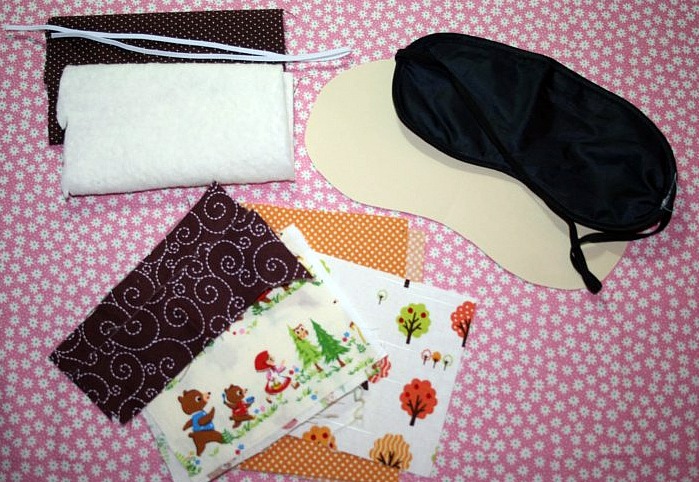
Here’s what you’ll need for this DIY project:

SleepMask

– batting or fleece

– fabric for the backing (something you won’t mind against your skin while sleeping)

– fabric scraps at least 4 inches in height

– 16 inch piece of elastic

– usual sewing items, thread, machine, scissors

– embroidery floss and needle (optional)
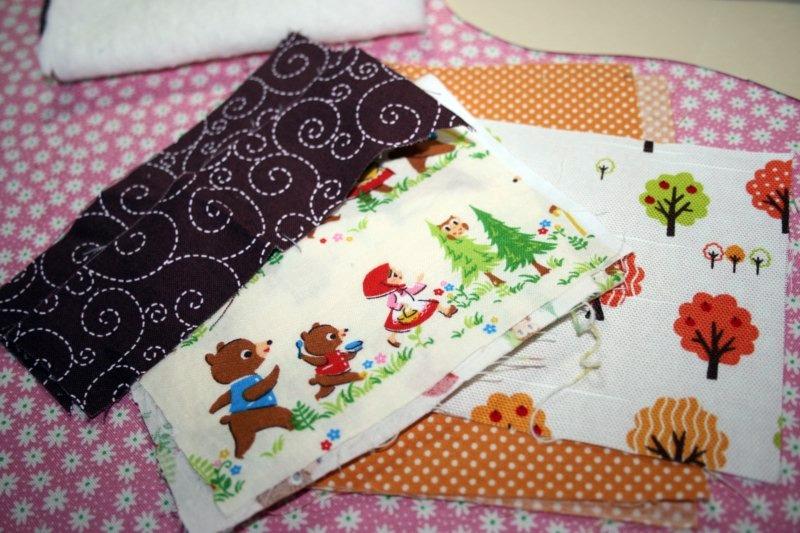
I manged to find some Goldilocks and Three Bears fabric in my stash so I was a bit fussy with the placement of the pattern.
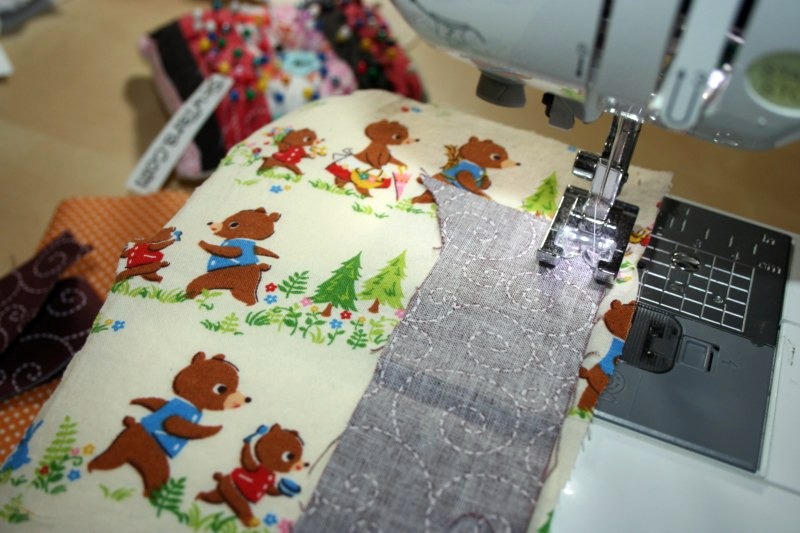
We’re going to use quilting techniques to piece the scraps together.  Think about how you’ll want your pieces positioned if you have a particular pattern you want to highlight and place the next print at the edge of the first print with right sides together.  Sew down the edge, seam allowance isn’t really that important just make sure you have a straight stitch.  My Goldilocks print was uneven so I lined up the brown swirly print to create a straight edge.
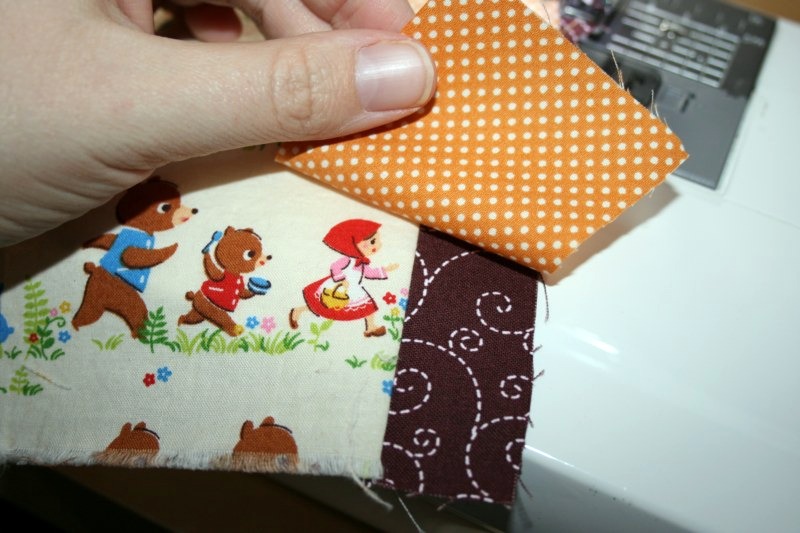
Add the next fabric print just like you did before.  Right sides together and sew down in a straight line.  Continue attaching pieces of fabric until you have a piece that measures at least 8 x 5.  My last piece is lower because I was lining up the print in a certain way.  Plus this way I’ll still have some usable scraps left over!
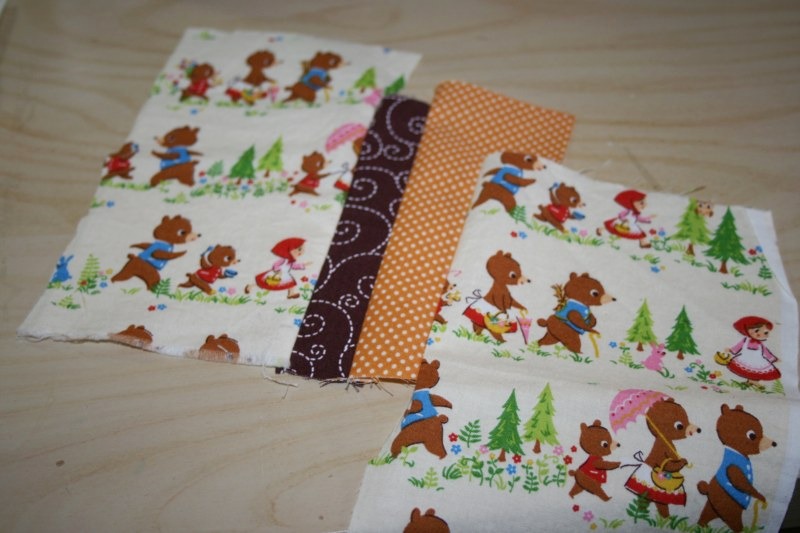
Now take your printed template and trace the mask outline onto your little quilted bits.
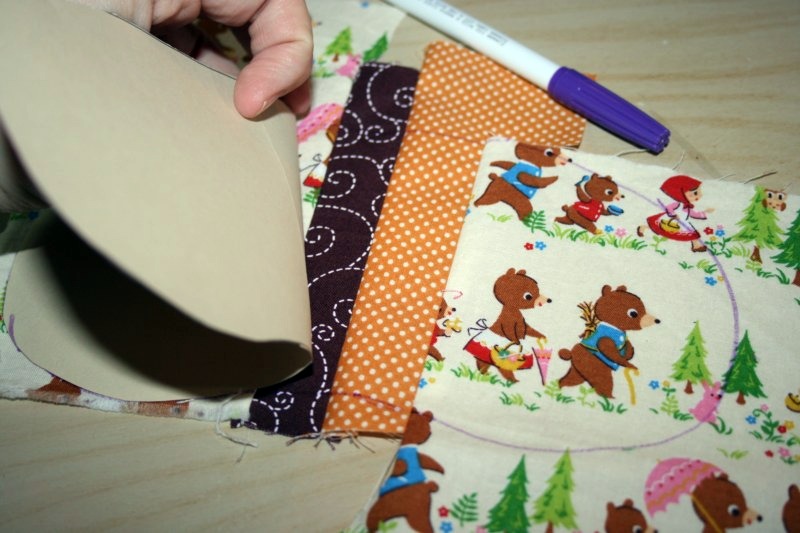
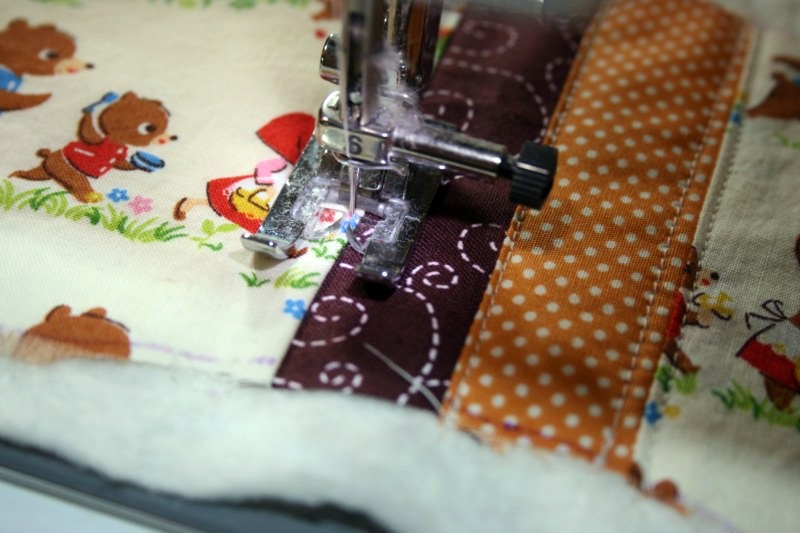
Cut along the outline.  Lay your cutout right side up on top of your batting.  It’s not important to trim it down just yet, we’ll do that in a few steps.  Add some stitches just to the right and left of your seams.  This is a fun little decorative detail and will help hold the inner batting in place.  I stuck with my cream coloured thread but you could use matching thread, or something crazy and contrasting.
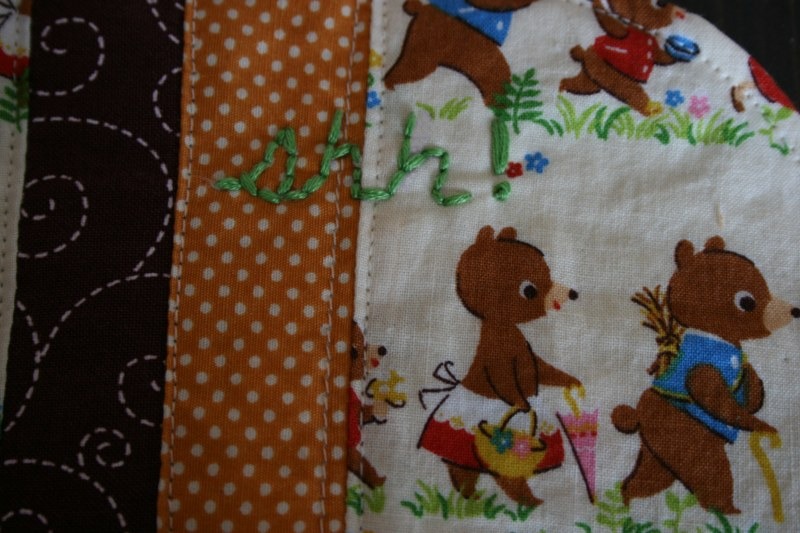
I decided to get even more creative and stitched ‘Shh!’ onto my mask.  If you’d like to add any embroidery stitches to your mask do it now.  Draw on the design with a water soluble or disappearing fabric marker.  Stitch through the 2 layers.
Now trace the template onto your backing fabric.  Cut it out.  Place your quilted fabric with the batting side on your work surface.  Next put the elastic piece down with about 1/2 inch sticking out over the edge of the mask cutouts.  Place the backing piece on top right side down.  The elastic will be sandwiched between the 2 pieces of fabric.  Pin the elastic ends in place.  Make sure the pin is going through all the layers.
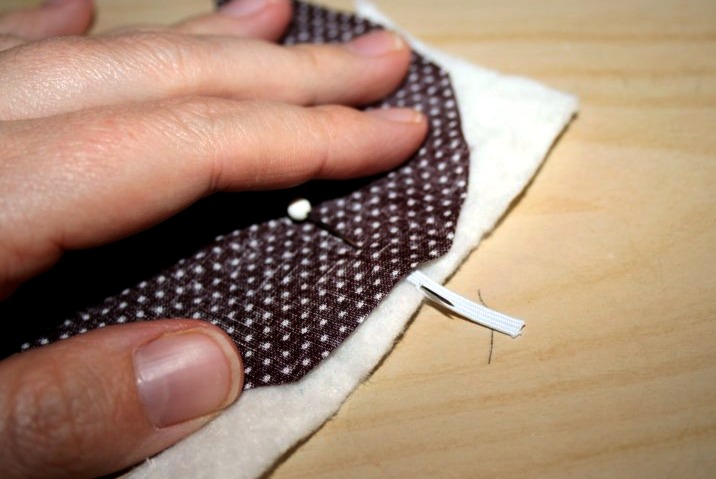
With the wrong side of the backing facing you sew around the entire mask outline with a 1/4 inch seam allowance.  Backstitch over the elastic bits for some extra stability.  Leave an opening about 1 inch in length for turning.  Trim the excess batting away.  I usually make sure to leave a little bit at the opening just to make sure it will close when topstitching.  You should be left with something like this.  Make sure the elastic wasn’t caught up in any of the stitching.
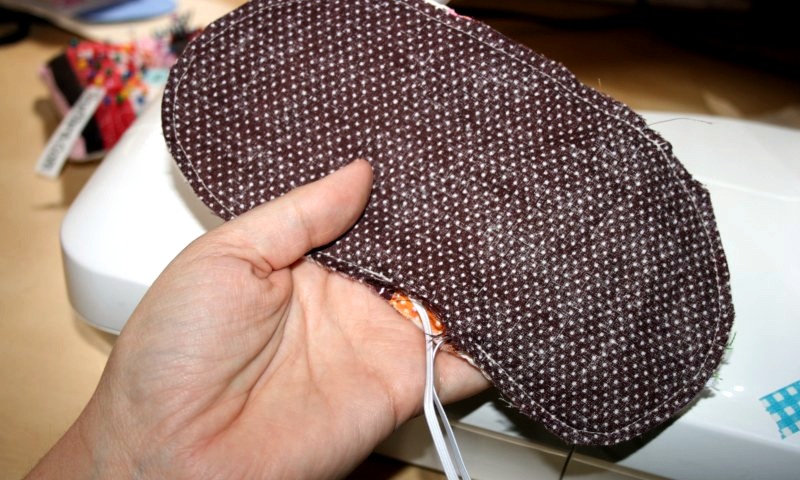
Turn the mask right side out.  Use something pokey to make sure it’s pushed out all along the edges, I use a chopstick.
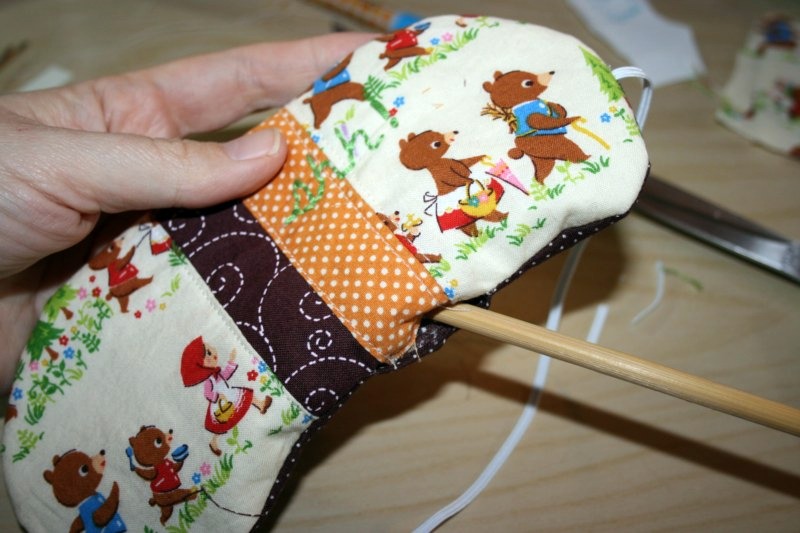
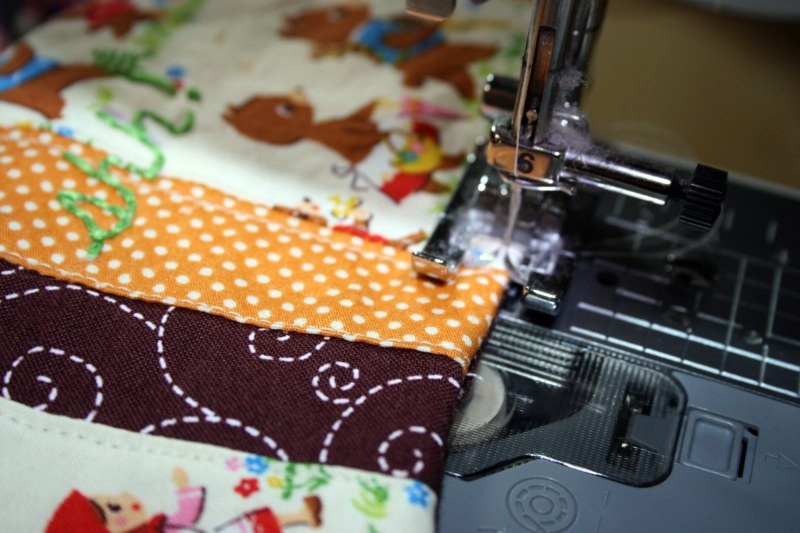
Once it’s all turned out you can give it a quick press to get the edges all nice and flat.  Then topstitch all around the entire mask fairyly close to the edge with an even border.  Again, make sure you aren’t catching the elastic while stitching.
And you’re done!  Enjoy the many extra hours of sleep protected from the sun’s evil “I’m here to wake you up!” rays.
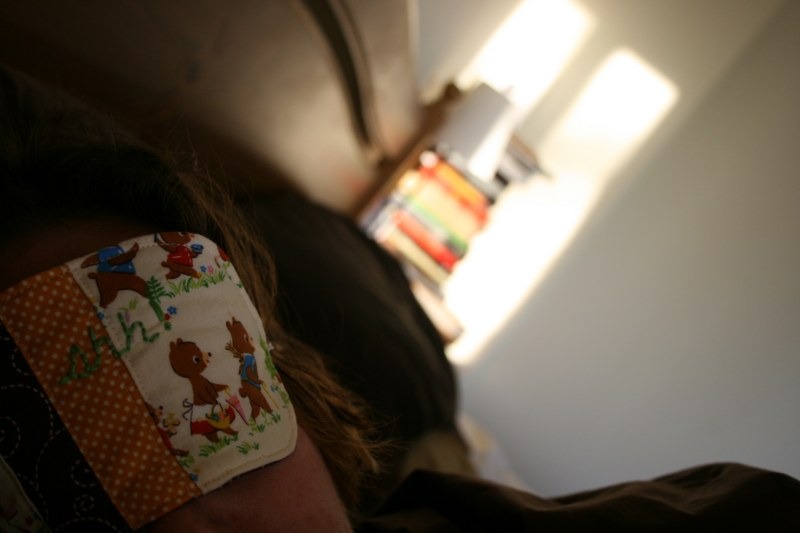
It’s really hard to take a picture of yourself pretend sleeping, but that’s authentic bedhead and sleepiness.  Sadly, the sleep mask won’t stop your children from jumping on you and waking you up.

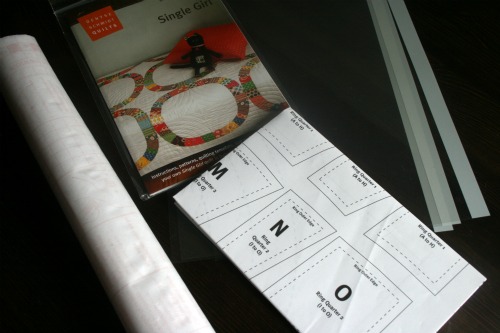
Single girl quilt support group

Oh I joined the group . . . a while ago. You have to commit to making a quilt at some point. So I’m committed to someday. This weekend, in slow, slow preparation for making the quilt some day, I made myself some templates to work with.
I used some overhead transparencies, Sharpies and some left over peel and stick window frosting stuff I had lying around.

This isn’t the best picture but I peeled off the window frosting and stuck it to the overheads. It give it a look like vellum but it’s way sturdier I think. I could have traced the pattern twice and maybe saved some of the frosted stuff in the process but I was being too lazy to cut things out twice. There are a lot of bits and pieces to this thing!

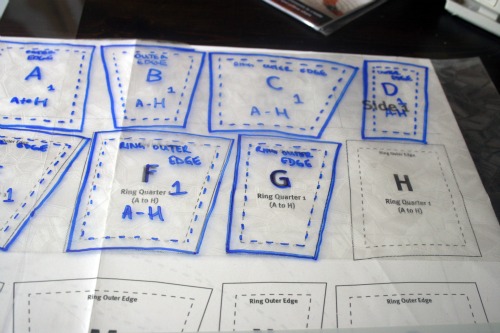
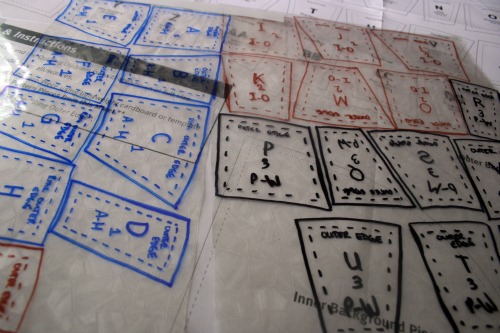
Then I just took my Sharpie and traced around the pieces making all the important markings. Skipped the ruler bit, again, lazy.

I even got fancy and used a different colour for each of the 4 sections of the circle. With the seam marked on the pieces and being able to see through the pieces it will be really easy to make sure I catch the part of the print I want to highlight.
Just call me Little Miss Fancy Pants why dontcha?

Like I need another craft book!

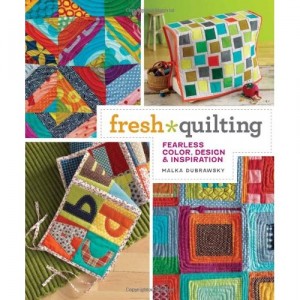
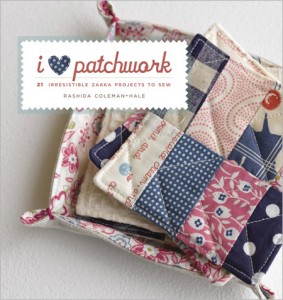
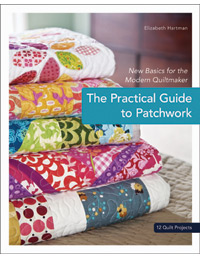
I have a bunch already, and I’ve promised myself to make projects from each over the course of this year.  So really I shouldn’t be getting more.  Buuuut some money in my online account thanks to gift cards and a coupon and things on my wishlist that are now published . . . well it all added up to placing an order.  In the end I only paid $20 for 3 books, not a bad deal at all.  Click images for the blogs of these creative ladies.

They should be here for March 9th at the latest, so says the confirmation email.  Just in time for March break when I have all those days off!

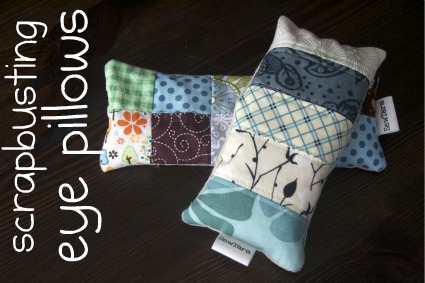
DIY Scrapbusting eye pillow project.

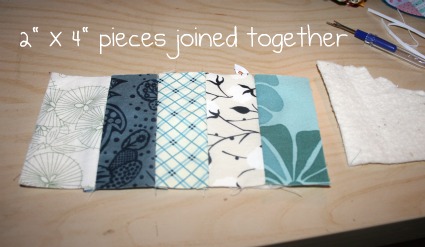
Now that everyone has their lovely scrap swap bits I figured it was time to start sharing some scrapbusting ideas.  I made these fun little eye pillows over the weekend.  For one I used my pre-swap scraps that are all cut into 2 x 2 pieces.  For the other I pieced together 5 2 x 4 pieces.  Either way the math is the same and the finished pillows are the same size, perfect for laying across your eyes and having a quiet moment to yourself.

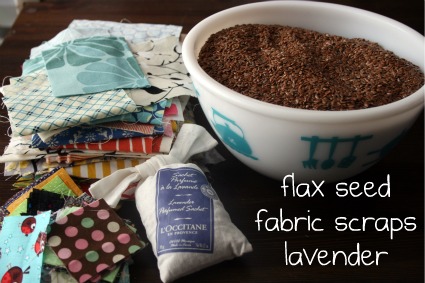
Here’s what you need.  I suppose you could use some other smelly scent but I like lavender and so I just broke open this drawer smelly thing I had and used the bits from inside.

I joined the pieces together and then cut a piece of batting for the back and did some accent quilting.  Then I cut a piece of my nice soft natural cotton for the back.  With right sided together I zipped around and left a little opening to pour in the filling.

I fashioned a little funnel out of paper and poured in flaxseed and lavender until the pillow was full but still floppy enough to curve nicely over my nose.  The last step is sewing up the opening, and voila you have a relaxation aid!

I created a Flickr group where you can post things you’ve made with odds and ends of fabric.  If you make something using one of my tutorials I’d love to see it there.

Preparing for the new year.

I’m slowing making my way through cleaning up in the basement. We’ve been purging things for a while, my son has been very excited to “share” his toys with other kids who can use them. I’ve taken things into my school for classrooms, to the consignment store and off to donate. I’m doing everything to avoid making garbage. The other day I spent a load of time sorting my scrapbin. Since I’ve changed my cup cozy design a bit there were some pieces previously too small that will now work. Usually I make pin cushions but I’m getting a little tired of that. I’m going to make some of these pouches, with Wesley’s help, for some of the important women in his life. I also want to make a cover for my bodem so I’ll quilt the little pieces into a larger piece of fabric to make that. Plus I really want to try Keyka Lou’s technique.

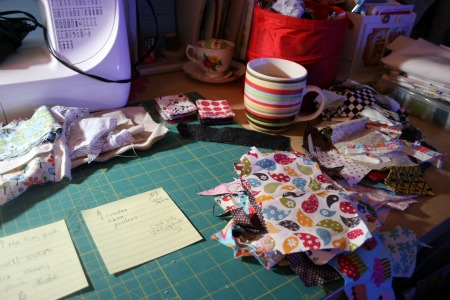
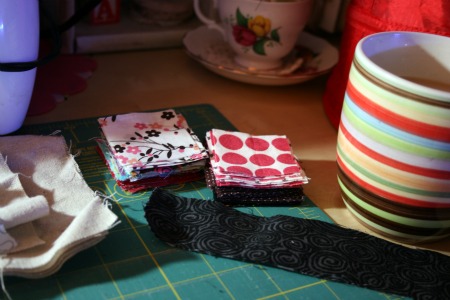
So I cut what I could into 2 X 2 inch squares. Not entirelly sure what I’ll make with them yet but I’ll figure something out, or ideas are welcome!

How come no one told me!?

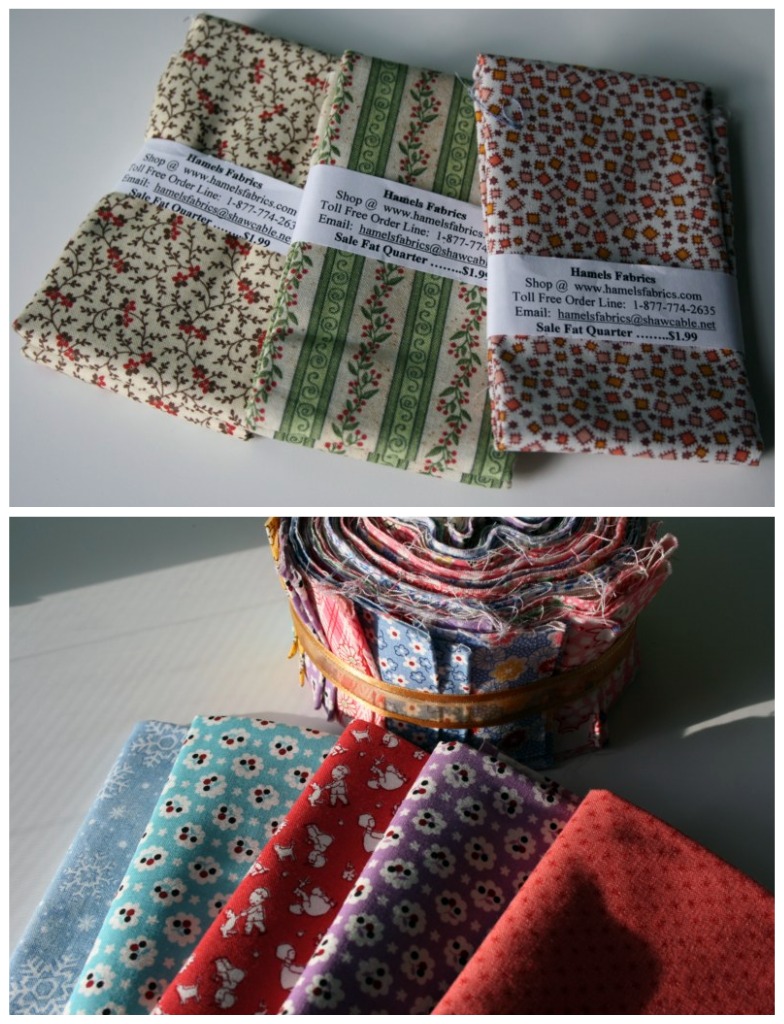
So there’s this whole obsession with 1930’s fabric for quilts.  While at the Creativ Festival I couldn’t resist picking up a . . . few fat quarters. I looooved these prints and the jelly roll thingie, which I have no idea how I’m supposed to use but I’ll figure it out.

Top trio is from Hamel’s Fabrics and the bottom stash is from Garden Thyme.

Then here’s the other things I picked up that are just fun really, not 1930’s ish.

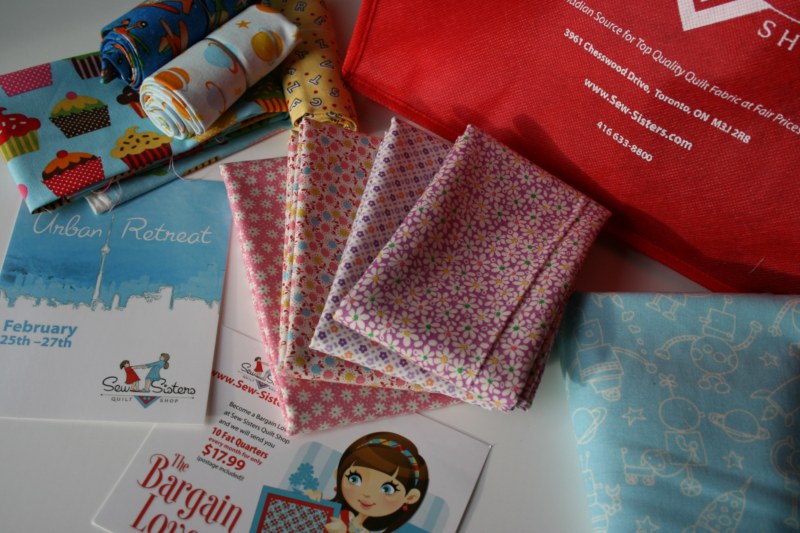
First haul if from Sew Sister’s Quilt Shop in Toronto. I also had no idea just how many cool quilting shops are relatively nearby.

This fun stash if from Country Concessions. I plan to use it for crayon and car cozies, and the fun Dick and Jane print will be my ipad cover (once I save up enough to get it).

Here’s the neat prints I grabbed at the Quilter’s Palette booth. Again for fun kid projects.

Last one, I said there were many, is from the Quilters’ Line. More fun kid themed things, and some woodgrain because that’s just cool.

What’s your crafty book stash look like?

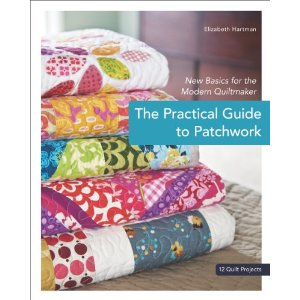
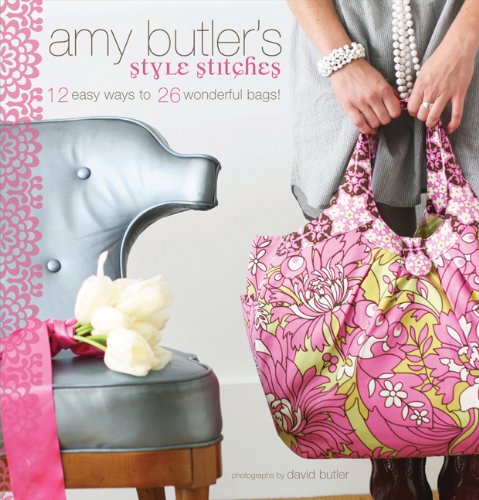
I’ve slowly been growing my craft and sewing book collection since starting my blog. Right now I’ve got many, some I haven’t even really looked in yet, let alone created something with. But that isn’t stopping me from dreaming about these 2 gems.

I really, really want Amy Butler’s new book to fuel my bag addiction and stick to my promise that I can only have a new bag if i made it myself!

Click the images for a link to read more, or spend your money if you’re in Canada.