Tag Archives: quiet book

Counting book frenzy.

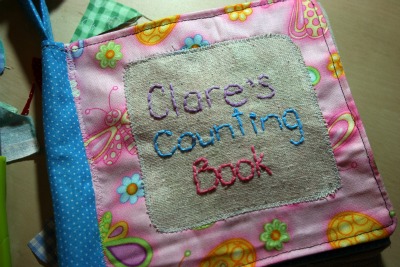
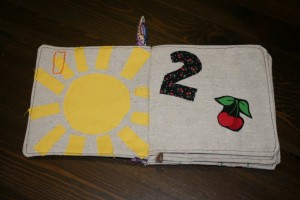
Since my Etsy shop rush was over I  turned to the pile of counting books I had lined up to get them finished in time for Christmas.  Here’s one I did for Clare.  I was trying it without the numbers, I liked the look of the pages without them.  In the end I did end up putting them on, these pics are pre-numbers.

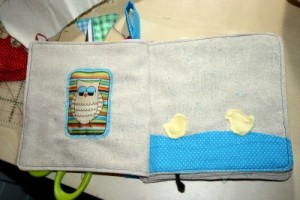
1 puffy owl and 2 rubber duckies.

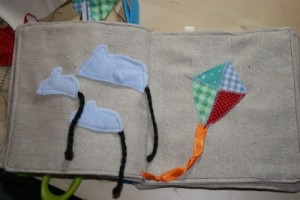
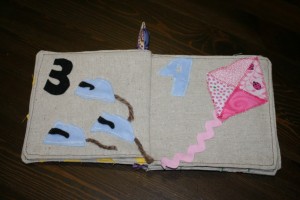
3 mice and 4 triangles on a kite.

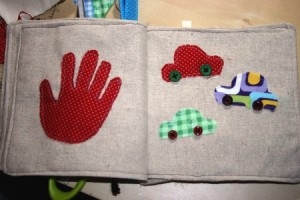
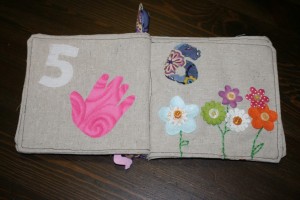
5 fingers and 6 wheels.

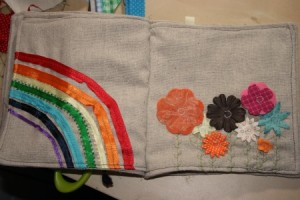
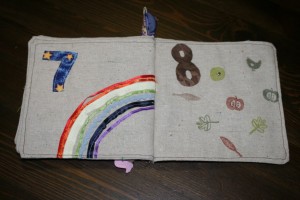
7 colours in a rainbow and 8 flowers.

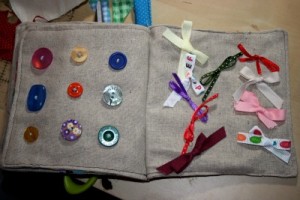
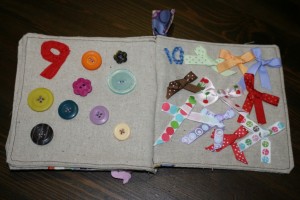
9 buttons and 10 bows.

I also made one for Griffin, which I was really proud of. It had a puppy like this for the first page and was super cute. In all my rushing I left to hand it over without taking pictures first. Silly me.

I did it again!

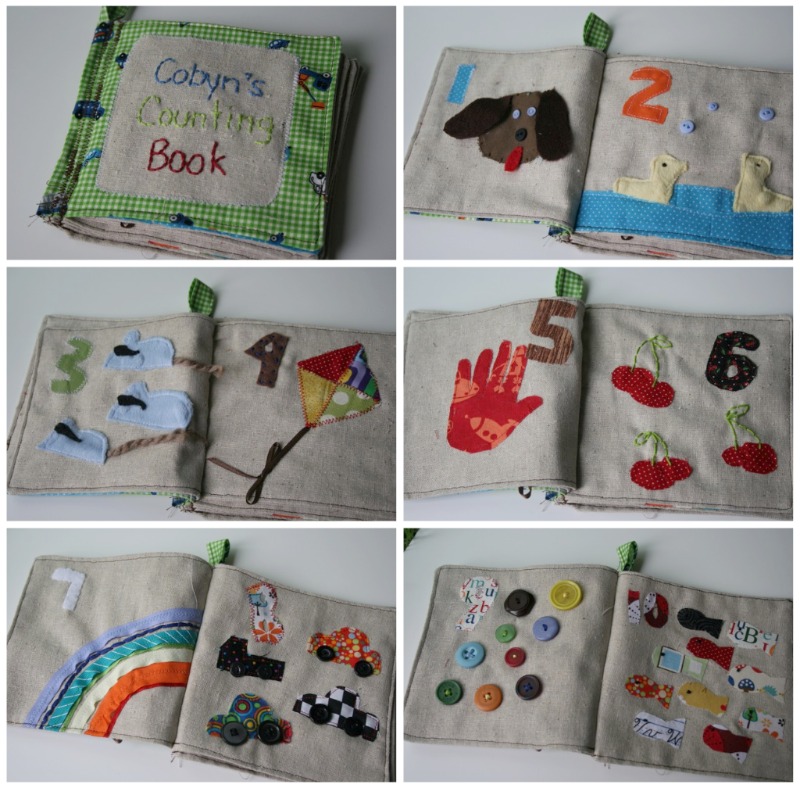
Actually I did a few things again – stayed up too late, procrastinated on ‘must dos’ by doing ‘wanna dos’, and finished another counting book! Only 3 more to go. Here’s a peek at Cobyn’s counting book.

I stuck with my favourites for # 3, 4, 5, 7, and 9.  I’ve done cherries before in Cassie’s book but I tried it a little different this time. I also borrowed from Mya’s book for #2 and 6.  Fishies and cars I did in Nate’s book.  The puppy was a new idea but is so fun with a floppy tongue and fuzzy ears that he’ll be making repeat appearances in some future books for sure.

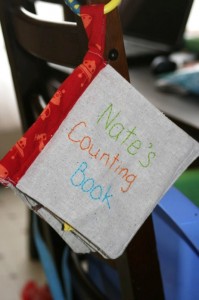
Nate’s cloth counting book – all done!

I spent some time this weekend finishing the book I started for Nate.  I just had little bits and pieces to finish and was sort of procrastinating on it.  But last night I set to work and got it all done!  Then I set it out for him to find in the morning.

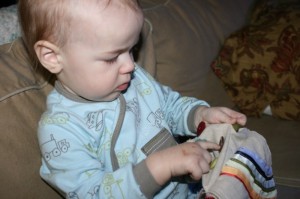
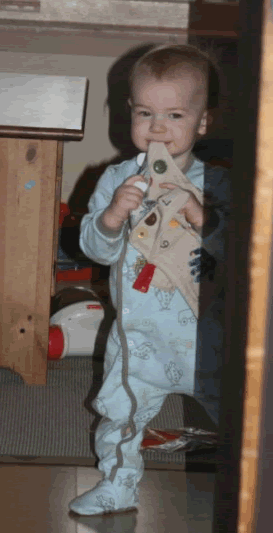
He absolutely loves it!  I’m so happy.  He’s really into touch and feel books right now so I guess it was well timed for now.  He loves the 8 page which has buttons on it.  Here’s a glimpse at each page.  It’s a bit different than the one I made for Cassie.

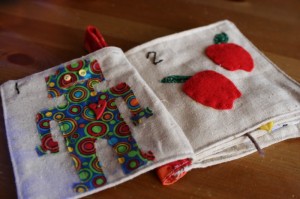
1 robot and 2 apples

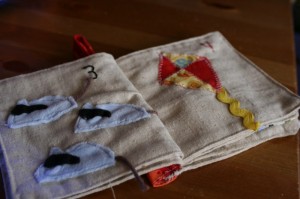
3 blind mice and 4 triangles in a kite.

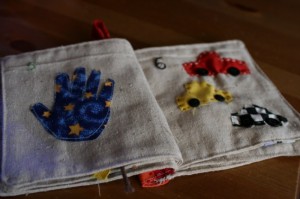
5 fingers and 6 button tires (which Nate also loves).  Wesley said there was a taxi car on this page, total fluke but cool he thought that.

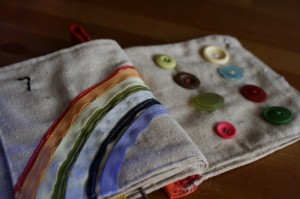
7 colours of ribbon in the rainbow and 8 buttons.

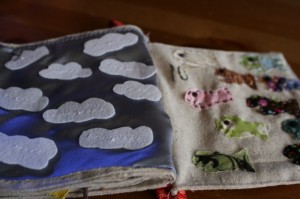
9 clouds in the sky and 10 fishies with button eyes.  Despite the button eyes Nate’s not too impressed with this page.

Apparently the button page is tasty too.  Good thing the book is washable!

I’m going to start making these to sell, just have to get around to the Etsy custom listing.  I’ve already got a request for 2, if anyone else wants one for their little one or someone else’s little one let me know!

Soft book tutorial.

I tried to make notes as I went along, and take pictures, but it’s hard enough creating something from nothing and then to document it as well!! But here it goes.  Using some advice from Bella Dia, and what I think is my own good sense here are the steps I used in making my fabric counting book.  Hopefully it’s enough information to help you create one too.
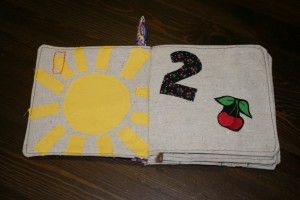
Soft book.

1. Plan – First, because I was lounging at the TV when I was struck with this idea, I sketched out my plan for each page. Knowing what materials I had on hand helped me decide on the page designs.   I made the pages like this:  1 sun, 2 cherries, 3 blind mice, 4 triangles on a kite, 5 fingers on a hand,  6 flowers, 7 colours in a rainbow, 8 fall shapes, 9 buttons and 10 bows.
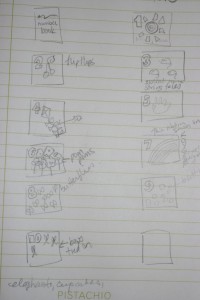
Sketch.

2.  Cut – I cut 10 pieces of fabric, 6 1/2 by 6 1/2 square. I was going to make the cover out of some other material but I decided in the end to use the same fabric and cut 2 more pieces. So you’ll need 12 altogether, split if you want to vary your prints.
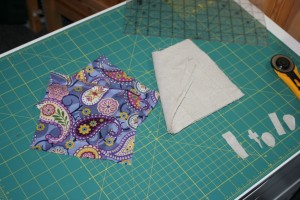
The cover I didn't use and the fabric for the inside pages.

3.  Create (I know it’s a vague step) – Based on your ideas for each page just go to work creating them on each of the 10 squares. I used a variety of methods to put my pages together.  Here’s a layout of all the pages before some finished touches and before they were assembled.
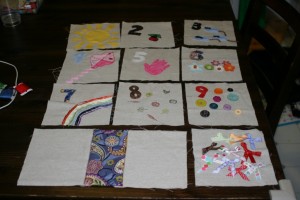
Group shot,

I used Steam-A-Seam, applique, yarn, rick rack, buttons, embrodery, ribbon, rubber stamps and paint to complete all 10 pages.  See my previous post for close up shots of each page.

4.  Page assembly – Pin pages 2 and 3, right sides together, here’s where it takes some thinking, leave the side that will go in the ‘binding’ of the book open for turning.  It’s going to covered by the printed fabric so it doesn’t matter about finishing that edge.   Since I placed all my numbers in the top left corner it was a bit easier to remember what side to leave open.  Turn and Press.  Repeat for pages 4 and 5, 6 and 7, then 8 and 9.  Sew, turn, press.
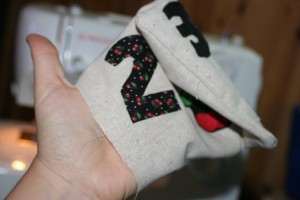
Sewn pages.

5.  Cover creation – Since I decided not to use my original cover pieces I went back and cut some from my linen.  But my supply was running low and I had to cut 6 1/2 by about 6, leaving me a bit short.  So I cut a piece of printed fabric to use as a ‘spine’ for the book.  I accidentally put my fabric where my cold drink of water had been and it got a bit wet, ignore the spots.  I zigzagged stitched the spine to the front cover and back cover of the book.
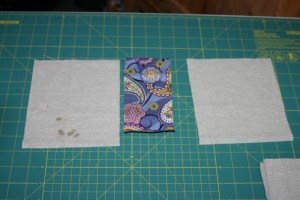
Covers and spine.

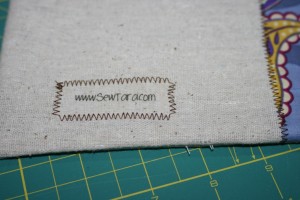
6.  Personalize – Attach any sort of label/saying you want on the back page of the book.  Fabric stores have those cute, ‘Made by Mommy’ or ‘For Someone Special’ labels that would work well here.

IMG_2944 [1024x768]

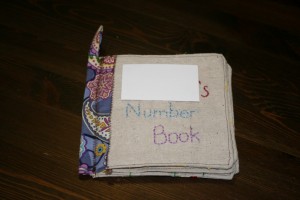
7.  More Personalizing – Decorate the front cover, I personalized mine and embroidered it.  You could appliqué it, or sew some 3D embellishments on.  Then when finished, sew page 1 to the spine, leaving the binding side open for turning.  (Name blocked out for gift surprise protection)
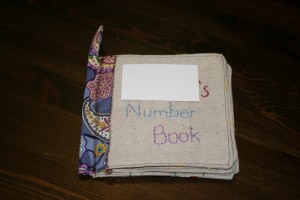
Cover

8.   Cover assembly – Sew page 10 to the back cover, right sides together, sew on the top, right and bottom leaving the left side open for turning.  Then sew page 1 to the front cover , sew on the top, left and bottom, leaving the right side open for turning.
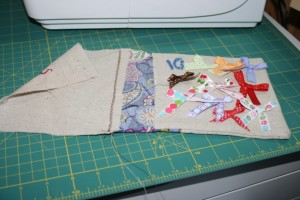
Page 10 attachement.

9.  Loop – I also attached a little loop piece of fabric, it was about 2 1/2 by 3 and I just folded it right sides together, sewed along the long side, turned it and pinned it to the top of the binding.  Sorry for the busy pattern of my ironing board.
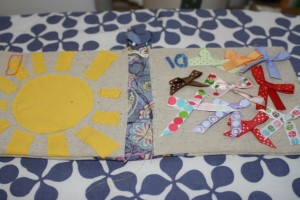
Cover assembly.

10.  Top stitching – Top stitch around the edges of all the pages, as close as possible.  I used a brown thread so it showed on all my pages.  You could get fancy and change threads but at this point I was excited to get finished, hence the lack of photos.  Lay the book cover/page 1 and page 10/back cover page flat.   Fold over and press the book spine part to make a little hem.  Top stitch all around that piece.

11.  Inserting the pages – Once I finished all my top stitching I carefully set the pages inside the book making sure to line all the edges up along the inside at page 1 and 10.  Then I realized just how thick my book was and wondered how on earth I was going to get it under the sewing machine foot!!  I’m relatively new to sewing, and mostly I learn just by trying stuff out so here’s what I did in this situation.  I put the pages in, secured with some pins, folded the cover over the book and then slid it under the machine foot in the middle of the spine where it was thinest.  Then I sewed down to the bottom of the book and backstitched.  Turned the book over, inserted it where my stitching started and went in the other direction to the top of the book.
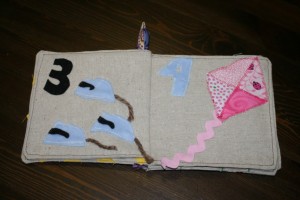
Page 3 and 4.

Cloth counting/quiet book for a mystery baby!

Within the span of about an hour on Friday night I went from having an idea for a cloth counting book to sketching out a plan and cutting the fabric.    So here’s a peek at the finished product.  I’m so hyped!!! I can’t believe how well it turned out.  Or how sad I am that I made it as a gift and have to give it away!!  Now I’ve started to work on one for my son so I can keep it around.  I personalized the cover so had to hide the name so the wonderful mom who reads my blog doesn’t discover what I’ve made her child for Christmas.

So mysterious.  Embroidered cover.  I added a loop to attach links for the stroller etc.

Embroidered cover.

This was my first attempt so there’s some things to iron out but I’m totally impressed with how it turned out!! Plus, in my opinion, the little things that make it imperfect are just fun details that come from a totally handmade gift crafted with love!  I added a loop to attach some links for the stroller etc.

Here’s a glimpse at what I put on each page.

Page 1 and 2.

Page 1 and 2.

I only bought one thing and that was yellow thread so I could machine sew the sun.  Other than that, I made the entire project out of things I already had on hand, which I thought was pretty frugal and resourceful, but my husband said it means I have way to much stuff.

Pages 3 and 4.

Pages 3 and 4.

I started with 3 little mice and then realised how cute it would be to tie in some fairy tale reference, so there it is.  Their tails are yarn and freely flop around.  the tail on the kite is thick pink rick rack.  The mice and the number 4 are made out of super soft minky fabric.

I fused the handprint on, cut from pink flannel.  The flowers are scrapbooking supplies, with button centers and embroidered stems.

Pages 5 and 6.

I used Steam a Seam and fused the handprint on, cut from pink flannel. The flowers are from my scrapbooking supplies, with button centres and embroidered stems.

Pages 7 and 8.

Pages 7 and 8.

This page was a bit finicky.  I used ribbon, again what I had on hand, for the rainbow.  For my next book I think I’ll purchase thick ribbon for this page, it was a bit tricky to work with the thin ribbons.  However, the lumps and bumps here and there in the rainbow give it character!  I was a but stumped for page 8 and was going to use butterflies when I thought of stamping instead.  I was trying to vary the textures and colours in the book so this was a good opportunity to use something different.

Pages 9 and 10.

Pages 9 and 10.

This is the super 3D double spread!  The buttons were a piece of cake.  The bows were a little more involved, tying them was one adventure and then sewing them on to make sure they weren’t going to undo was another!  I wish I had made the number 10 a little bit bigger but oh well.

Backcover with my label.

Backcover with my label.

My labels, which I finally got around to making, which I suppose is another post.  This book was great fun to make and I made it in a about 3 sessions at the machine, started Friday night done Sunday noonish.  Working on a tutorial to post soon.