Tag Archives: linens

New product . . . finally.

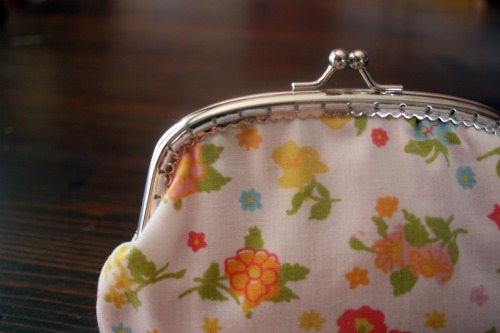
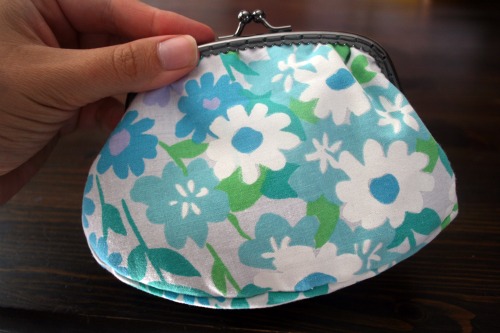
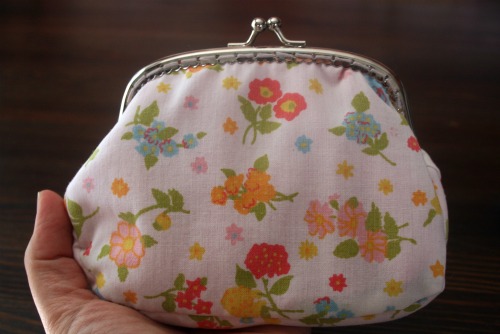
I meant to have these done months ago, but turns out juggling motherhood, a job and a crafty business is a bit tricky! But better late than never. After getting the hang of sewing coin pouches with a pattern I purchased and ironing out the details on a pattern I tweaked to fit a larger frame I’m ready with some coin pouches made with vintage linens.

They’re relatively easy to sew. Attaching the frame is the tricky part. I did 2 and a half the other night while watching a movie and then had to stop because of sore fingers and a few broken needles. I think I’m super picky about the stitching being hidden on the inside so I’m taking my time and working really hard to keep it tidy looking on the inside.

I have a table at a craft show this Friday and Saturday and I’ll see how they do there. Hopefully I can get some more frames finished while I sit there and then they’ll be ready to star in my shop.

Vintage haul

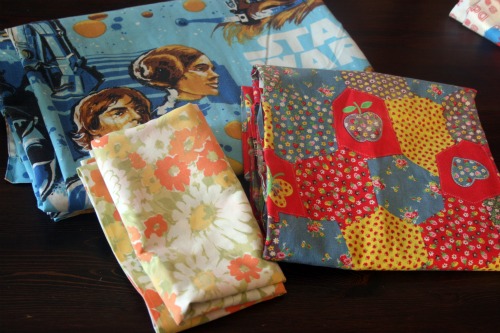
I found some really fun stuff thrifting last week.

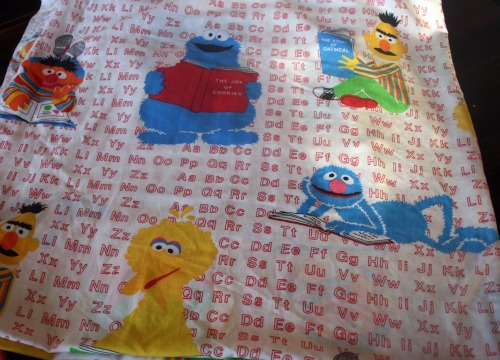
There’s that pillow case I turned into a lovely headband, and actually 2 other projects that remain to be revealed.  That patchwork stuff is a big chuck of fabric.  I couldn’t resist picking up the Star Wars sheet.  My hubby still has his childhood Return of the Jedi comforter that he uses every night.  When I make our bed I hid it under our nice duvet.  Someday, when we have more rooms I think I’ll make a guest bed with Star Wars bedding.

I found this lovely gem and couldn’t resist.  It’s too bad I already made library bags for the boys when I took Home Ec because this would be perfect.  Maybe I’ll rename their library totes something else and wip up some with this anyway.  You can never have enough totes right?  Is it wrong to push my addiction on to my children?


DIY vintage pillow case restyle.

On the weekend I turned my kitchen table into a bit of a nightmare so I could squeeze in some crafting while Nate was avoiding his nap. I was working on a project with vintage pillow cases and inspiration hit and took me on a bit of a detour.

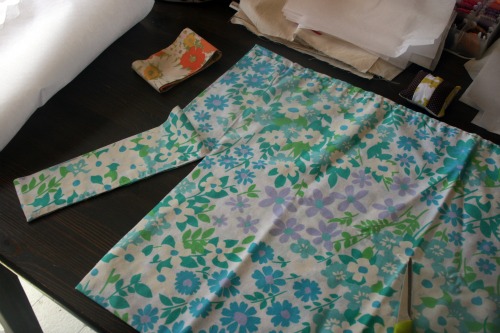
Start with a vintage pillow case and trim off the nice finished edge at the opening where you put your pillow in. You can either trim really close to the stitching and have a closed loop piece, or cut into it and have an open edge. I’m going to show you how to work with both options.

Now you have 2 big loops, cut off the seam so you have one long piece of fabric.

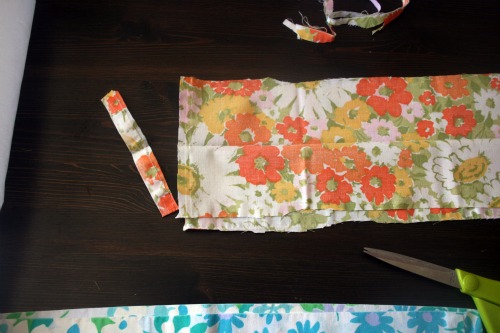
I was cutting the orangey one for another project and in the process I trimmed a bit into the seam and created an opening on one edge. So here’s how to finish that off and make a nice clean edge, and a thinish headband.

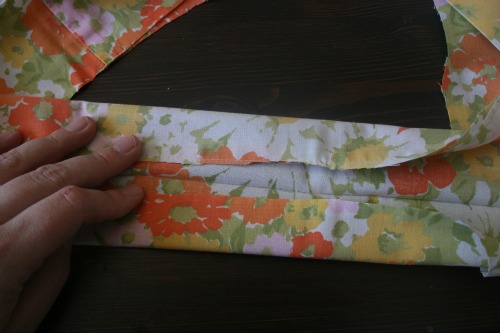
Open the fabric up and use the fold inside, the part that was the very end of the pillow, as a guide to fold the unfinished edges inward. I didn’t go all the way because I wanted my band a bit thicker.

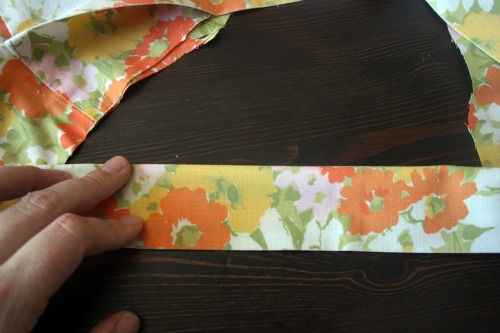
Then fold it again so the raw edges disappear inside. You can iron and pin at this point before you sew. Of forge ahead like I did.

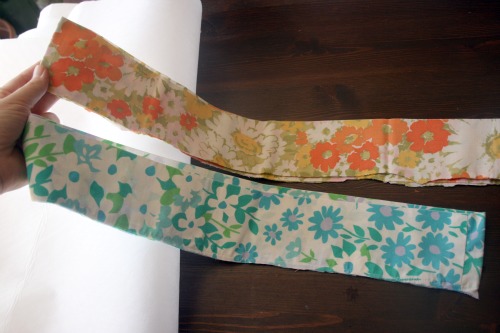
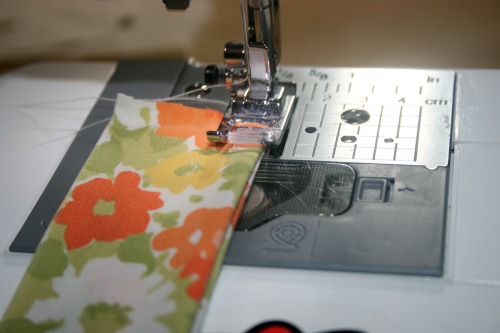
Top stitch along the sides to make nice clean edges. Fold the bottom raw edges up inside the ‘tube’ to create a clean edge and topstitch to seal it all in. Then you have one nice ruler shaped piece of fabric that you can wrap around your head and tie at the back.

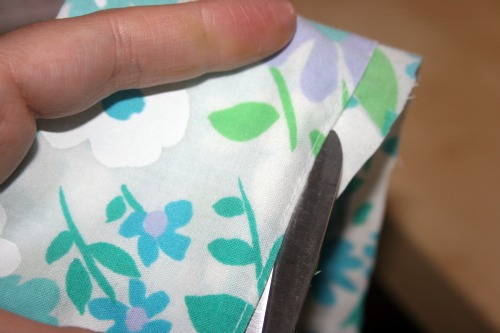
For my blue headband I just carefully trimmed around the pre-existing stitching. Why make more work?

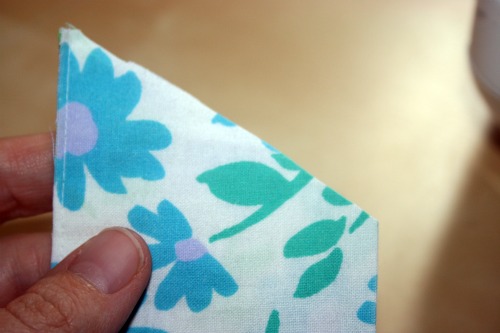
Then I cut the ends on an angle just to had some interest to the ends. Fold the raw edges inside and top stitch around the whole thing.

There you have it, a lovely new headband that was half made already!