Tag Archives: fabric

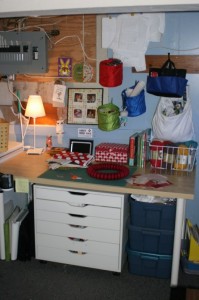
My newly reorganized and improved craft space!

Yesterday I managed to get into the basement and finish up reworking my craft area. While my husband is pretty grumpy that I’ve invaded the ‘Man Space’ I’m crazy happy over the results! It’s been a crowded mess down there for the last little bit and I’ve been crafting on the kitchen table. However, it’s a pain to lug up the things I need, or have to go back down because I forgot something, so I really wanted my space ready for me to pop down when I have a few minutes and work on something and not have to move it so we could eat a meal.

Now I’m so excited about it but when I took some pictures I realized that the electrical box looks pretty hideous on film. I know nothing about drywalling but I’m either going to beg someone who does to help me, or I’ll be learning! So pardon that tiny eyesore while I tour you around my happy little creative space.

I still want to attach the powerbar to the underside of my computer desk and get all the cords off the ground and tidied up.  That thing in the corner is our freezer but it really can’t move anywhere else in the basement so for now I just covered it with a cool storage basket. The white cart under the table on the right holds all my papercraft tools and supplies.  The blue bins beside are my fabrics and yarns.

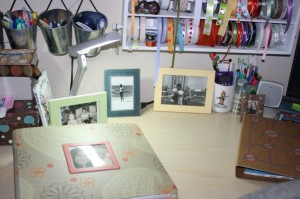
There’s my scrapbook for our trip waiting to be filled.  Along with some favourite pictures of me and my mom and dad, my Style School binder and my Jayne, “Time for some stunning heroics” and Marv the Martian mugs I use to store things.

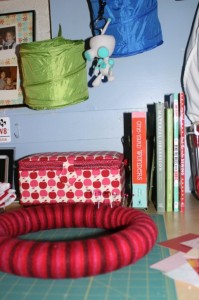
I picked up the red, blue and green collapsible buckets at IKEA.  I’ve got juice pouches in one, buttons in another and rick rack in the last one.  At least one was supposed to be a little garbage bin on the table top but my supplies took over.  There’s my cute new sewing box, contents all organized, my fun sewing books, and my Style School wreath project in progress.

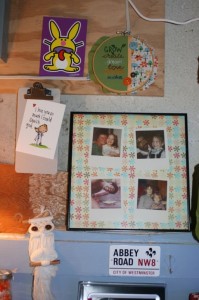
In attempt to hide the eye sore I’ve filled the space up with some fun things.  An owl from Cuba, a cute postcard, my inspiration hoop, silly faced Happy Bunny, a Beatles souvenir from London and yet another Style school project, the Polaroid art frame.  For the Polaroid frame I used pictures from when I was a kid to add to the vintage feel (wow I basically just called my childhood vintage . . .) and I love those shots.

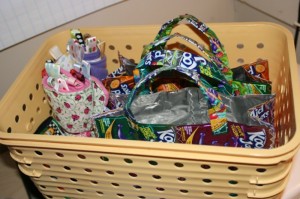
These are some completed things I have sitting around.  I’m hoping to make a few more things this weekend and make my donation to the Craft Hope store.

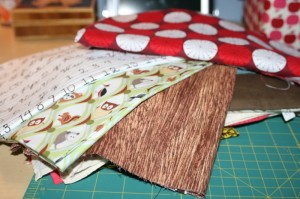
Fun new fabrics.  I fell in love with the wood grain fabric used for a book cover Style School assignment so I searched some out on Etsy and found it at uberstitch. I’m going to use it with the little woodland creatures print. The cursive writing practice one was just cute, and hey, I’m a teacher, I can print! The funky red one was on super clearance at Fabricland because it’s a Christmas print, but I thought it was just neat.

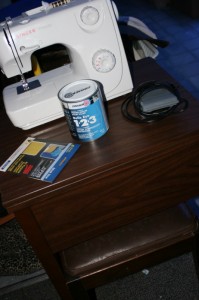
So now that I’ve accomplished so much there I can focus on my Style School assignments, do my own creative things and figure out how to put my sewing machine into this neat little table my mom gave me then paint it some cool colour.

Wow, looks like I’m going to be a pretty busy bee for the next little bit. Yippee!

Easy Wreath Idea

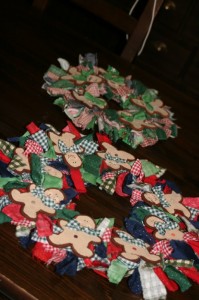
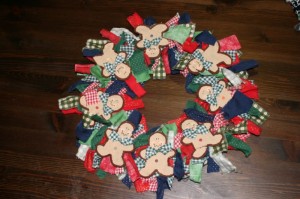
I found this wreath idea in a magazine in *cough* 1999.   I went on a binge years ago and made a ton of them and gave them away to people or as Christmas gifts.  Now I’ve only got my one banged up one left.   I don’t have time to make a new one right now so perhaps next year I’ll make some new little men to replace the ones who have broken in the line of duty.  Here’s a bit of a tutorial, what I could throw together without actually making on and taking the pictures.

wreaths

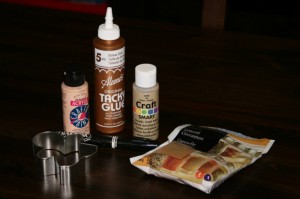
Here’s what you need

supplies

1. ring of something pretty sturdy, cardboard works, or you can buy the fancy ones from a craft store and sometimes a dollar store.

2. gingerbread man cookie cutter

3. glue gun and glue sticks for it

4. tacky glue

5. 1 1/4 cups of cinnamon

6. 56 scraps of fabric, measuring 1″ x 9″, It’s more rustic looking if you tear the fabric but you can cut it too.  9 1′ x 4″ fabric scraps, cut these ones.

7. rolling pin, cookie sheet and wire cooling rack

8. some acrylic craft paints, colours can vary but I used a tan, and pinkish colour.  A paintbrush and I had a black marker on hand, rather than paints, for details.

Here’s the handy steps!

1. Mix one cup cinnamon with 4 tablespoons of tacky glue and 3/4 cup water.  Mix it around until you have a stiff dough.  Add more of something to achieve that consistency.  Place the dough on the counter and sprinkle with cinnamon so it won’t stick to the roller.  Roll dough out to about 1.4″ thickness.

2. Cut out 9 gingerbread men and transfer them onto the wire rack.  Place the wire rack on a cookie sheet and bake at 200 for about 2 1/2 hours.  Turn the men over every 20-30 minutes.  Your house will smell wonderfully of cinnamon!  Leave the cooked men on the rack overnight.  They might curl slightly.

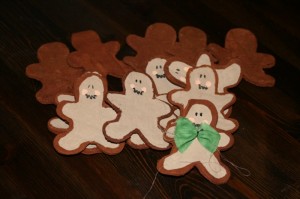
3. Paint most of the men with the tan paint, leaving a little bit of the gingerbread edge showing.  This may take a few coats to cover the way you like.   Add little rosy cheeks and eyes and a mouth.

little men

4.  Tie the little 4″ strips into bows and glue gun them to the men to look like little bow ties.

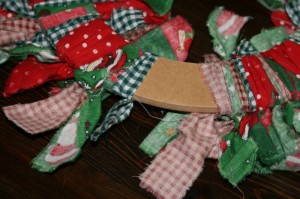
5.  Set the men aside and pick up whatever you have for a circle!  Tie the 1″ x 9″ fabric strips around the circle until it is entirely hidden by fabric.  Photo shows the back.

bows

6. Once it’s entirely covered place the ginger men around the wreath with room at the top for your hanging device, be it ribbon or an actual hanger from a door.

ta da!

As I’ve learned, and you can see from a few of my men, they are fragile and can break so store your wreath lovingly.  The men also smell like cinnamon for some time, so if you can keep it in some sort of sealed box that will help preserve the smell.  What’s more festive than yummy smelling cinnamon!

Wheeeee fabric delivery!

Got this in the mail yesterday.  I was out when it arrived and I’m so happy the postal dude left it inside the screen door.  I hate having to wait and go back for your package.

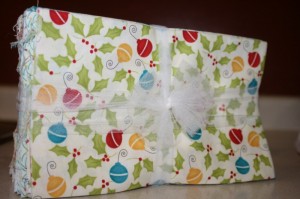
fabric

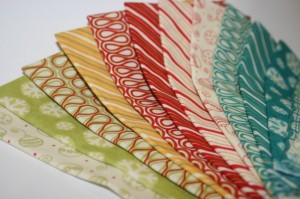
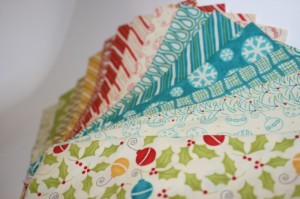
It’s 15 fat quarters of Christmas fabric!!!  I got it from here. I was online looking for some things from Moda Bakeshop because I’m dying to make this. I hate ebay, when I really want something I can’t actually win it, so I’ve started to just go with the ‘Buy it now!’ stuff because it’s safer. My husband is the ebay auction winner in the house, so I used his tactic, stumbled upon an auction that was near ending and I won! I debated a way to get out of paying, to get my table runner supplies instead, but figured I could find a use for some cute Christmas fabric.

closeup 1

close up 2

Reading material!

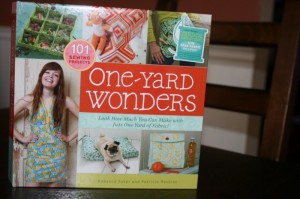
one yard wonders

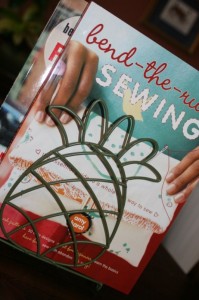
Ordered two books and I’m so excited about them.  One Yard Wonders is amazing!  I can’t decide where to start!! Bend the Rules with Sewing, I suppose the book I should have gotten first, is really neat too. I’m such a sucker for bags and totes and between these 2 books there are so many to choose from.

bend the rules

I also managed to sneak out to the thrift store on the weekend and found that neat little pineapple napkin holder. I thought it might hold some of my newly acquired craft and sewing books nicely. Seems it’s a perfect fit for my Amy Karol collection.

Treating myself.

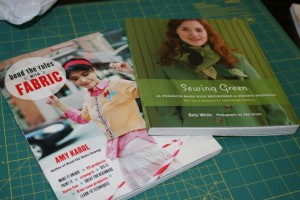
Since I won a $25 mall gift card for my Tooth Fairy costume, I decided to treat myself to some books.  I also had a ‘save $10 if you spend over $40’.  So I picked up Sewing Green by Betz White and Bend the Rules with Fabric by Amy Karol.  Both for about $15!  Being a Mom is a funny thing sometimes, I had a really hard time spending the money on myself.  Even while walking around with the 2 books in my hand I would see a touchy feely book, or something with Thomas the Tank Engine, and start to wonder if I really needed to buy myself something.  In the end I did, but not without feeling weird about it.  Now to make a tea and sit and enjoy them!

Fun books

Totes in waiting.

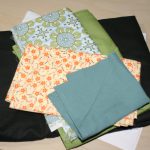
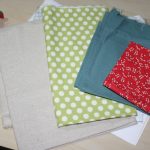
I’ve grouped these fabrics together to create  . . . . something . . .  somday.

Currently I’m in the middle of a really neat project and while I’m tempted to blog what I’ve got done so far I’m forcing myself to wait until it’s all finished.  Plus that way the tutorial will make more sense!

I’m also dying to try this Christmas Stocking project.  However, since we’ll be travelling this year, and I’d have to be cutting and piecing pretty much right at this moment it might have to wait.  January clearance Christmas fabric here I come!