Tag Archives: embroidery

Stitch swapping

A while back I signed up for Wild Olive‘s stitch swap. It was round robin style so the person I sent to isn’t the person who sent to me, which is a fun way to do it and keep it all secret.

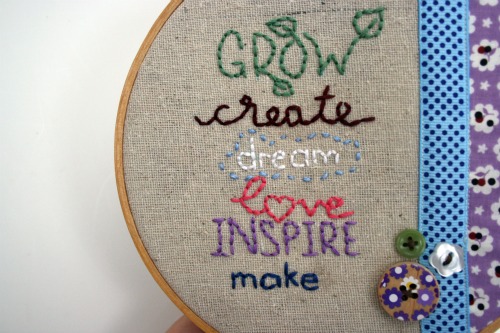
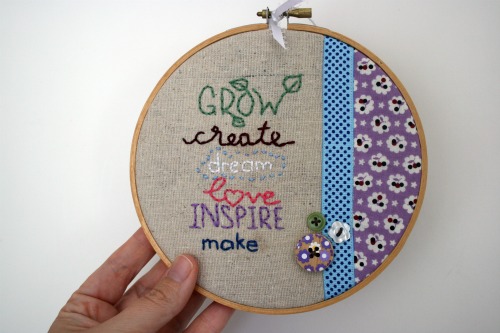
Here’s what I made for my partner.

It’s a copy of a piece I made myself a while back. I just changed the colours to fit her favourites.

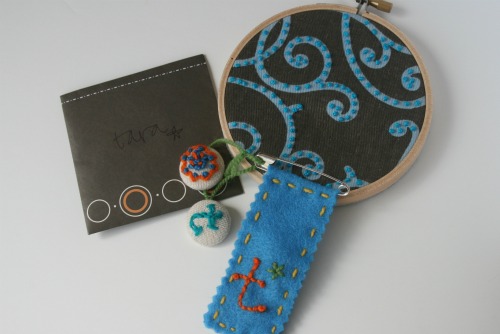
And here are the surprises I got.

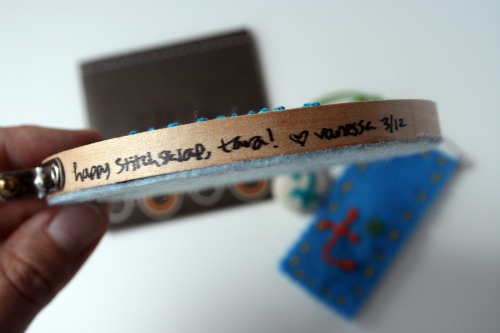
I love how she wrote along the hoop, it’s a nice touch and will stay with the art.

My winnings.

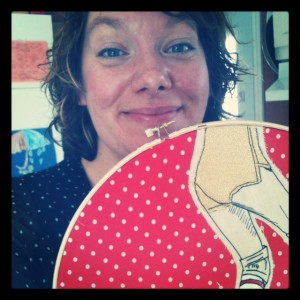
I got an exciting package the other day! I instagrammed (is that a word?) it right away, pardon my straight from the classroom hungry for lunch look.

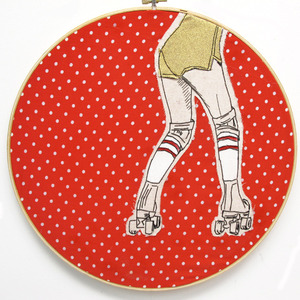
You may have heard/seen that I won a wonderful embroidery hoop from Lucky Jackson. I choose this wonderful one. I’m not a roller derby gal but it’s super fun.

I honestly have to get working on turning a large part of the wall space in our living room into a handmade art gallery . . .

Friday Create Along . . . sort of

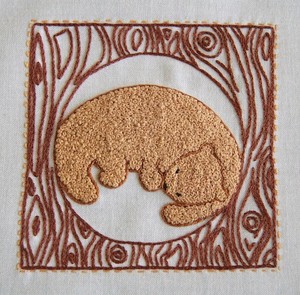
Well since I’ll be running off in a few days I’m not sure how much crafting I will get to. Plus I already slacked by not finishing my slippers from 2 weeks ago! I plan on tackling this lovely embroidery pattern. It’s pretty portable and I’m sure I can tackle it while on a beach.

It’s one of the many masterpieces created by Nicole of Follow the White Bunny. She writes each week on Feeling Stitchy and she sells her patterns in this shop and on Etsy.

It’s an adorable little hedgehog floating in a tea cup, he’s even paddling his way around. It’s super cute. Buy it here.

Have a safe and happy holiday!!

Wild Olive at SewTara

I can’t remember the first time I stumbled onto Mollie’s site but I’ve been going back ever since. She’s so great with colours, stitches and designs not to mention can throw a cute little face on almost any object. We’ve worked together on a game, a planner and somehow keep wandering back to each other with more ideas.

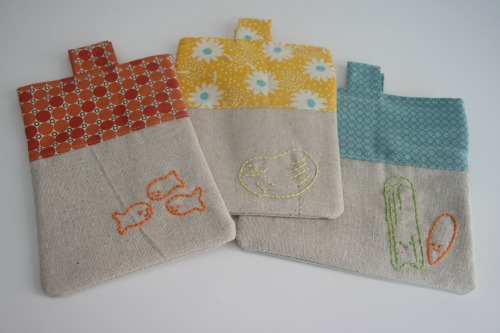
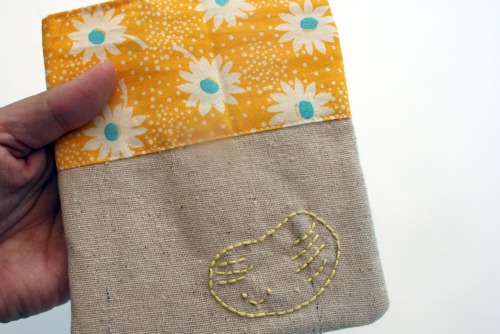
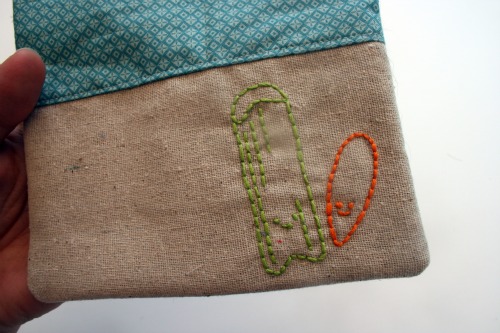
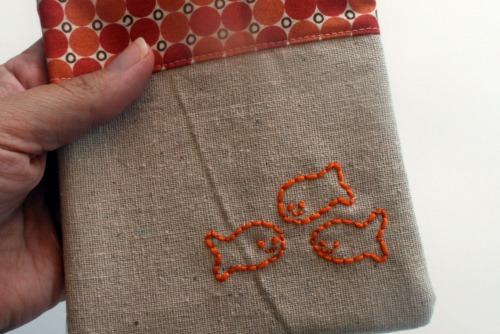
Here’s the latest idea I’d love to share with you, her Little Snackers designs. These sweet little things are for use one your very own reusable snack bags. With back to school time approaching for most of us I thought reusuable snack bags would be a great tutorial idea and asked Mollie to help out with some of her signature embroidery patterns.

Little Snackers Download

Pattern is for personal use only.

These work perfectly with my snack pouch tutorial from yesterday. If you want a different pouch design, fold over or buttons or something you can find a ton of ideas with a quick Google search. Happy pouch making!

Snack pouch tutorial, complete with teaser.

We’ve been making the switch to glass and stainless steel lunch containers. Both my school and my son’s school push for the whole literless/boomerang lunch thing. Bomerang lunch basically means if you send it in packaging or it creates some sort of garbage they’re going to send it back home to you. Strangely we teacher folk are free to load up the garbages at school with our lunch litter but I’m trying desperatly to avoid that. Hence my binge to create some snack pouches!
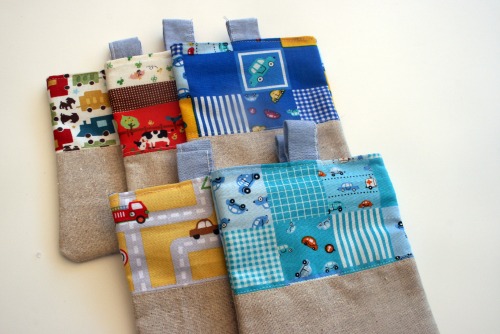
Now I created a few for my son and I’m going to show you how to make some yourself. I was really hardcore with his and used parts from one of my hubby’s practically new shirts. Somehow he got a weird big circle stain on it right in the front and tossed it into the donate pile. I rescued it.  Oh, lookie a Mabel’s Label.
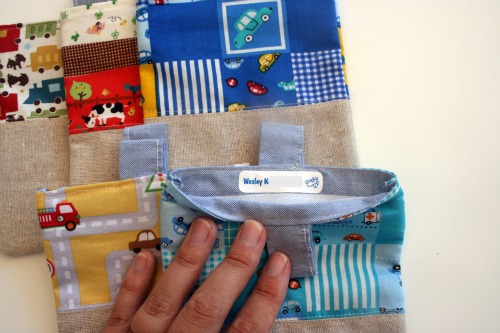
I also tried to use fabrics I had on hand and chose some of the bright colourful kid prints I have to jazz the pouches up a bit. There some debate online about materials to use for the inside and what is and isn’t food safe. To just avoid having to buy something or find out later what I chose was wrong I’m sticking with cotton fabrics. If you plan on carrying something that could get things wet I suggest adding a layer between the inner and outer cotton pieces to help prevent everything else in your bag getting soaked. Cutting up a freezer bag would work great for this and you could probably get a few out of just one.
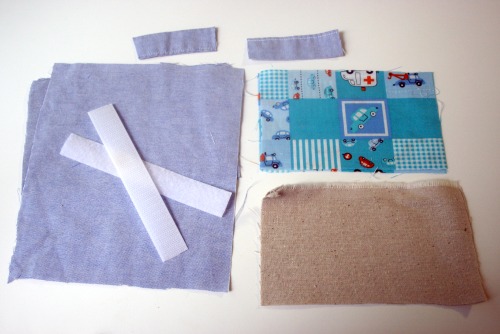
You will need:

– lining fabric 4 1/2 x 6ish

– printed fabric for outside about 4 1/2 x 3 1/2

– plain fabric for outside 4 1/2 x 3 1/2

– 4 inch length of velcro, hook & loop piece

– strip of fabric to make tabs
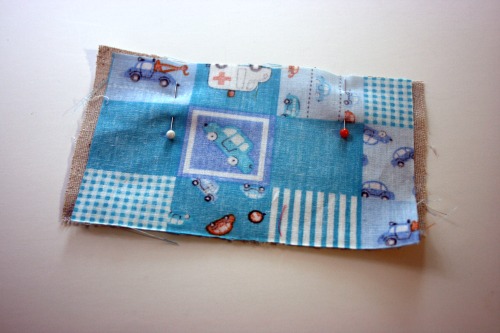
Pin the 2 outside fabric pieces right side together and sew together. I use 1/4 inch seam, or slightly less.
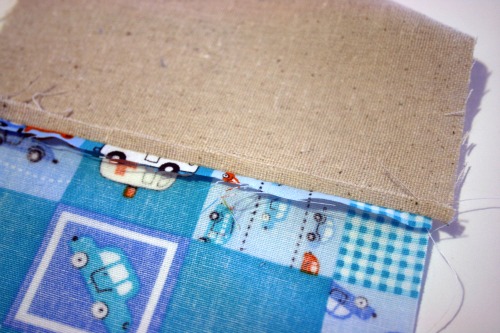
Unfold the pieces and press the seams flat.
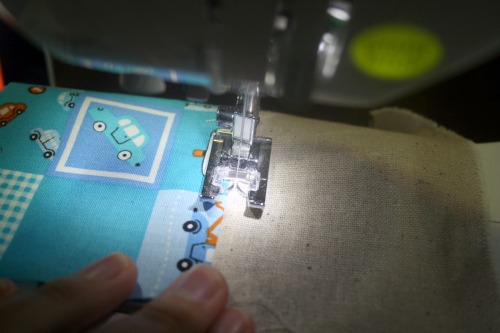
Stich on the rightside of the fabric to each side of the seam.  This will help reinforce where the fabrics are joined and adds a nice little decorative stitch.
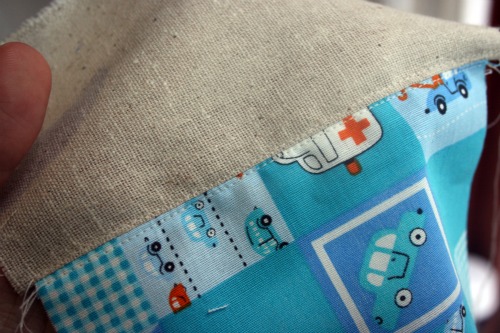
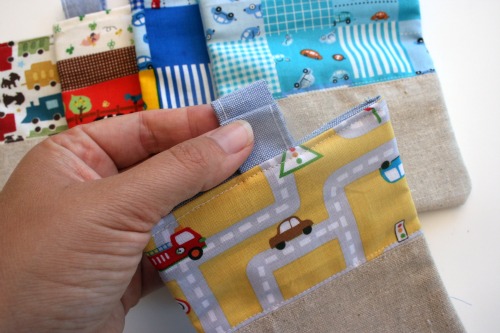
Because I repurposed an existing garment I didn’t have to make my own little tabs but if you do it’s really simple.  Take 2 pieces of fabric shaped like rectangles and fold it in half so it’s a long piece and then sew down the edge. Turn it right-side out and you should have a nice long thin rectangle.  If you want the little decorative top stitch mine has you can just do a straight stitch down one side.  Trim one tab so it’s slightly shorter than the other.  I’ve found it’s easier to separate them when opening the pouch.

Fold your tab piece in half and sandwich it between your lining and outside piece, placed right sides together.  Sew through all 3 pieces.
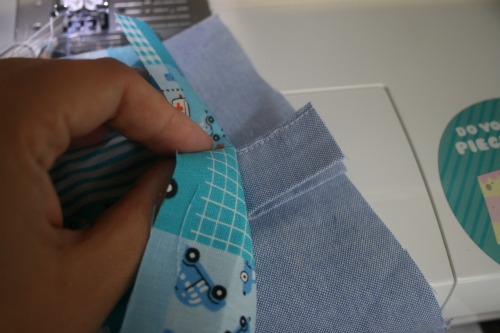
You should now have this sort of looking thing, with your tab sticking up.  Now position the velcro about 1/4 – 1/2 inch from what will be the top of your pouch.  Stitch along at least the top and bottom of the velcro, you can do the sides too if you like.  Secure the velcro on the opposite side of the pouch, measuring them against each other to get the positioning correct.
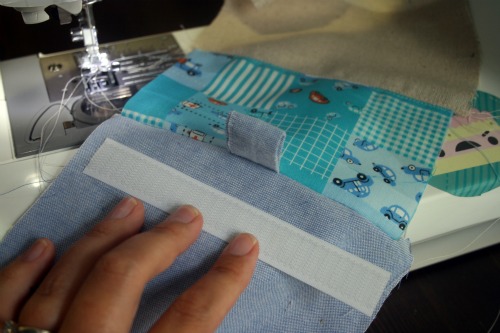
Fold the pouch over completely so the outside is outside and you’re looking at the lining.  Press to get a nice clean edge and then topstitch along near the edge of the pouch.  This will create a nice finish stitch on the inside and outside and reinforce the tab.
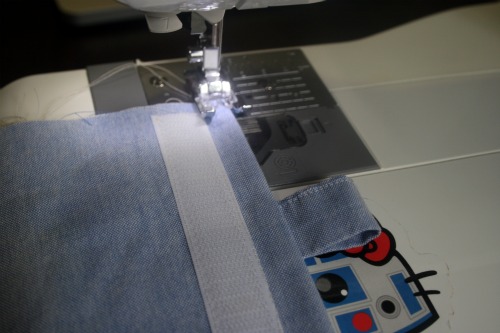
Once you’ve completed all these steps for both sides you should be left with something that looks like this.
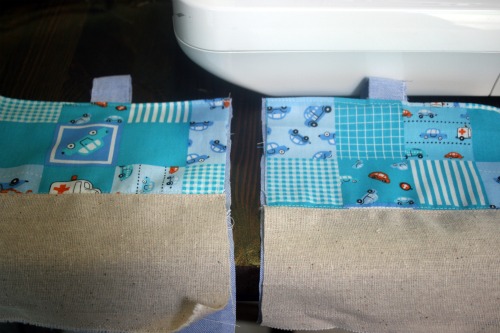
Place the 2 pieces with the outsides together and stitch all the way around 3 unfinished sides.  This would be a great place to use a serger if you have one.  I don’t so I just went back and did a zig zag stitch just beside the straight stitch and then trimmed the fabric really close to the stitching.
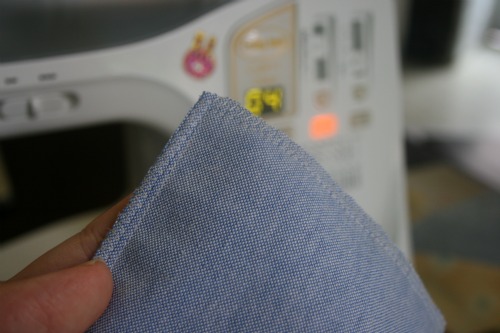
These are really fun and easy to make.  It’s a great way to use up some scraps.  I’m thinking of making them to use as loot bags for my son’s birthday party this year, then the kids leave with some goodies and a fun little reusable snack pouch.  Since things will only be in there a few hours I’m not worried about them getting stale but if you were, or plan to put wet-ish snacks in there, then you can put a water resistant lining between the fabrics.

Also, I’m going to tease you with a little fun embellishment you could add to these.  You’ll have to come back tomorrow for the full explanation.  All I can say now is it involves a guest post and it will kill you with cuteness.
 

Happy Giveaway Day! CLOSED

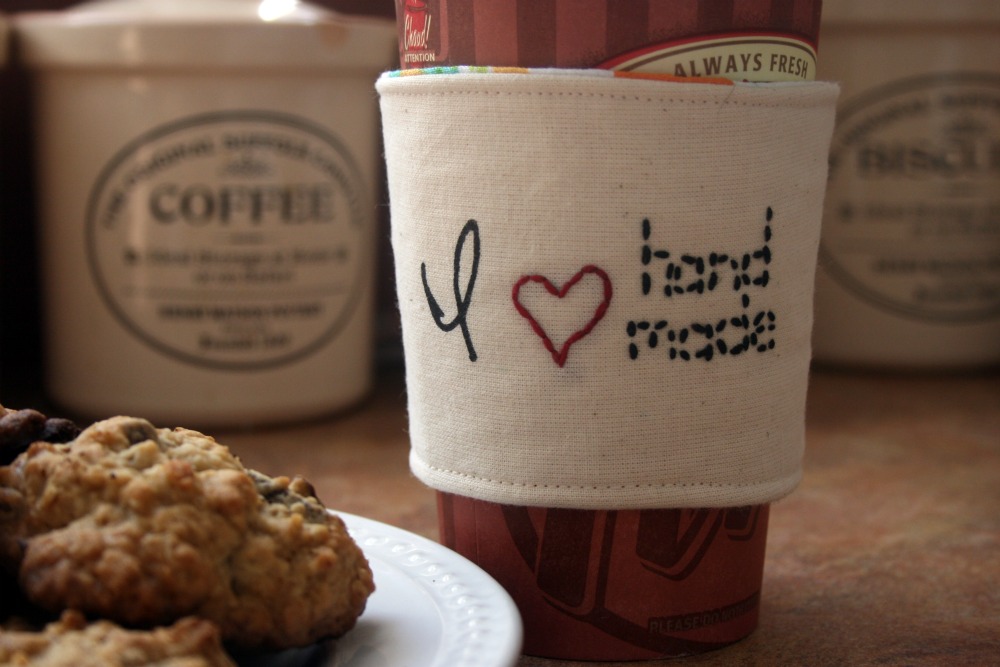
In the spirit of Giveaway Day, organized by SewMamaSew, I’m going to give away gave away, one of my new cozy designs!
This one fits in with the whole theme of the day and is all about supporting handmade goodies.
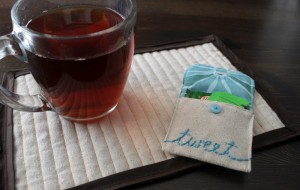
Also, since I’ve organized another scrap swap recently I’ll throw some fun little scraps into the package too.
Simply leave a comment below! Bonus smiles from me if you say something nice.
Giveaway is open to everyone everywhere mail gets delivered until May 25th!

**WOW I have never had this many comments on one post! Does that make me seem lame? Oh well. I usually write out names on paper and choose one when I have a giveaway, don’t think that’s going to work this time.
It’s been so great reading all these comments, thanks for all your kind words. I love all the people noticing it’s a Timmy’s cup!

Some questions have popped up in the comments, here are some answers,
– That is not my sewing machine, sadly, it’s LAs and she took the photo
– You can use your cozy on tea. Coffee is evil (well in my opinion) but my cozies don’t explode when interacting with it or anything
– I’d love to include cookies with your cozy but not sure that’d work in the mail. They are yummy little gems with hidden chick pea goodness from the Deceptively Delicious cookbook. I baked them for the photo shoot and they are sadly, long gone.
– Happy birthday if it was recently/is your birthday *please note that doesn’t mean you automagically win* sorry

I’ve been bouncing around all the other blogs and there’s some great prizes out there, and wonderful blogs. So happy I joined up this year, not sure how I missed it last year. Also really glad today was a holiday for me, it gave me time to click and comment!
Please feel free to add me on Twitter, follow me on Pinterest or come back again. I’d love to keep seeing everyone.

Silly new cozy.

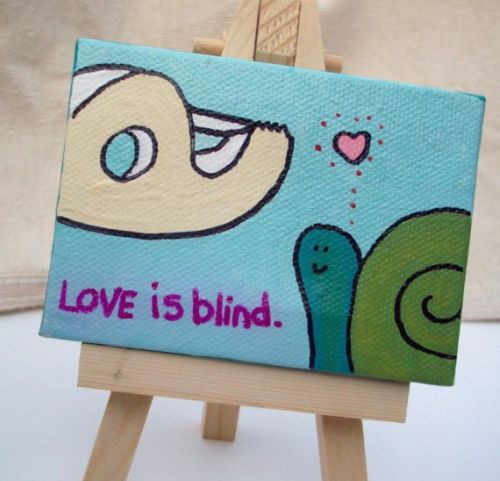
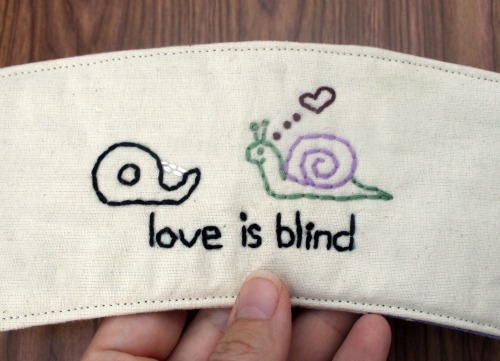
I don’t even remember how but I stumbled up on LittleRedAfro’s Etsy shop one day and saw this really funny little painting she had done.

I contacted her and asked her if she minded me putting it on a cozy. She said go ahead and just let the world know it was her idea. So behold my cozy based on her little painting.


I think it’s pretty funny, but I’ve got a dorky sense of humour. I’m making one for her as a thank you for letting me have some fun with her design. If you want one you can get one here.

Finding uses for all the pretty Japanese ribbon I’ve got.

I whipped up some more  tea and sweetner cozies over the past little bit.  I’ve still got a few sitting here waiting for finishing touches and a photo shoot.  Also still need to list these.

Add pretty ribbon to my growing list of new addictions.

Etsy shop update!

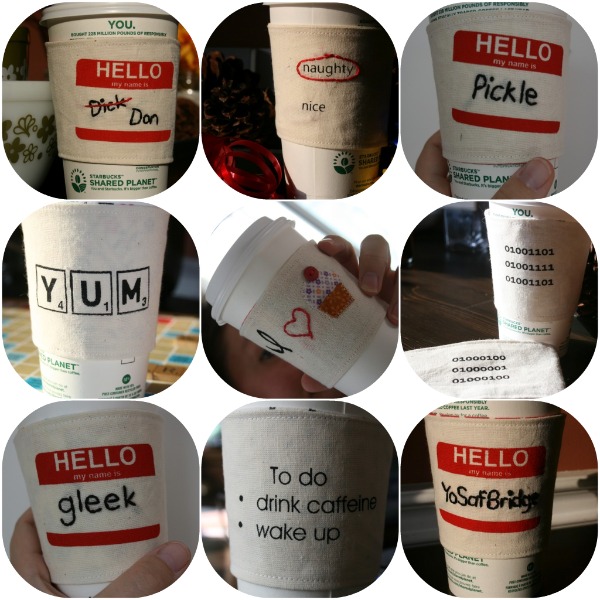
My screen was ready at about 7pm on Saturday night and I managed to print and make most of my new designs by Sunday night!  I was so excited to finally be able to create them.  So here’s a sneak at some of my new listings, minus the one in the middle that’s for something special and the gleeky one that’s for a friend.

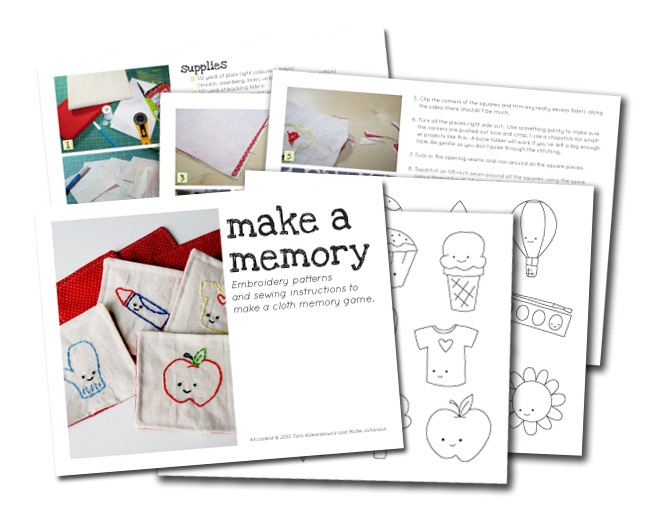
Make a Memory, the secret project revealed.

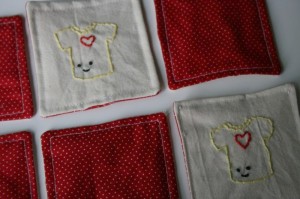
Ok, I can spill the beans now, the cat is out of the bag . . . insert other silly saying here. Mollie of Wild Olive and I have been busily working on a project together. I had this great idea to make a cloth memory game, something that would last a while and be special because it was handmade. I sat down to sketch out some ideas when it occurred to me that she could make drawings waaaay cuter and better than I ever could, so I sent her an email and asked if she’d like to be part of a collaboration. I was thrilled when she said yes.

As I’ve said before, I’m not familiar with a graphics program, nor do I understand the magic behind making PDF patterns (both on my To Do list I might add) so I figured teaming up would solve those problems. I had the idea and did the sewing, instructions and photos and Mollie added her fantastic designs and technical know how. The PDF is for sale in my Etsy shop, as well as Mollie’s where you can check out her other fun embroidery patterns.