Tag Archives: buttons

Fun Fabrics

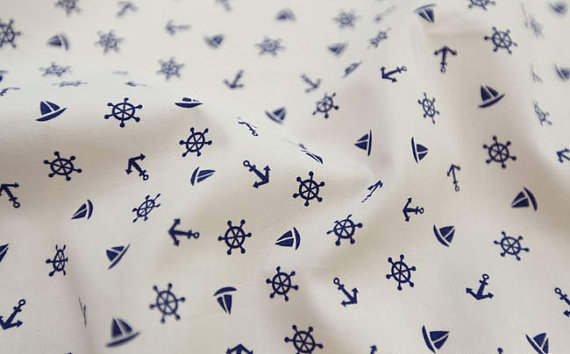
I was asked recently by My Girl Thursday to share my sources for the fun fabrics I have. She says she has the bug now, if you kind of sort of like fabric I’d leave now because you’ll be totally addicted to hoarding it after this post. Almost all of mine comes from Etsy shops so I’ll share some of my favs with you. Sometimes I just do a search for scraps, but my brain gets confused with number crunching the prices and shipping combos and I usually head back to the stores I know.

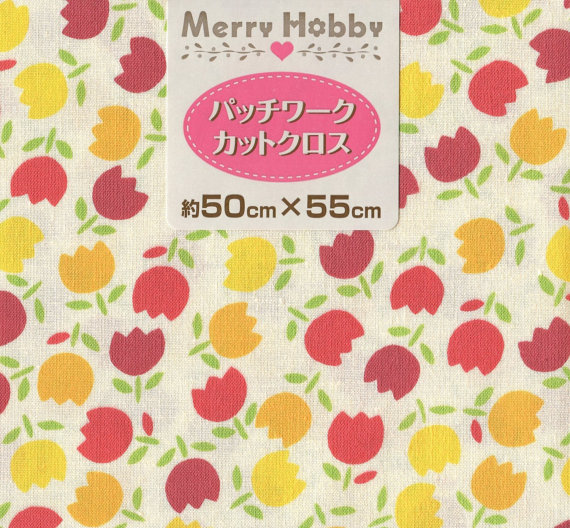
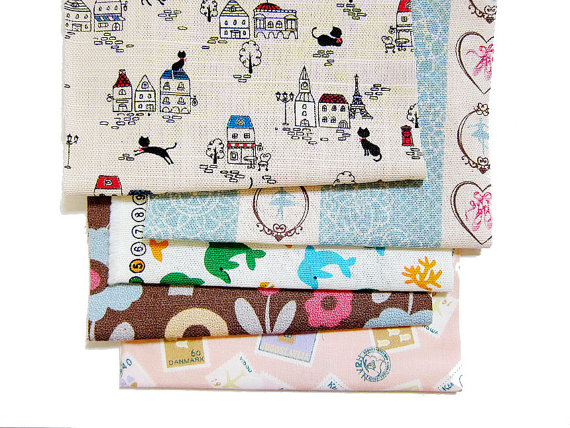
I’m addicted to cutesy Japanese prints. Boqinana has great stuff. It’s so hard not to fill my cart with ribbon after ribbon after ribbon. This store is also full of some great fabrics.

This and That from Japan . . . well the store name says it all. Sadly on vacation at the time of posting this but check back, it’s totally worth it. They carry great fabrics, supplies and craft books. Pages and pages of awesome I tell you!

The Hey Day Shop has fun fabrics and usually has a selection of scrap packs to choose from.

I’ve ordered from The Dainty Squid’s destash store before, not sure if it’s still up and running.

The only place I’ve been able to find fun Japanese fabrics in person is at Quilt A Bag in Markham, which is only good to know if you live nearish to there. The ladies are lovely and they carry a lot of Japanese craft books and supplies for projects, coin purse frames, handles, cute ribbons, Japanese craft books. They attend the Creativ Festival in October and carry a lot of great kits with everything you need to finish the project.

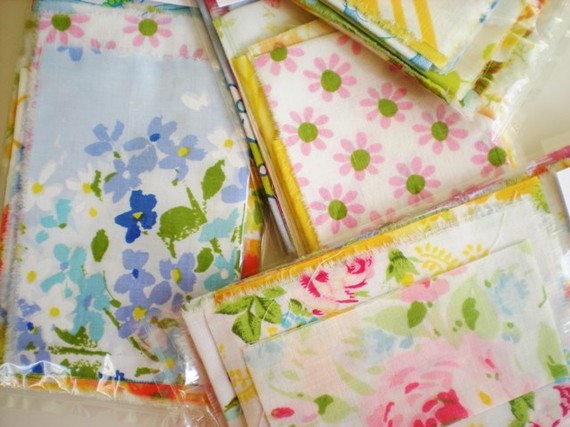
I’ve ordered vintage fabrics from Pink Fawn Designs before. While it’s pretty easy to find vintage linens if you go thrifting you can expand your collection, handy if you have a certain project in mind, and not have to use the entire sheet you bought on the one project.

Starlit Nest has packs sorted by designers, themes and even offers a big ole flat rate box deal. Shop 4 Craft has some great wooden buttons, if I’m just in the mood for buttons I go there if I have a hankering for fabric I’ll hit one of the shops that carries fabric AND buttons and get all splurgey.

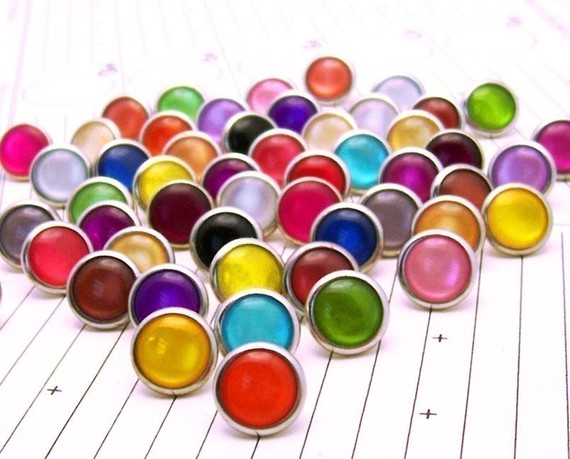
For snaps I go to Cowgirl Snaps. When I found this shop I thoguht that the pictures must be tweaked adn there’s not way the colours could be that vibrant but when they arrived they were amazing. The colours are great and there are options for mixing and matching.
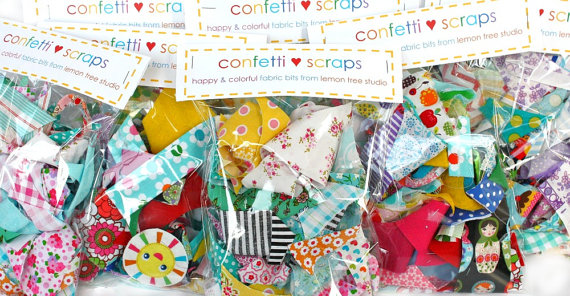

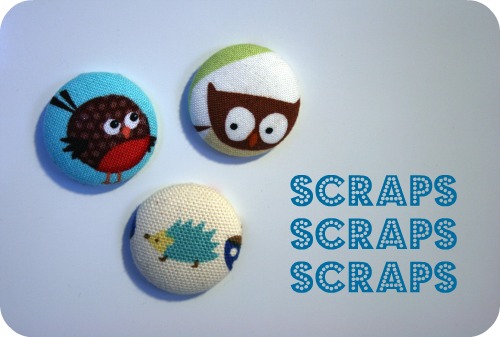
On my wish list are these great fun scraps. Sometimes, being in Canada, it’s hard to find scraps worth purchasing because shipping can get ridiculous. Someday I’ll splurge on these teeny bits of loveliness.

Need a magnet?

I sure don’t, I’ve been making a few. Just a few.

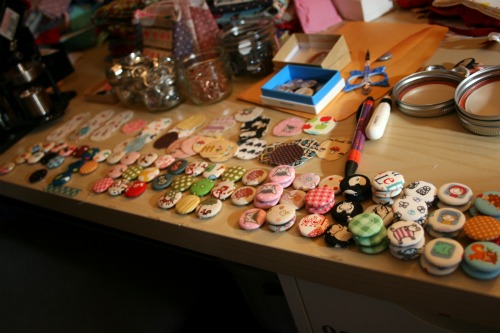
I love you button making machine.

Now to iron out my packaging . . .

I’m a copy owl

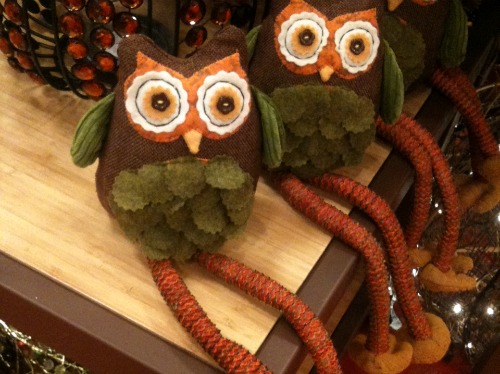
My friend and I were browsing Pier One a few weeks back and saw these really cute owl plushies.
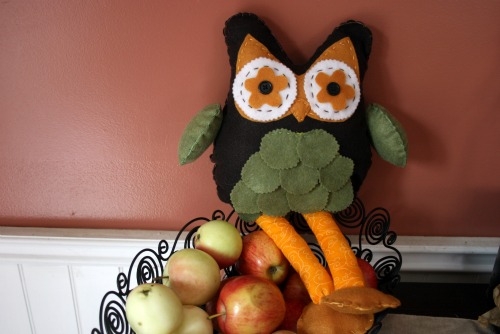
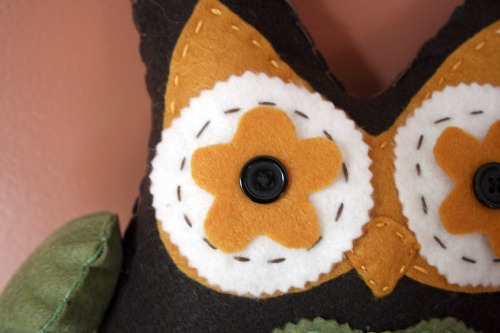
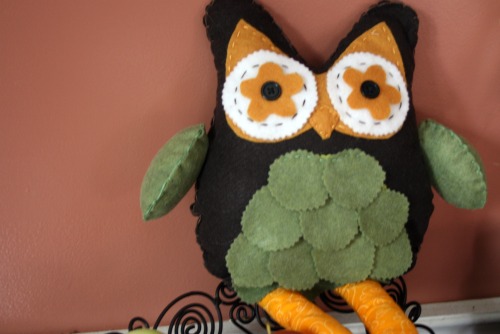
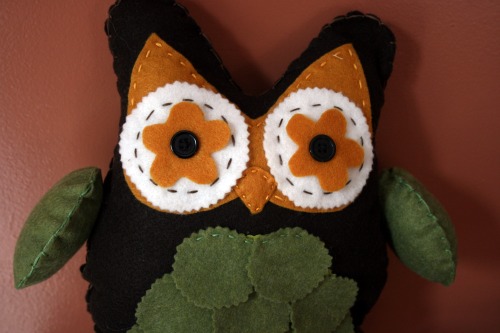
No clue what they’re for but they were really cute, and $18. Of course I did one of those, “We can totally make that” things and took a sneaky photo of them. We went and bought some felt that night and then we got crafty while we were away at the cottage. Using some felt, embroidery floss and 2 buttons, here’s what we came up with.
We cut all the shapes by hand, it probably would have been easier with some sort of Cricut type thing, but whatever. We stitched it by hand, almost entirely. I used my machine to sew the green bits on the belly so they’d be stuck on well. We were going to get ambitious and knit or crochet the legs but didn’t have the right supplies at the cottage. My friend decided not to put legs on her owl at all, just attach the feet, and I used some fabric and made some little legs instead of the HUGE ones on the Pier One owls.

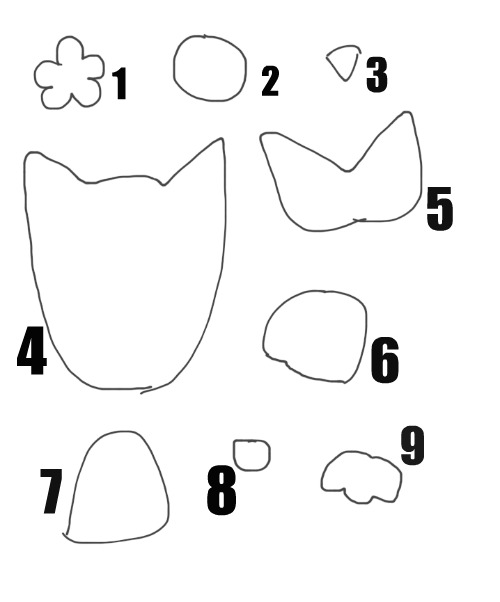
Here’s a sketch, because I have yet to learn how to do pattern pieces all fancy like, of all the bits you need if you want to give this a try yourself. I’m all about putting your own spin on crafts so it’s measurement free, my owl is about 10 inches tall (legs not included.

1. Eye flower cut 2 (shape can be different)
2. Outside eye circle cut 2 (should be a circle, I used pinking shears to give it a fun edge)
3. Beak cut 1
4. Owl body cut 2
5. Face, base this on the size of your body piece. Cut 1.
6. Wings (optional, my friend didn’t make any) Cut 4.
7. Belly piece, this is hidden once the owl is all done but it’s there under the ‘feathers’. Cut 1
8. Feathers cut enough to cover piece #7, my owl has 12.
9. Feet cut 4.

Assembly

1. Sew the buttons on the eye flower pieces with the white circles behind
2. Sew the white circles to the face piece with a contrasting thread and some fun stitches.
3. Sew the face piece to the owl body, sew the beak on as well.
4. Attach the belly piece to the owl and cover it with the feathers, staggering them a bit.
5. Stitch the 2 body pieces together, leaving the bottom open. Mind are stitched with embroidery floss showing on the outside. You can stitch it right sides together on a sewing machine and turn it if you’d like. I was going for a more rustic look.
6. Stuff your owl.
7. Stitch the wings together, leaving a small opening and stuff them. Attach to the body.
8. Cut 2 pieces of fabric, mine were about 3 x 8 and fold and stitch down the long edge, turn the tube rightside out and stuff.
9. Stitch the feet together, leaving a small opening, stuff and stitch closed. Attach to the legs.
10. Tuck the legs into the opening at the bottom of the body and stitch it up!

On second thought . . .

I was driving alone in the car the other day, a rarity, and I realized maybe I’ve been to hard on myself. I’ve felt pretty unproductive since school let out. I had high expectations that I would be able to catch up on things, and get the To Dos to done and set some things into motion that are still only just ideas. July is almost over and I don’t feel that I’ve caught up, or gotten ahead.

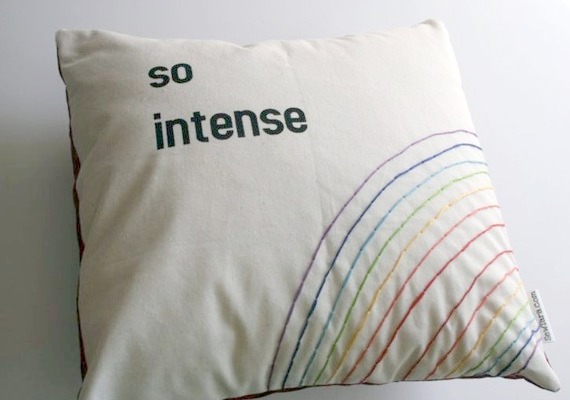
Then driving I started to think how it was a year ago, almost exactly, when my shop went viral for a pillow I made mostly as a joke. I spent August recovering from that.

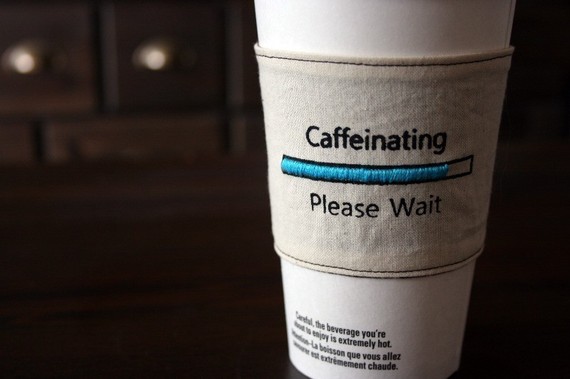
Then on labour day weekend things got insane again for my Caffienating cup cozy. I spent the fall and winter recovering from that.

And I realized all the things I’ve accomplished in the past year.

– I balanced being a mom, teacher and crafty blogger/shop owner
– I survived hundreds of sales in my shop & been on the front page of Etsy
– I’ve learned how to screen print (from building a screen to washing out ink with my self made ‘pressure washer’)
– my mad self taught sewing skills have grown a bunch
– I’ve started taking much better photos, thank you natural light
– I edit photos in the blink of an eye, thank you Picnik (take that winter in Canada with few hours a day of sunlight!)
– I’ve introduced myself to Photoshop and we’re getting to know each other
– I own a 1″ button machine and know how to use it
– I’ve made new friends at my local postal office, fabric stores, online and in person

So I think really, I’m not doing too bad after all.

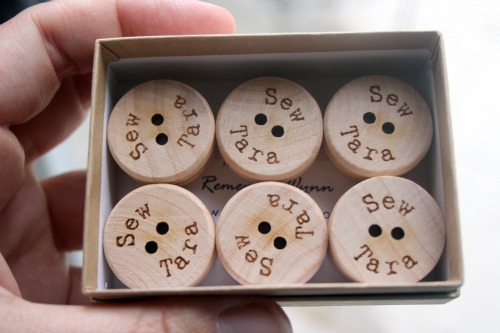
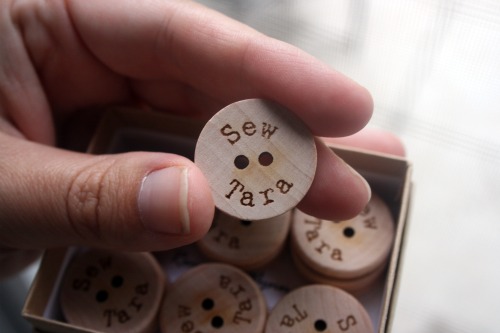
Sew Tara, the button

How fun are these?! I ordered these amazing personalized wood buttons from Remember Wynn. She can engrave your name, shop name, some random words . . . whatever onto the buttons.

I’m not sure what I’m going to use them for yet but I thought they might make great label substitutes.

Cute handmade buttons

I bought these the other day.  They’re really cute.  The shop is called From the Red Kitchen and the buttons are lovely.


She’s also got some other fun goodies, including bias tape that I’m working really hard to not buy.  I’ll add learn to make bias tape to my list.

Scrapbusting with an iTop hack

I’ve vowed to myself to post more DIY projects this year. I got even fancier and decided to combine this idea with scrapbusting!   Hoping to help you create some fun items while decluttering your scrap bin/box/bag/whatever.  This would also be a great idea as a way to save an important item of clothing, or other fabric.  So on with scraps idea #1.

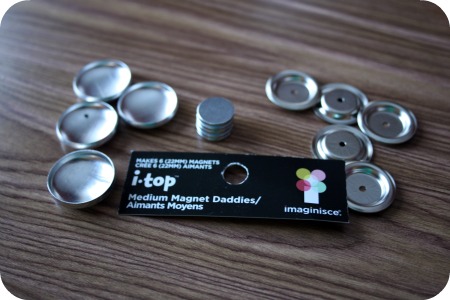
I was wandering Michael’s the other day and stumbled upon make your own buttons, brads and magnets in the scrapbooking aisle. At first I was super exicted and thoguht of all my scraps, then I realised there’s a few tools to make it all work. The iTop tool was $49.99, then there’s the punches or templates, the hardware for the actual buttons/magnets/brads . . . I realized it could add up. So in an attempt to be thrifty I spent $4.99 on a package of the magnet pieces and decided I’d see what I could do.

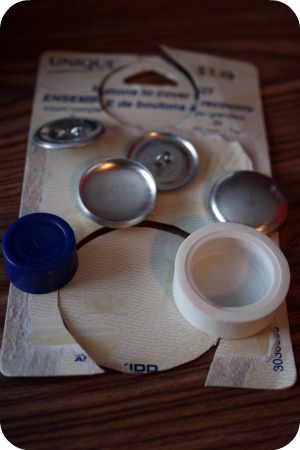
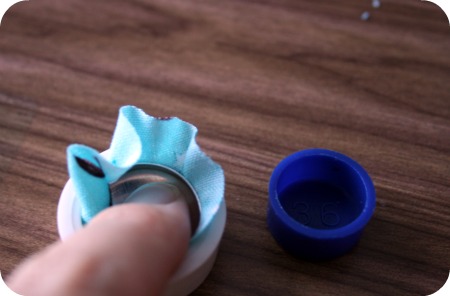
The large magnet pieces I got measured 22mm so I headed to the fabric store and purchased the $2.49 Unique kit for covering 22mm buttons.  It came with pieces to make 3 buttons and the little casing thingie to snap it all together.  Pardon the bits and pieces.  There’s a template on the back for how big the fabric bit should be.  I think it lies, I had to do some experimenting to come up with a size that worked.

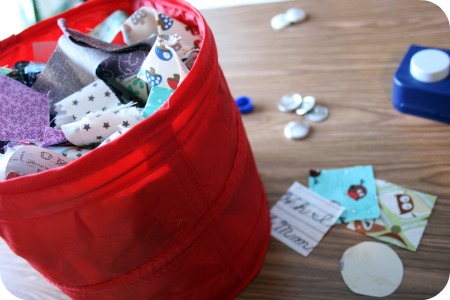
Recently I went through my larger scraps and cut 2×2 inch pieces where I could.  Turns out they’re the ideal size for this project.  However, if you’re trying to get a specific part of the pattern.

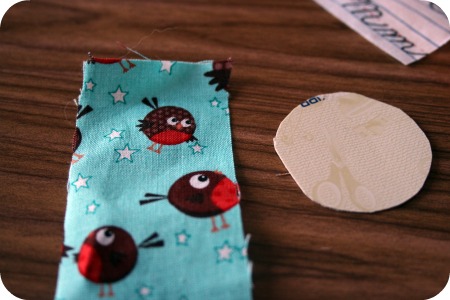
Grab a piece of fabric that will work for the image you want on the front of the magnet.  I was trying to get one of the little owls from my Round Robin print so my 2×2 squares weren’t working out.

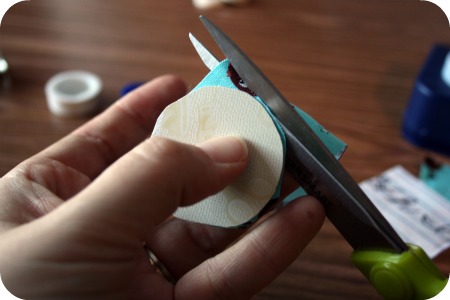
Cut out the circle using your template which should be about 42mm, that’s what mine is.

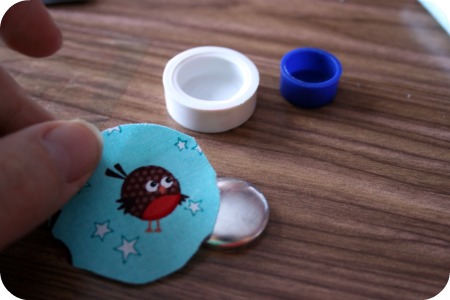
Place the fabric over the magent front positioning your design how you’d like it.  Then pop it into the setting tool.  Try to keep the fabric the way you want it, it can move around on you.

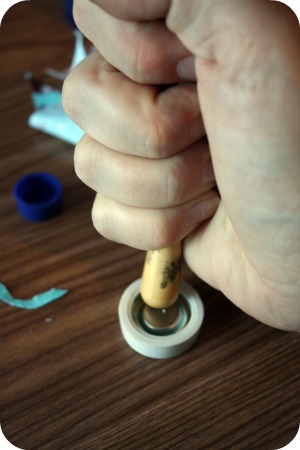
Next you just plop the backing piece into the holder, the magnetic disk should be sandwiched between the front and back pieces, and push down to snap it into place.  Make sure all the edges of the fabric will be squished inside.  The dark blue thingie is a ‘pusher’ to assist in this process, I just used one of my stenciling brushes I use when screen printing.  I’m very technical and particular with my tools.

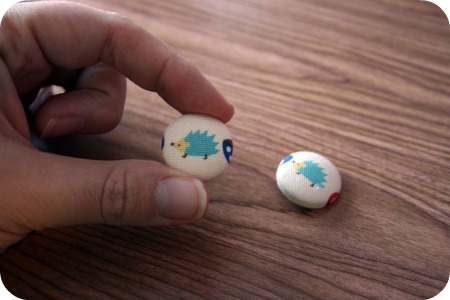
Finally just pop out your new little magnet!  Pardon the fabric switch, it appears I got all excited and ran to the fridge shot without documenting the final stage of my little owly friend.  Here’s a magnet and button I made.  Easy peasy!

Wishlist

Wow, I’m swamped!! I’ve got a bunch of *must* ship items still to get on the way.  Then I have some things to make for friends and people I can see in person, I suppose my weekend tasks.  I changed things up a bit and spent some time Saturday night organizing my craft space in an effort to tidy up our basement, something I know regret since I’m behind on my other TO DOs now.  Note to self – holiday rush is crazy!

Here are some glimpses of things I have accomplished these past few days,

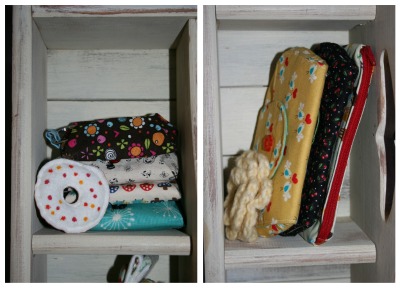
My growing collection of Keyka Lou keychain pouches, well and other pouches.  Plus a cute little donut ornament I was given as a trade for a scrappy pincushion and a crocheted hair clip from my Camp craft swap.

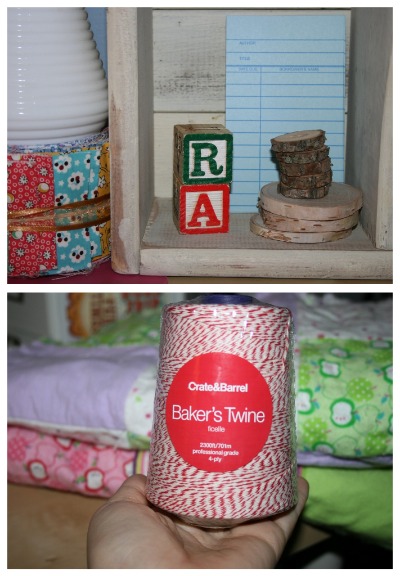
Collection of fun things including some handmade wooden buttons I also picked up at the craft show on the weekend.  I found this GINORMOUS roll of baker’s twine at Crate and Barrel!! I’ve been looking all over for this stuff and short of ordering it on Etsy, haven’t been able to locate any.  This is over 700 meters and it was only $9.99!! Score!

I’ll be glad when this week is over!  Hope you’re all having a productive gear up to the holidays!

One of a kind craft show scores.

Headed out to the One of a Kind Craft Show on the weekend.  Had a lovely day out wandering and looking at all the pretty things.

I picked up this fun little basket hamper thingie from Lovell designs. It’s super handy for all the ‘on the go’ crafts I’m constantly toting upstairs when I go to bed in the wee hours so I have something to craft while the kids are around in the mornings.

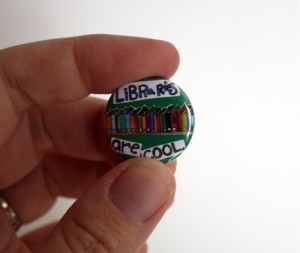
I also got this fun little button from Sister Sister Buttons. They had many silly buttons that made me smile, but I limited myself to this one.

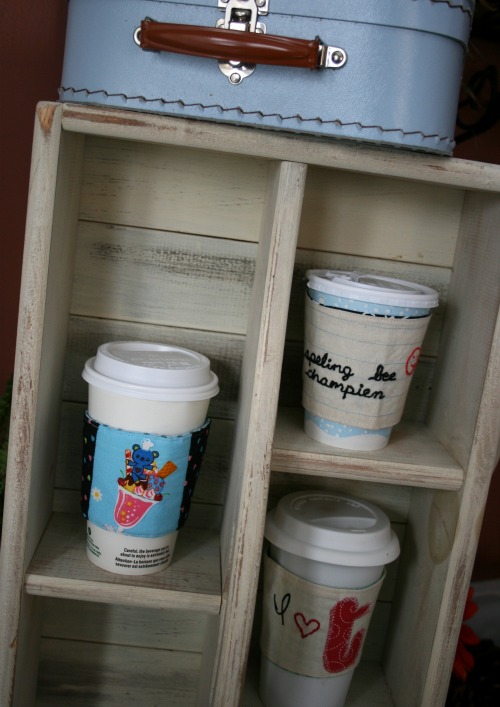
The best find of the day was this old wooden tool box thingie that’s been refinished and makes an awesome display for my cup cozies in action! Can’t wait to use it on the weekend.

On Sunday, if I’ve recovered from the inventory building blitz, I’ll be sure to link some more of the fun, creative and handmade things I came across at the show.

A moment to blog about buttons,

Because despite a gazillion sales in my shop right now I need to do something else other than make a cup cozy!

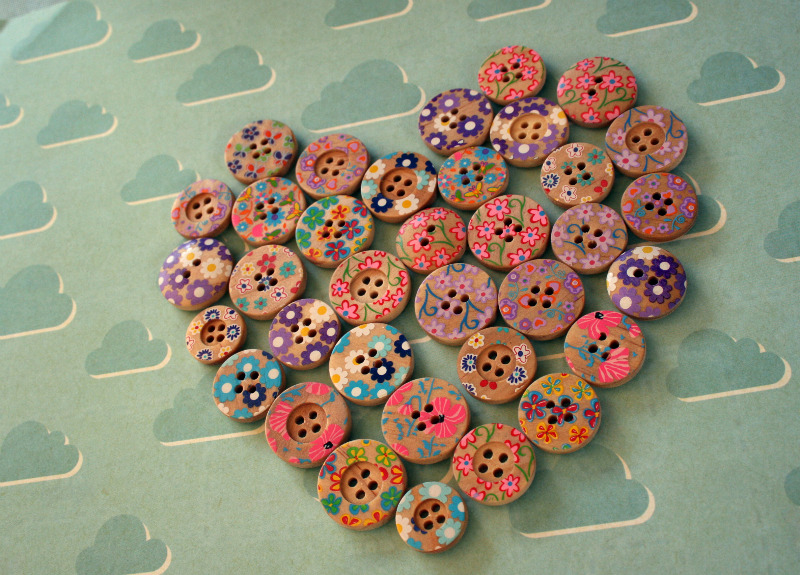
So here are some of the fun buttons I picked up the other day.

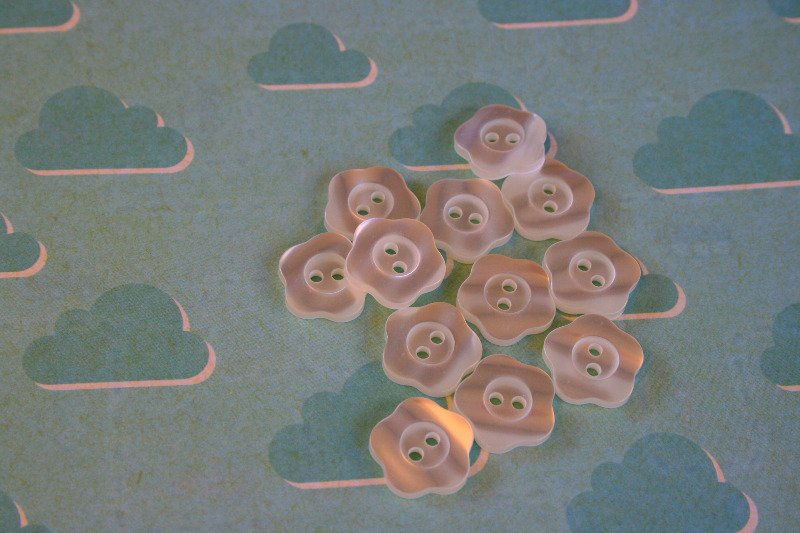
The flowery ones are meant to be dyed, look so I  may have to try that.

Due to many sales, my hubby being away until Monday, and lack of the card reader for the camera posts may be scarce until next week :)