Category Archives: vintage

Vintage haul.

My neighbour is selling her house. It’s sad. We like her. Plus she has a pool and she lets me and the kids use it all summer during the day while she’s at work.

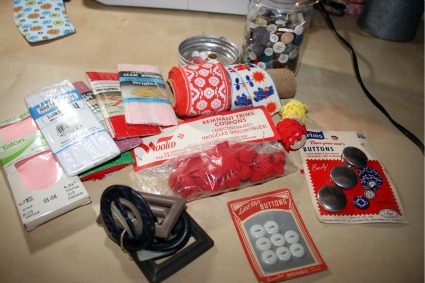
She was doing some big purging a while back and invited me over to go through some fabric and crafty supplies to see what I wanted. I just tossed things into a bag and didn’t really look at it for a while. Last week I dumped it all out on the kitchen table and sorted through it.

There’s still the big pile of fabric that I have to go through. I’m pretty sure (barring needing something for a gift) that I’m on a fabric buying ban. I’ve got way to much lying around and I need to actually CUT and USE it. Both options make me gasp. Yeah, I know, all this says the girl organizing fabric scrap swaps . . .

Interwebs dominoes

Sooooo I’ve been hanging out late at night on Twitter while I work away and Thursday is *always* there.  She mentioned The Vintage Cabin, so of course off I went to Etsy to see the shop.  Then I bought something. . . s.

In my poking around I ended up at the Vintage Cabin Blog (which is hillarious and local so I love it).  In one of her posts she mentioned a shop in Toronto, SMASH that seems super awesome, but has wacky hours *sigh*


She mentioned her love of industrial inspired stuff and said Three Potato Four was a favourite, so then there I was on that site.


Vintage Cabin was also featured in N.E.E.T magazine, which is awesome and full of all sorts of cool stuff.  I can’t even link all the neat things I found in there, just go check it out for yourself and you too will be playing Interwebs Dominoes.  Yeah, I’m making up a new term.


Another scrap swap, who’s in!?

Sure it’s only been a month since I recieved my lovely package of fantastic fabric scraps and surprises in the mail but I can’t wait any longer, I want to do it again!  So who’s with me?

Sign up here, I’ll take names until Wednesday March 16th .  Leave your name and some contact information and I’ll pair us all up. Be ready to commit to shipping your scrap bundle by the end of the month at the latest.  This will be open to everyone everywhere so please let me know if you object to international shipping and I’ll match you with someone in your country.  Last time we confirmed shipping works in mysterious ways (something I’ve learned running my shop) so if you’re shipping across a border keep in mind it might take a bit.

Ok, so:

– scraps must measure at least 2 inches by 2 inches, there is no maximum size but it is supposed to help you destash your scrap bin so sending fat quarters probably won’t help with that.

– scraps must be clean, and in usable condition

– scraps can be new fabric or vintage reclaimed pieces

– fabrics should be of relatively the same weight, cottons/linens/light canvas so allow for quilting and use in the same project

– send 10-ish ounces to your partner mailed by March 31st

Feel free to add some other goodies or random items if you wish.  Check out blogs or shops to get to know your partner, send an email and be friends, most importantly have fun!


Vintage bag plan

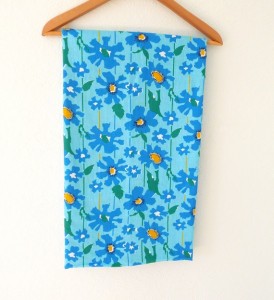
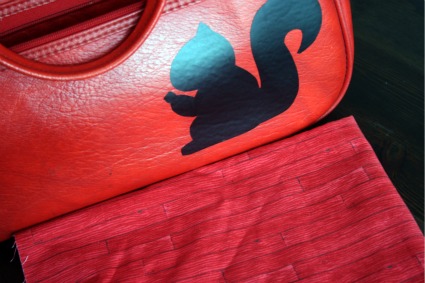
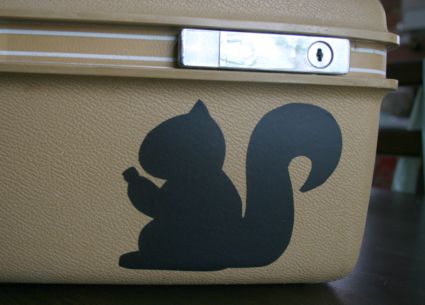
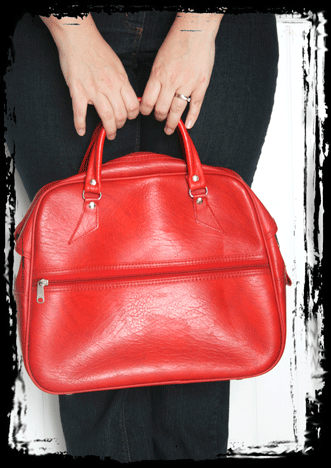
So I found some fabric to line the inside of my awesome vintage bright red bag and make it camera and laptop ready.  I think it’s actually some sort of kid farm print but it matches great and I love the faux bois look.  I was also going to decorate it with some fun sort of design.  Being too afraid to do anything permanent I wondered if my Cricut peel and stick vinyl would work.  I sketched and cut out a cute little squirel but it didn’t seem like it would stand up to usage.  The vinyl stuck well but if I tried to use the pocket or moved that area too much bumps appeared in the vinyl.

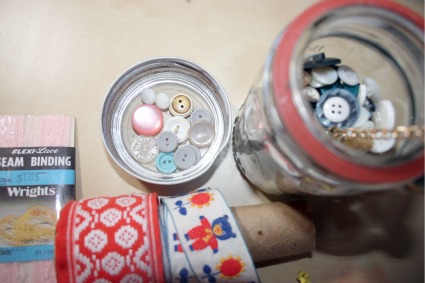
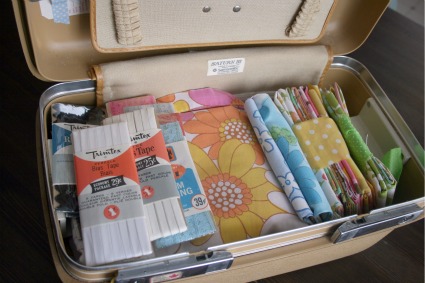
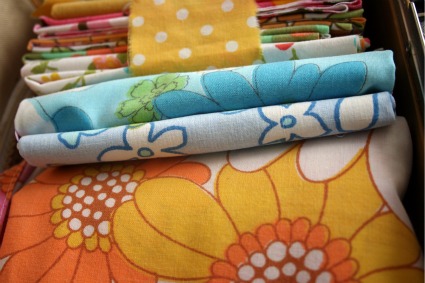
So for now I put it on my train case since that’s a harder surface.  That’s also where I’m storing all my great vintage linen bits and pieces.  I’ve also found some trim and bias tape here and there so it’s there as well.

The expanding collection.  There’s more in my other vintage suitcase too.


Making my own awesome camera/laptop bag.

I really, really, really wanted a JoTotes camera bag.  Pretty sure I’ve said that a few times.  I was being good and saving for the lovely tangerine one but then disaster struck and when I went to actually purchase it they were all sold out. I sent an email and learned they aren’t making that colour again. They’re very sold out, often.

So I implemented a back up plan. I searched on Etsy for vintage bags and narrowed it down to the local shops hoping to skip expensive shipping charges and organize a pick up. I found an awesome bag at this shop. They’ve got fantastic prices, some vintage luggage left, and if you’re in Canada too the shipping is reasonable.

Now I’m working on lining and padding it so I can toss my camera, ipad or lappy. I’m also working on learning photoshop so pardon me while I experiment!

Vintagey laptop sticker DIY

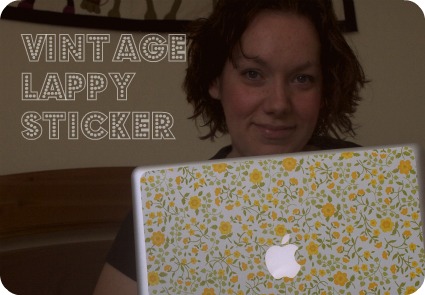
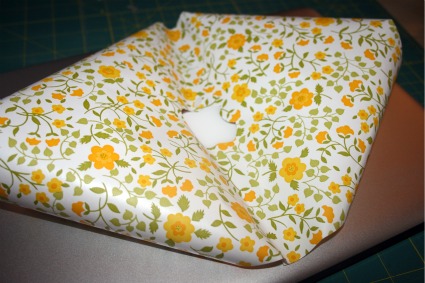
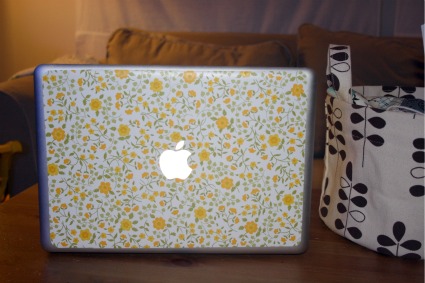
My last laptop was plastered in fun goofy stickers.  Then I got my new shiny Macbook and it’s just been all simple and silver, until now.  I tracked down some vintage Contact paper to adorn my lappy.  After checking around in a few thrift stores, and frankly just not wanting to wait, I went ahead and ordered some on Etsy.  I’ve been checking back frequently and the selection does vary from day to day just in case you want to grab some.  Also, be sure to check under the ‘supplies’ and ‘vintage’ categories, you get different results.  While I was waiting for my goods to arrive One Pearl Button coincidentally posted a link on covering idevices yourself with helpful links to templates.  But I wanted to do my Macbook and the templates don’t take into account the apple cut out.  So I got adventurous.

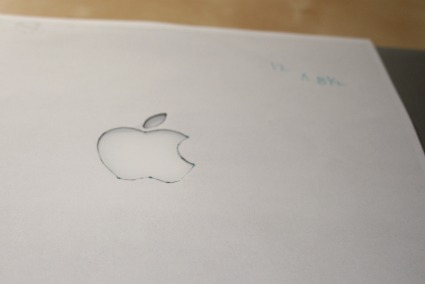
First I used my printer/scanner/copier and made a copy of the front of my laptop so I’d have a copy of the apple logo.  Next I carefully cut out the apple with my little exacto knife pen thingie.  I placed it over my laptop just to make sure I trimmed it well.

I measured the top of the laptop and guesstimated at the size of the surface area before the slight curve.  I have a 13 inch and I figured it was about 12 x 8 1/2.

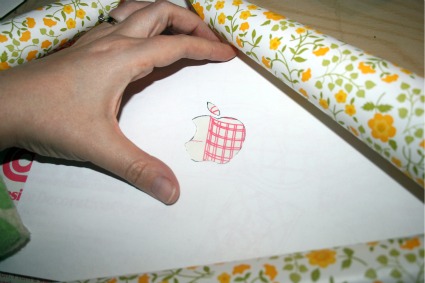
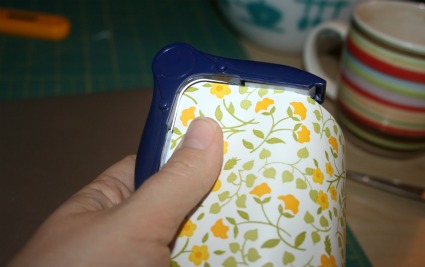
I cut the apple out of the Con-tact paper, aproximated the center and cut the piece 12 x 8 1/2.  Then I used my scrapbooking corner rounder to clip the corners.

Sticking it onto the laptop proved a bit finicky.  I didn’t want to start at one side and work my way across so I carefully took the backing off and exposed the sticky side of the Contact paper in the middle where the apple is.  This allowed me to line up the apple all nice and straight and then just work my way out towards the edges.

Once it was all nice and flat I opened the cover and examined my handiwork with the apple lit up.  There was a spot where I needed to trim and I just used the exacto really gently to shave off a teeny bit.  I’m sure happy with the results, I love the grey and yellow combo.

Plus I’ve got some other patterns in my stash and so when I get bored of this I can just peel it off and switch it.

Pattern tested!

Well guess that titles gives it all away . . . I tested a pattern.

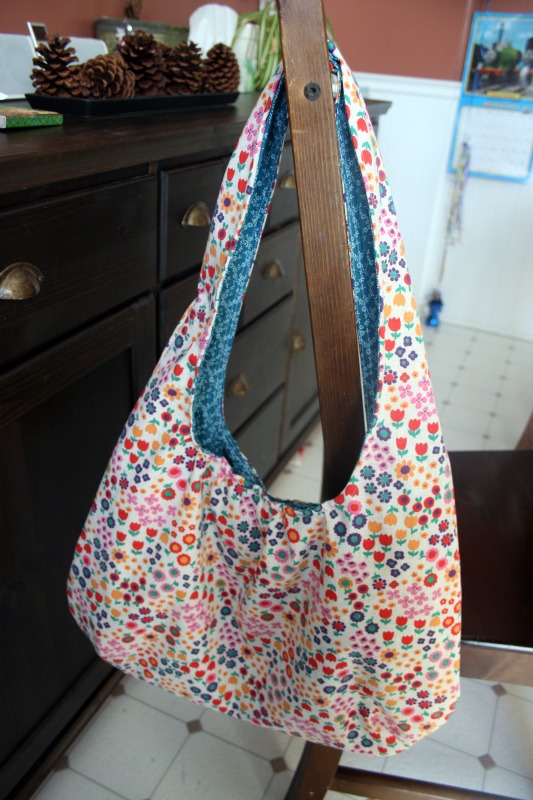
I signed up on I Think Sew and then when I was contacted the lovely Sue asked me if I’d make . . . . A TOTE BAG!!!  Yipee!!

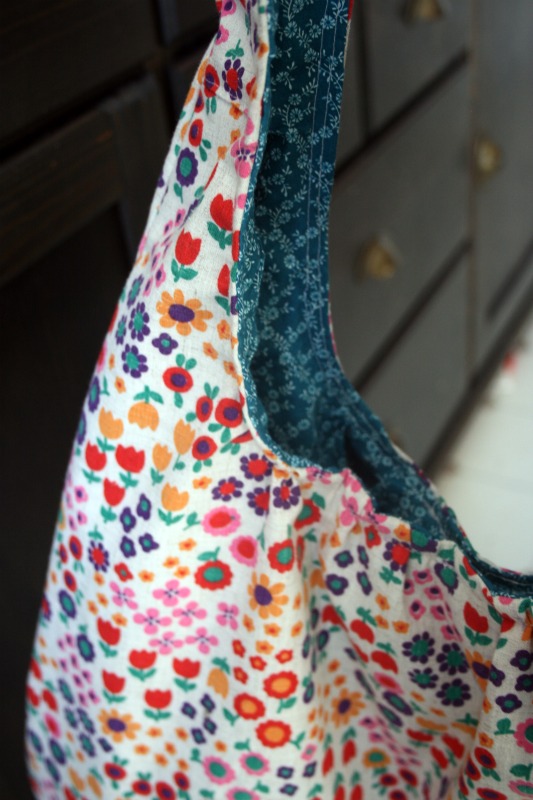
I used the vintage fabric that Keyka Lou mentioned, I have a problem buying the cute fabrics she mentions.  For the lining I just grabbed something from my stash.  There’s a little metal clasp on the inside and it’s a really nice big roomy bag.  I’ve been using it since.

I also own this fun pattern and have been carrying around the PDF on my ipad searching for just the right fabric.

Swap buddies buddied

Using the very high tech system of writing names on pieces of paper and picking them out 2 by 2 I assigned partners.  You should have an email from me to you and your swap buddy.  Please email your partner at the email I’ve used and give them a mailing address for your goodies.  Let me know if you didn’t get an email, or if there’s a problem.
Kait & Erin S
Janee &  Wendy
Janet & Ashley Ann
The Mama & Grace
Andrea & Amber
Jessica & Tara
Wendy is in here two times, since she said she’d play twice.  She’s so awesome.  Some of you mentioned throwing bits of other things in your package and that’s totally cool but please make sure you have at least 10 oz of usable fabric bits and pieces.
I’m going to be posting project ideas to use these, and other scraps, as well as links to scrap busting ideas.

Thrifting fun!

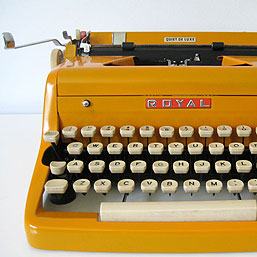
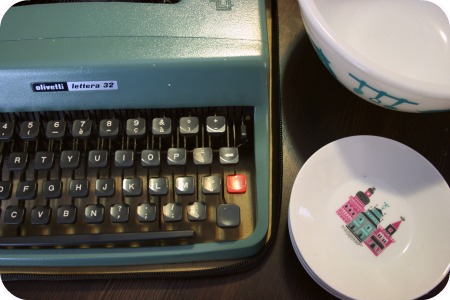
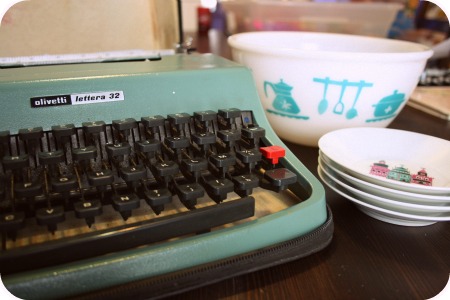
Last night the plan was to go fabric shopping with my bff.  We did a bit of that but weren’t equiped to really search out what she needed so instead we decided to pop into some thrift stores.  We were  amazingly rewarded!  She found a vintage typewriter that she loved, but it was missing the J.  While pondering if she shoudl just take it J-less or not she realised there was another one buried under some stuff right beside it.  I wandered over and checked it out and while I did she lifted up the round keyed one and found the J lying there.  It just needed to be snapped back on.

So we left, each with a typewriter.  Price tags $17.99 each.  Score.

I found this cute little mixing bowl, no idea if it’s actually ‘vintage’ or not but I love the colour and designs.  The little set of plates feature cute little building and are from Germany.  My husband and I have vowed to only have knick knacks if they are from our travels.  These plates aren’t, but they’re really cute and we’ve been to Germany so same thing really.

I also got a Samsonite train case but it’s still in my van and needs some surface cleaning before a photo shoot.

DIY – Lining a tote!

I have this great Etsy tote I picked up at the Renegade Craft Fair in Chicago.  As a crafty blogger and shopkeeper I was so thrilled to have something with the Etsy name on it!  Normally I use it as my work/school bag.  Over the Christmas holidays I planned on relining it with some fun fabric.  Initailly I was going to use a vintage sheet, but then I thought of better plans for those where they’ll be seen more and settled on this cute little print I was given in one of those loads from a friend.  Those ‘oh I came across this at my house/mom’s/grandmother’s and thought you might be able to use it’ sort of things.   So here are some steps you can take to turn a simple tote you have into something way cooler.
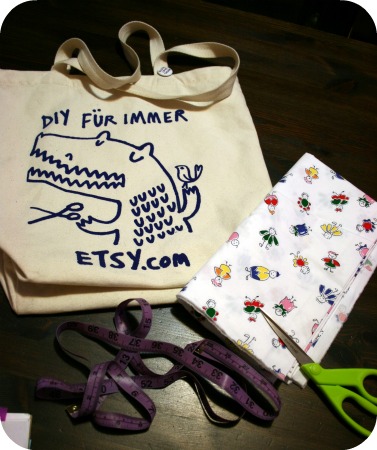
You will need a tote, fabric for lining it, tape measure, scissors, sewing machine and iron.

If you want to follow my Little Miss Fancy Pants steps you’ll also need a zipper.  Just in case you want to take the more adventurous path.

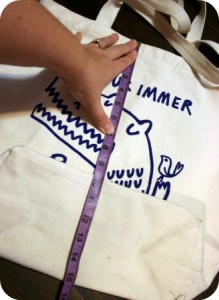
First measure your tote.  Measure the width and length.  My tote has boxed corners so I flattened the bottom out to get an accurate measurement.
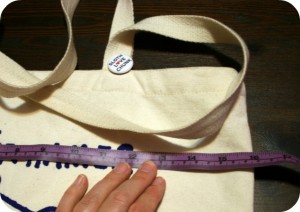
My tutorial contains some very technical steps so bear with me.  Mostly it’s me just making up things I think will work along the way.  Don’t worry, they do work.

Lay the tote onto the fabric you’re going to line it with and leave some seam allowance along the top and sides, 1/4 inch is good.
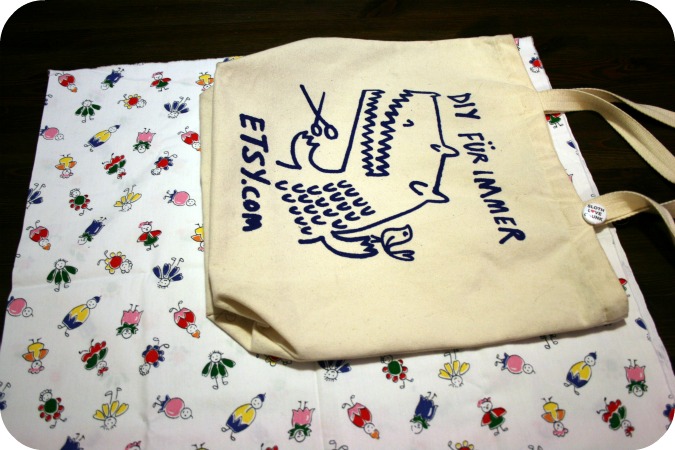
Because of the boxed corners I measured to the seam and added that measurement to the lining fabric.  Then later I had enough material to box the lining as well.  Mine was about 2 1/2 inches so that’s where I made my cut across the bottom of the lining fabric.  Cut down the remaining side to leave the 1/4 inch seam allowance.  Now you have your tote and 2 pieces to line it with.
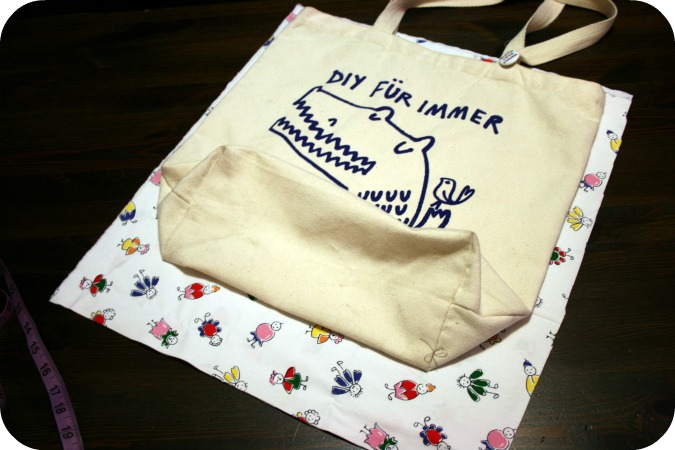
*If you’re feeling up to adding a zipper I’m going to post those steps tomorrow in a part 2 DIY*

Otherwise carry on here!

Head to the sewing machine, lay the 2 lining pieces right sides together and sew around the sides and bottom, leaving the top open.
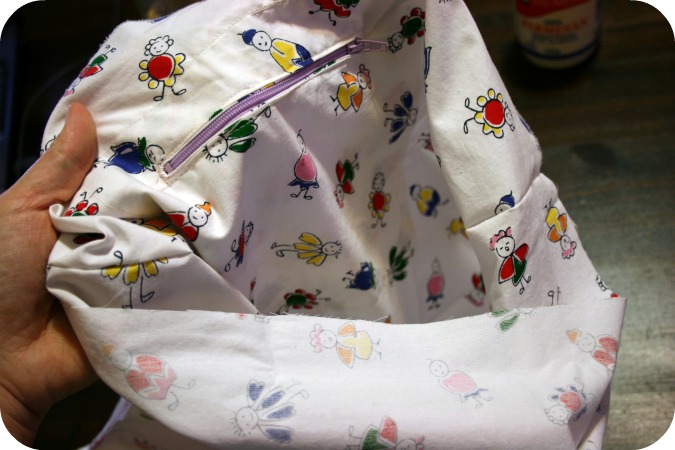
Now you will have this big pocket type lining piece (possibly without a zipper).  Can you tell I was screen printing with my lovely emulsion covered thumb?

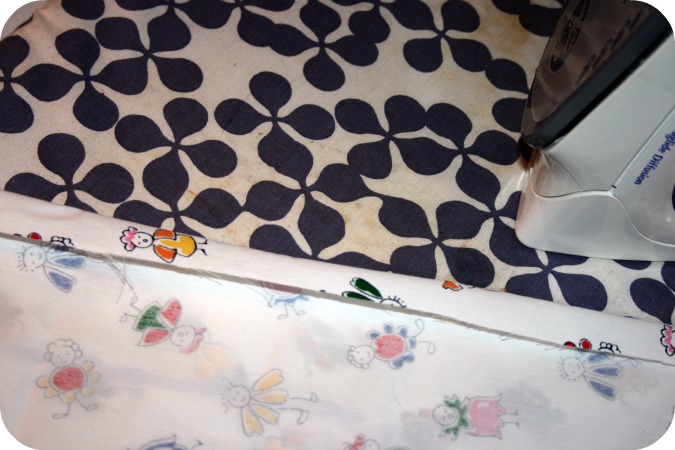
Fold over the top edge 1/4 inch and press.   I think I need to put ironing board cover on my To Sew list!
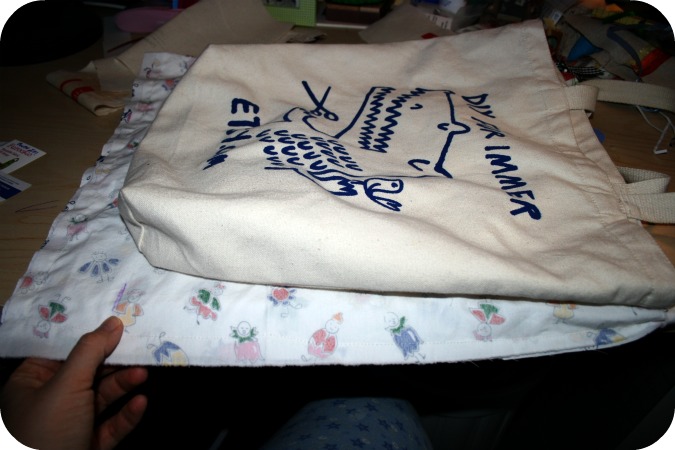
If your tote has boxed corners, lay your lining piece under your tote with the top edges lined up where they will be sewn.  Mark off the bottom of the exterior tote so you have a guide line to sew along.  Now note it was late at night and you can see my lovely jammie clad knee.
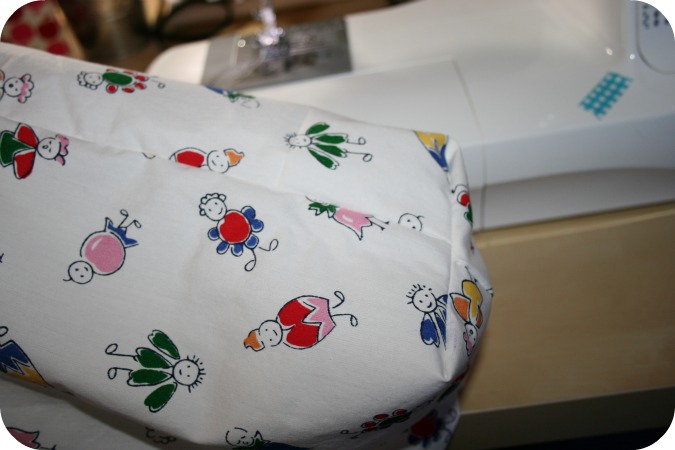
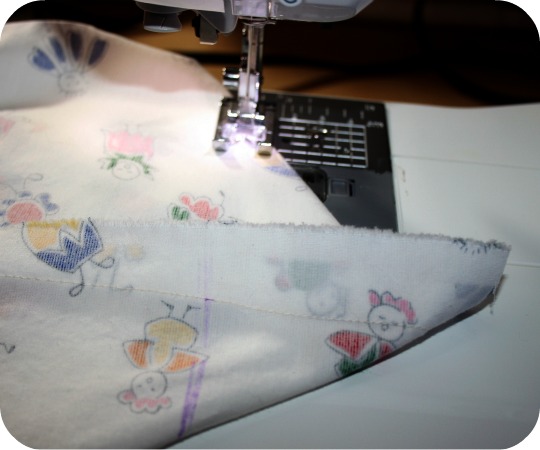
Fold the bottom of the lining at the mark line to make a squared bottom and sew straight across the tote to create a boxed corner.  You can trim that excess triangle of fabric off or just fold it under.
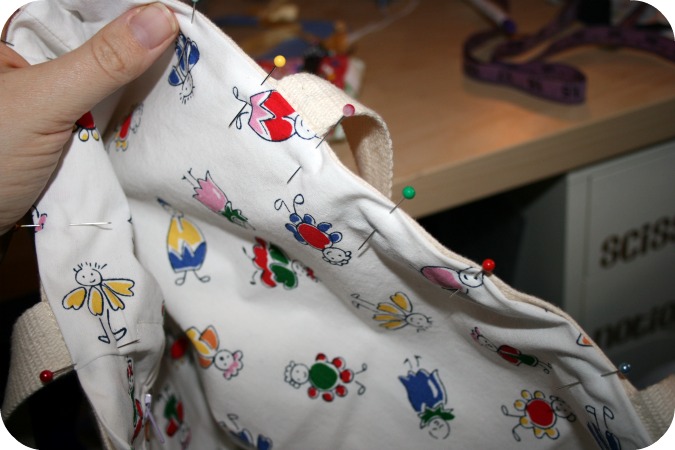
Now plunk your lining inside the pre-made tote exterior.  Make sure you get the boxed corners down deep in the tote and pushed in at the corners.  Match up the top seams of the lining and tote and pin all around.
Go back to the machine and sew all around the tote top edge with a 1/4 inch seam allowance attaching the lining to the tote!
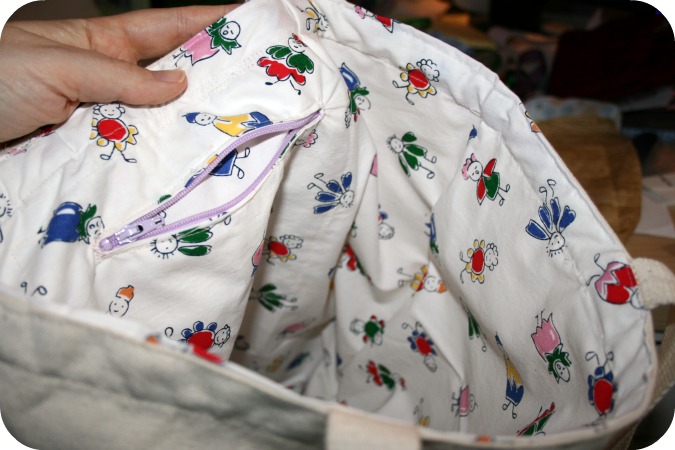
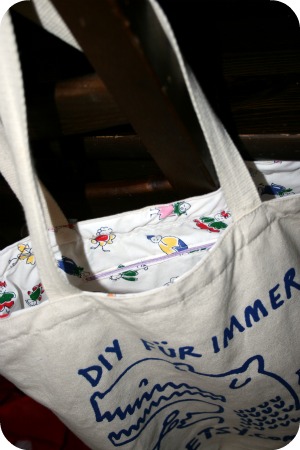
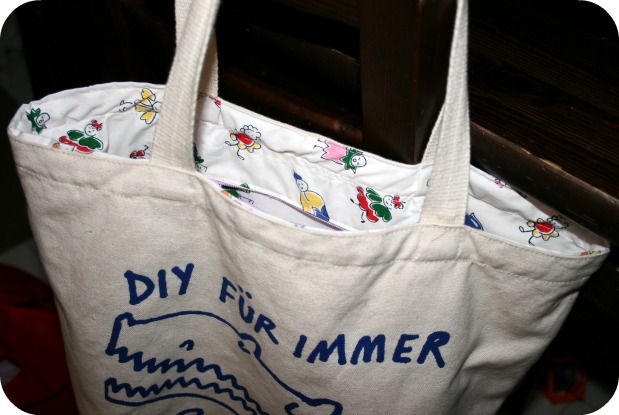
Behold your newly lined tote!