Category Archives: tutorial-ish

DIY vintage pillow case restyle.

On the weekend I turned my kitchen table into a bit of a nightmare so I could squeeze in some crafting while Nate was avoiding his nap. I was working on a project with vintage pillow cases and inspiration hit and took me on a bit of a detour.

Start with a vintage pillow case and trim off the nice finished edge at the opening where you put your pillow in. You can either trim really close to the stitching and have a closed loop piece, or cut into it and have an open edge. I’m going to show you how to work with both options.
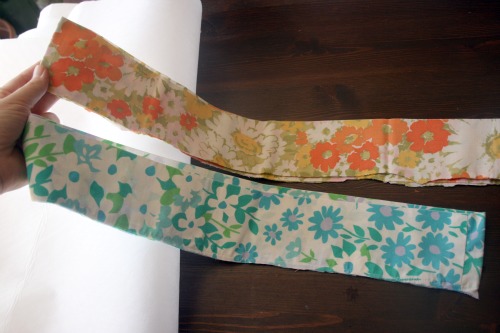
Now you have 2 big loops, cut off the seam so you have one long piece of fabric.
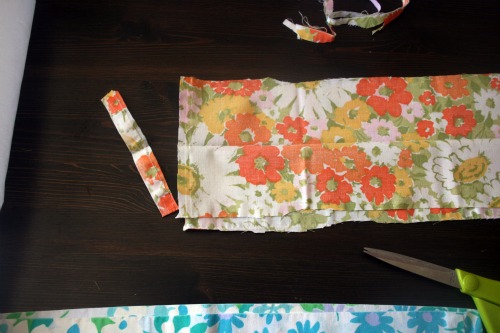
I was cutting the orangey one for another project and in the process I trimmed a bit into the seam and created an opening on one edge. So here’s how to finish that off and make a nice clean edge, and a thinish headband.

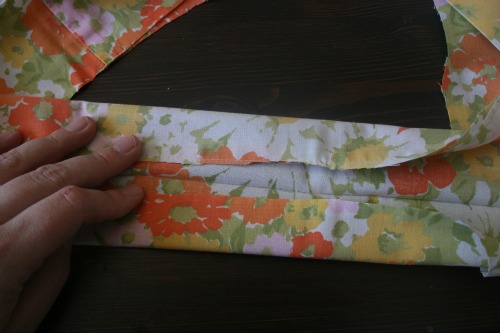
Open the fabric up and use the fold inside, the part that was the very end of the pillow, as a guide to fold the unfinished edges inward. I didn’t go all the way because I wanted my band a bit thicker.

Then fold it again so the raw edges disappear inside. You can iron and pin at this point before you sew. Of forge ahead like I did.
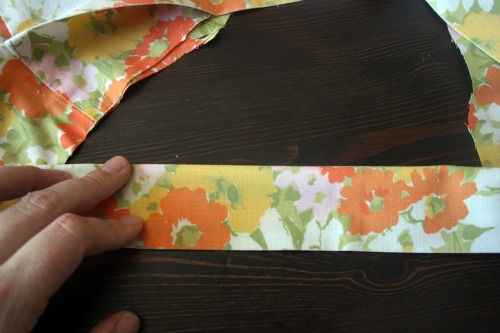
Top stitch along the sides to make nice clean edges. Fold the bottom raw edges up inside the ‘tube’ to create a clean edge and topstitch to seal it all in. Then you have one nice ruler shaped piece of fabric that you can wrap around your head and tie at the back.
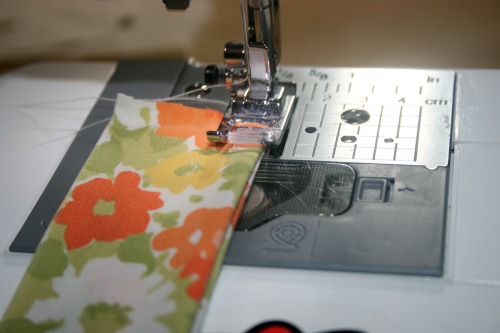
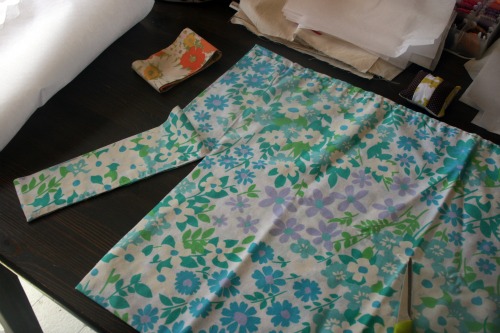
For my blue headband I just carefully trimmed around the pre-existing stitching. Why make more work?
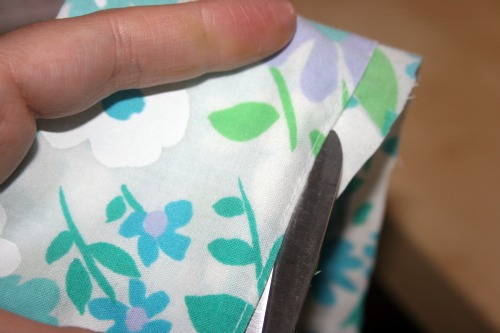
Then I cut the ends on an angle just to had some interest to the ends. Fold the raw edges inside and top stitch around the whole thing.
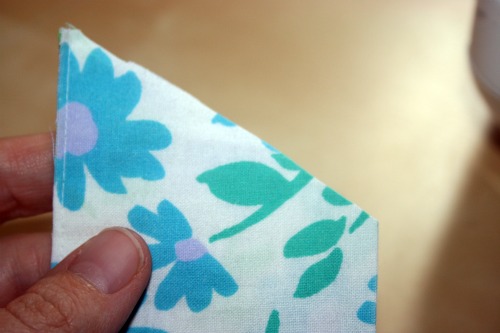
There you have it, a lovely new headband that was half made already!

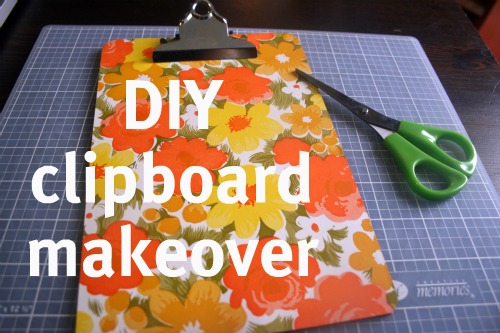
DIY clipboard snazziness

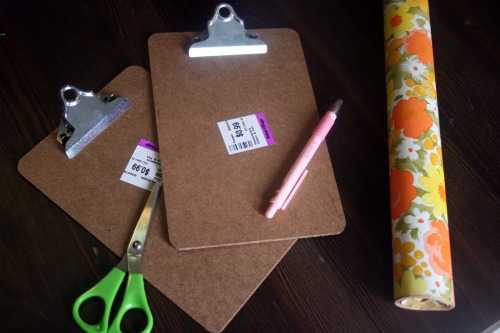
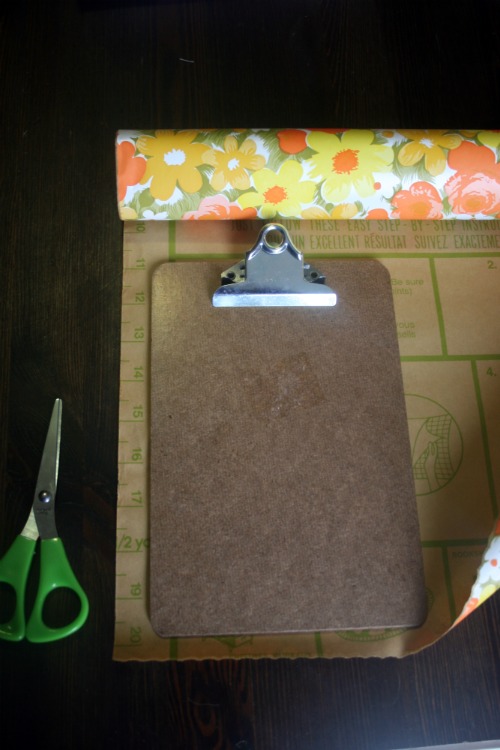
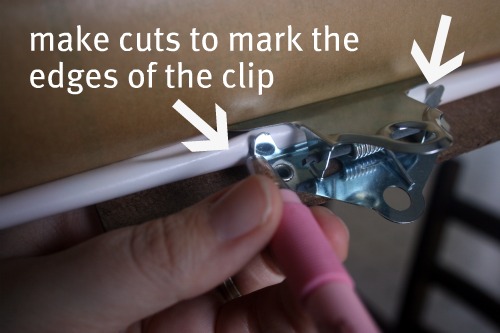
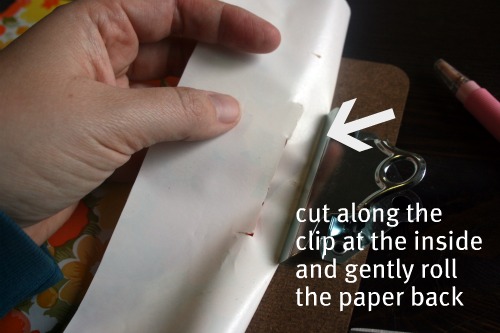
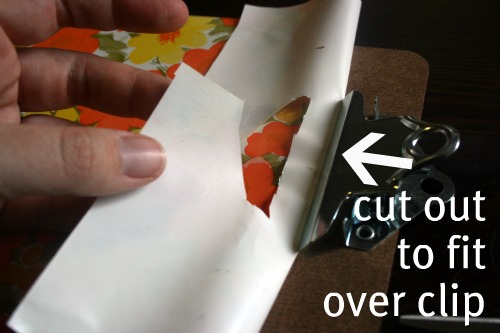
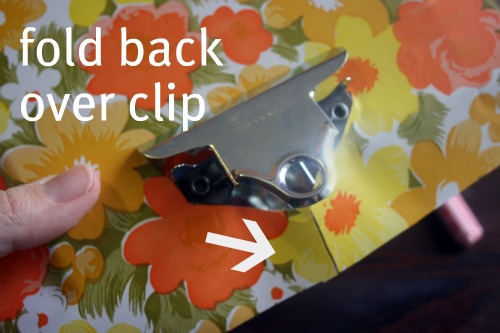
You will need some scissors, an exacto knife or some sort of precise cutting instrument, some shelving/contact paper, a cutting mat helps annnd a clipboard!  My clipboards are little mini ones I picked up for 99 cents each at Value Village.

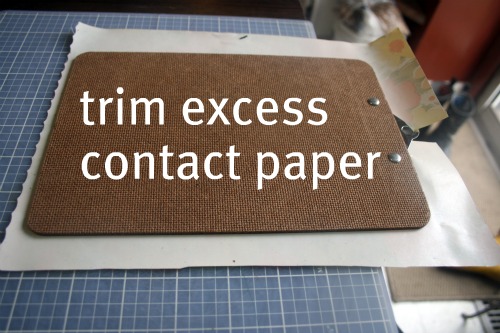
Remove any stickers or labels from your clipboards before you start.  I left the price tag on my first attempt and there’s a faint outline of the price tag.  Measure your clipboard or just do what I did and lay it on the contact paper and cut out a piece big enough to cover it.

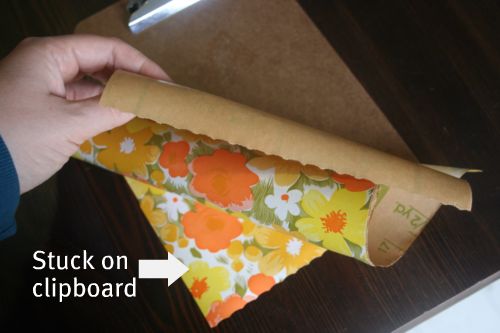
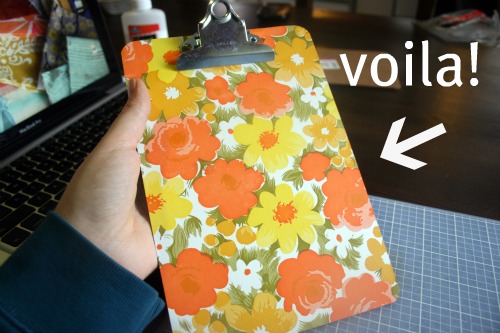
Cut the piece out and starting at one of the bottom corners stick the contact paper on and work across the clipboard making sure there are no bubbles or bumps.


It has been a ridiculously busy week in my house. It’s literally taken me about 5 days to write this post. Which is sad since there’s hardly any writing!

Shipping tip.

Sometimes I’m a bad Etsy shop owner. Mostly due to that job I work during the week and those 2 amazing things I made that live in my house with me. I like to feel like there’s some progress being made and so sometimes when I don’t have enough time to completely sew a cup cozy I’ll address envelopes or write thank you tags, or something smaller that I can accomplish and feel good about.

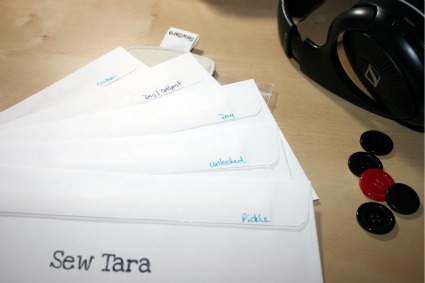
Here’s a tip for how I keep organized with a bunch of addressed envelopes lying around. After I address the envelope I just jot on the back a little something that will tell me the cozy that needs to go in it.

It’s not rocket science, and I’ve seen some of my personal purchases arrive like this but it helps save some time.

DIY Scrapbusting eye pillow project.

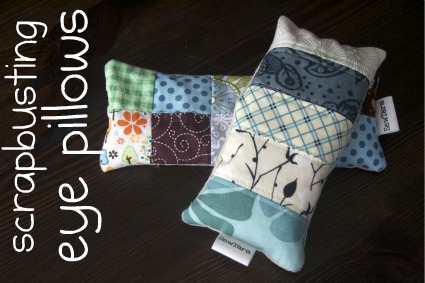
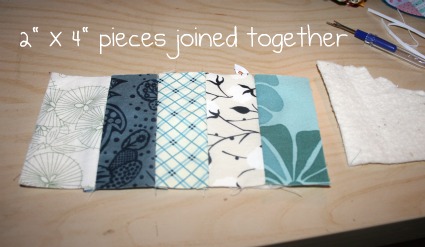
Now that everyone has their lovely scrap swap bits I figured it was time to start sharing some scrapbusting ideas.  I made these fun little eye pillows over the weekend.  For one I used my pre-swap scraps that are all cut into 2 x 2 pieces.  For the other I pieced together 5 2 x 4 pieces.  Either way the math is the same and the finished pillows are the same size, perfect for laying across your eyes and having a quiet moment to yourself.

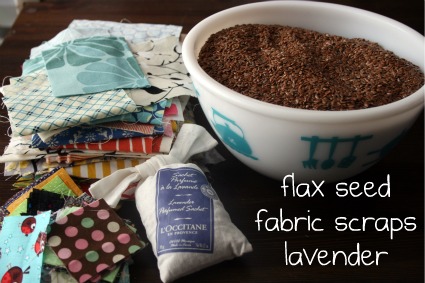
Here’s what you need.  I suppose you could use some other smelly scent but I like lavender and so I just broke open this drawer smelly thing I had and used the bits from inside.

I joined the pieces together and then cut a piece of batting for the back and did some accent quilting.  Then I cut a piece of my nice soft natural cotton for the back.  With right sided together I zipped around and left a little opening to pour in the filling.

I fashioned a little funnel out of paper and poured in flaxseed and lavender until the pillow was full but still floppy enough to curve nicely over my nose.  The last step is sewing up the opening, and voila you have a relaxation aid!

I created a Flickr group where you can post things you’ve made with odds and ends of fabric.  If you make something using one of my tutorials I’d love to see it there.

Vintagey laptop sticker DIY

My last laptop was plastered in fun goofy stickers.  Then I got my new shiny Macbook and it’s just been all simple and silver, until now.  I tracked down some vintage Contact paper to adorn my lappy.  After checking around in a few thrift stores, and frankly just not wanting to wait, I went ahead and ordered some on Etsy.  I’ve been checking back frequently and the selection does vary from day to day just in case you want to grab some.  Also, be sure to check under the ‘supplies’ and ‘vintage’ categories, you get different results.  While I was waiting for my goods to arrive One Pearl Button coincidentally posted a link on covering idevices yourself with helpful links to templates.  But I wanted to do my Macbook and the templates don’t take into account the apple cut out.  So I got adventurous.

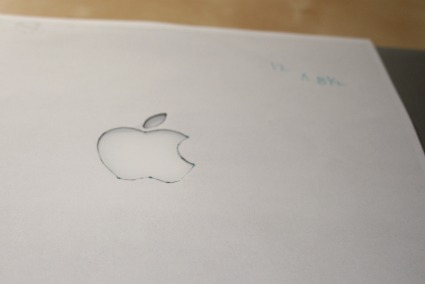
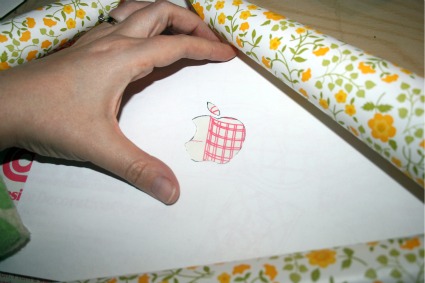
First I used my printer/scanner/copier and made a copy of the front of my laptop so I’d have a copy of the apple logo.  Next I carefully cut out the apple with my little exacto knife pen thingie.  I placed it over my laptop just to make sure I trimmed it well.

I measured the top of the laptop and guesstimated at the size of the surface area before the slight curve.  I have a 13 inch and I figured it was about 12 x 8 1/2.

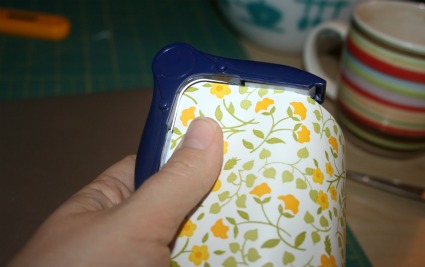
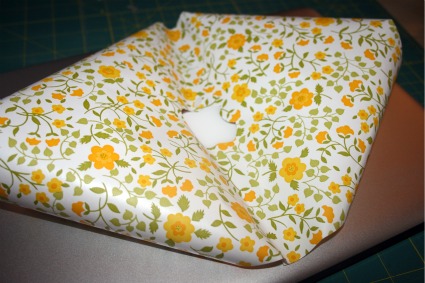
I cut the apple out of the Con-tact paper, aproximated the center and cut the piece 12 x 8 1/2.  Then I used my scrapbooking corner rounder to clip the corners.

Sticking it onto the laptop proved a bit finicky.  I didn’t want to start at one side and work my way across so I carefully took the backing off and exposed the sticky side of the Contact paper in the middle where the apple is.  This allowed me to line up the apple all nice and straight and then just work my way out towards the edges.

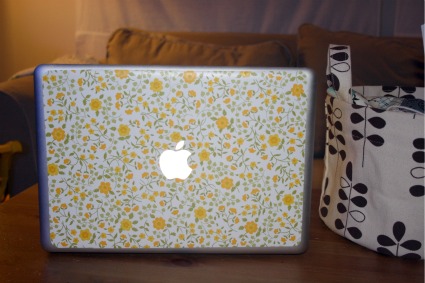
Once it was all nice and flat I opened the cover and examined my handiwork with the apple lit up.  There was a spot where I needed to trim and I just used the exacto really gently to shave off a teeny bit.  I’m sure happy with the results, I love the grey and yellow combo.

Plus I’ve got some other patterns in my stash and so when I get bored of this I can just peel it off and switch it.

Some much needed Mommy organization and crafty fun.

Somehow I’m getting stuffed up again.  It’s so not cool.  We all just got over some hideous cold.  I don’t want a new one.  I saw this printable linked  and had a great idea for it.  It’s from yoursecretadmiral and she’s a superstar for sharing such a fun little printable.

I wanted to make something to help me plan lunches during the week.  I teach in the afternoons, which at my school start at 12:25, but I have a 10 minute yard duty everyday from 12:15-12:25.  So I have to start lunch for me and the boys at about 11, especially with all the winter gear.  If we go out in the world to do something in the mornings I’m usually rushing to get a lunch ready and I’m lucky if I get to eat before we have to run out the door and across the street to the sitter.  I *hate* feeding them quick convenience food and really make an effort to prepare from scratch.

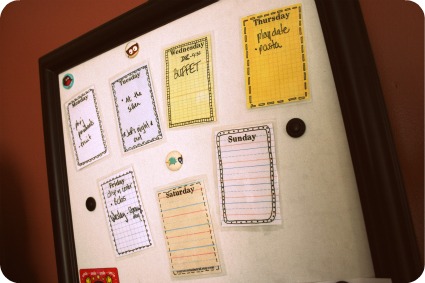
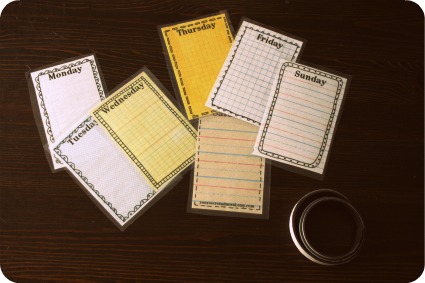
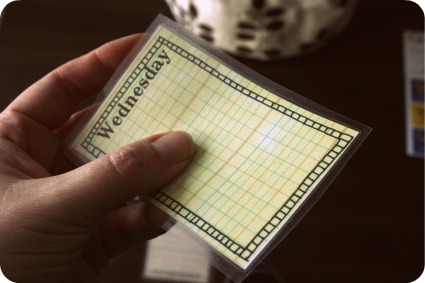
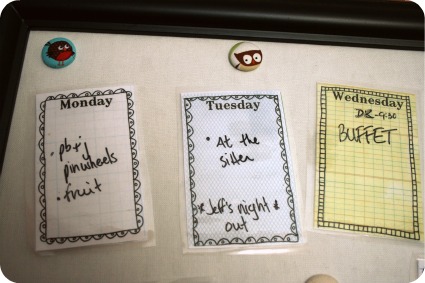
I printed out the file, cut the days apart and laminated them.  I have the cute little “My lists” house set aside for a notebook or something, I didn’t laminate it.  Then I cut pieces from a roll of magnetic tape and attached a little bit to the back of each day.  Then you have little magnets that are also write off/wipe off boards!

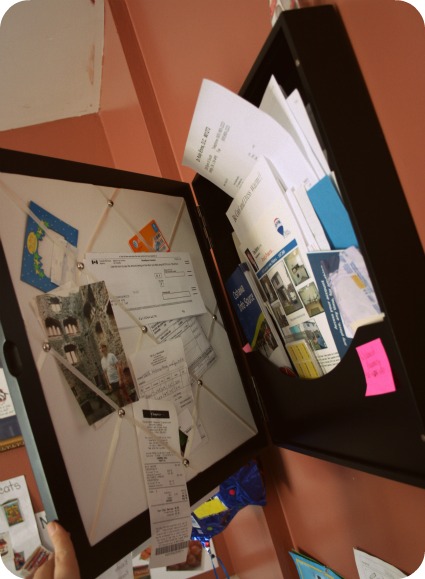
You could put them on your fridge or anywhere else magnetable.  These are on one of the handiest things in our kitchen, that isn’t used for cooking.  I’m a tad embarassed to show the inside but it’s such a wonderful little thing I’m going to share.  Magnetic front, builiten board back and storage compartment, all in one handy good looking thing!

Cheapish sensory fun for kids.

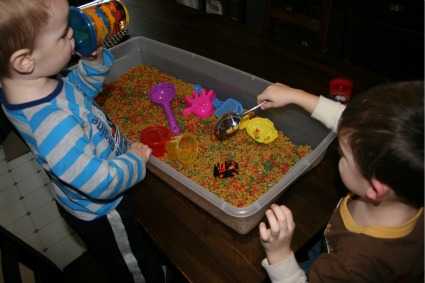
It’s snowy outside. I’ve had this idea for a while but finally got around to it. I grabbed an under bed storage box, 4 bags of elbow pasta, food colouring and rubbing alcohol. I was going to use rice but was told by someone that it can get quite slippy when it spills on the floor. Plus elbows make a noise you can hear and they’re easy to spot and pick up with your bare hands.

My boys loved it and have played in it every day.  Wesley insists on calling it ‘macaroni and cheese’, it’s cute.  Look, Nate can’t even stop for a drink it’s so much fun!!  I tossed in some metal kitchen utensils too since they make fun noises with pouring macaroni.

I had picked up some discount sand toys at the end of the summer with this plan in mind.  The entire thing cost me under $20 but you could use any tub (I just wanted hide away storage) and you might have rubbing alcohol and food colouring already on hand.  I Googled how to colour pasta, it’s ridiculously simple.  Grab a zip lock type bag, pour in about 1/4 cup rubbing alchohol, about 12 drops of colouring and some pasta.  I wasn’t exact.  It’s pretty easy, more colour, darker pasta . . I’m sure you get it. Leave it sit in the bag sort of flattened and spread out for one hour then turn it over for another hour.  Pour it all out onto a cookie sheet with some paper towel or rag on it and let it dry over night.  In the morning it’s all good to go!

Note don’t bother trying to colour it yellow it does nothing.  I assumed so but had to try just to be sure.

Cheap easy gift/item tags.

I’ve been floundering trying to decide on how to prettily package my items I sell.  I know it’s so fun to get something all wrapped up beautifully, it’s enough of a present to get your order, then it’s like another present to have it look beautiful.  It doesn’t determine wether or not I re-order from that person, but it does make me smile.

I absolutely adore all the MOO products I’ve accumulated but I’ve noticed it can get pricey to decorate your items with pretty packaging so I was looking for a inexpensive way to create some packaging and reusing things I already have is a bonus.

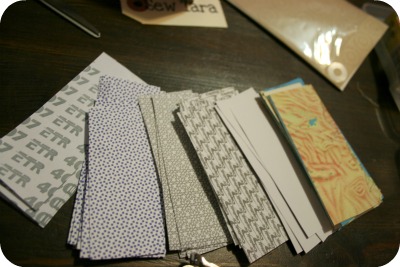
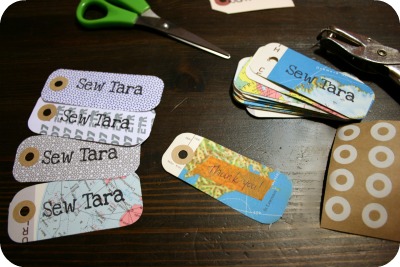
I gathered some paper stuff I had lying around, used envelopes, those return envelopes that for some reason still come with all the bills I pay online and some pages from an old atlas.  I cut them up into little rectangles sized to fit my SewTara custom stamp.

Then I SewTara’d one side, punched a hole at one end and used these cool kraft reinforcements I’ve had sitting around waiting for the perfect use.  You can also find white or coloured reinforcements in stores.

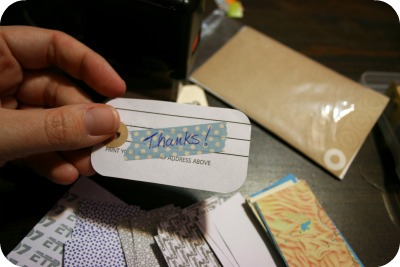
On the other side I stuck a small piece of Japanese washi tape to create a little canvas for my thank you message.

This would be a great technique for gift tags.  There’s even little ‘To: From:” stamps out there you could use if you didn’t want to just write it.  Every year when I pack away the Christmas decorations I keep the stack of cards we received.  Next year I’m going to turn those into tag for all our gift giving fun!

DIY – Adding a zippered pocket while lining your tote!

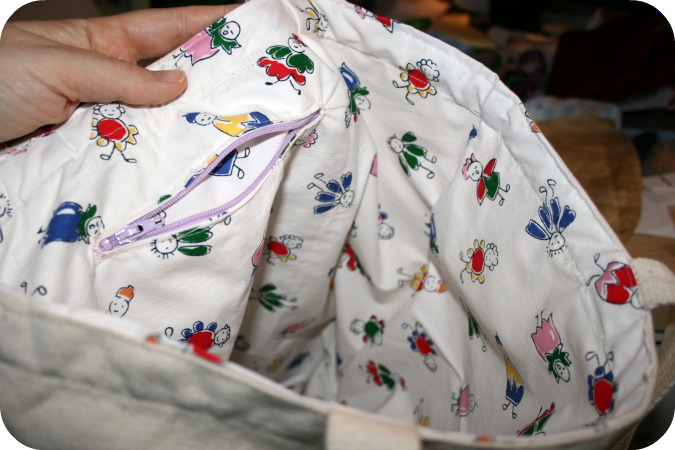
Ok, welcome those of you who are feeling adventurous!  Here’s my little part 2 on lining a tote where I’ll walk you through the steps to adding a zippered pocket to the lining.

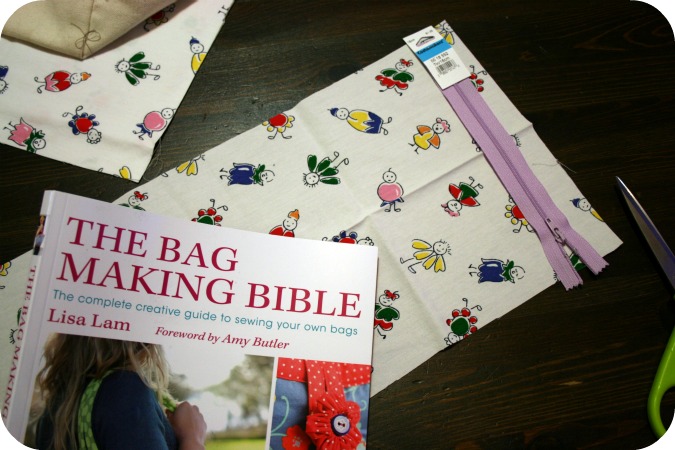
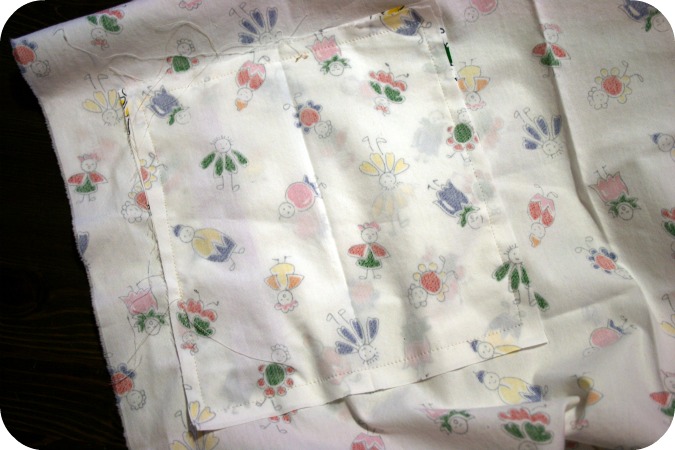
I cracked open my Bag Making Bible for this part and followed the instructions for inserting a zipper.  Lisa Lam explains very well,  I’ll give you enough information, hopefully, to tackle it yourself.  I used the panel of fabric I cut off the bottom to make my pocket.  I just folded it in half and cut it to have 2 squares to use for the pocket.

Decide how big you want your pocket and cut 2 pieces of fabric to that size, allowing for a 1/4 inch seam.  The zipper should be placed with about 3 inches on either side of the pocket pieces.  I didn’t know this, but you can just cut off the end of the zipper if you need to shorten it.

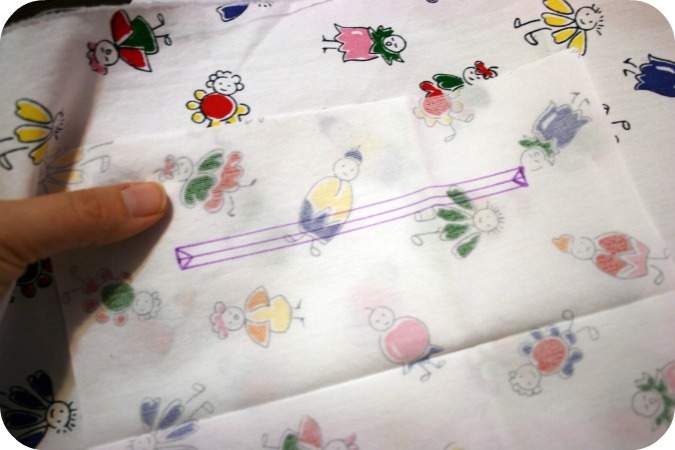
Place one of the pocket pieces right sides together on the lining piece where you want to have a pocket.  Trace out a rectangle the same size as your zipper.  Mark a line down the middle and those cute little triangles at the ends.

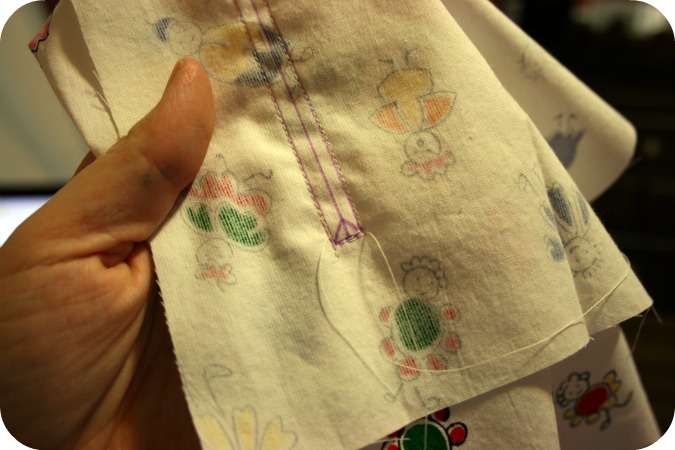
Sew along the outside of the rectangle, this will sew the pocket piece to the lining piece.

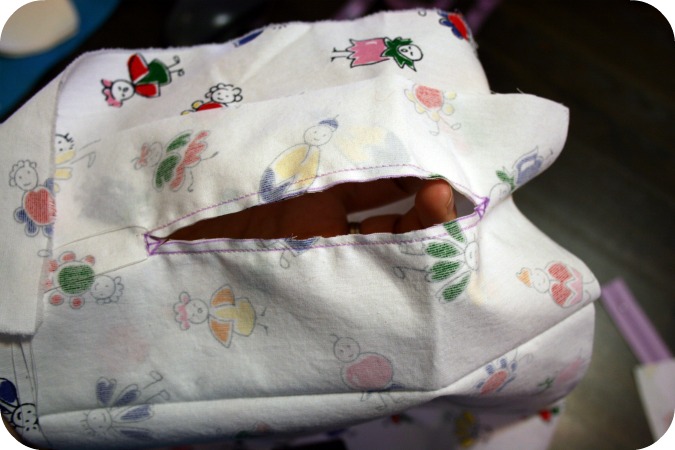
Cut along the guide lines you drew inside the rectangle, the half way line and the little triangles.

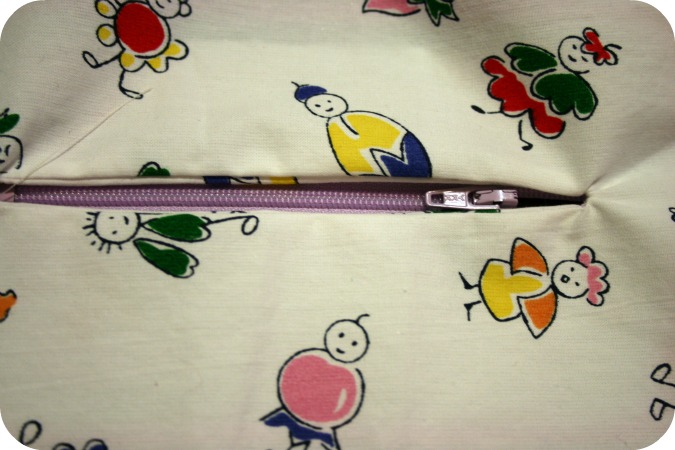
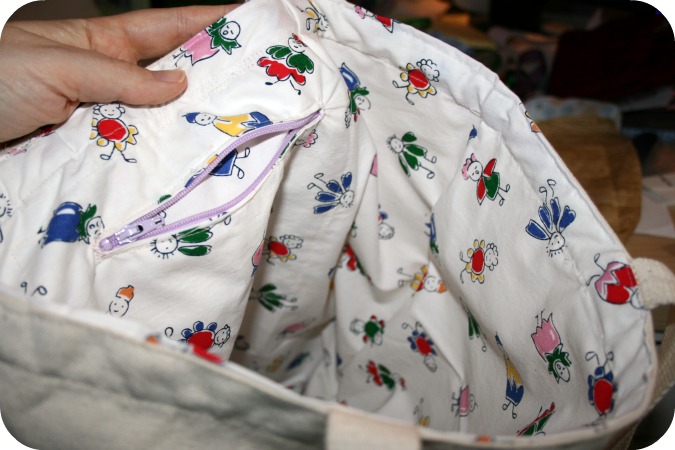
Next turn the pocket piece through the hole, as Lisa says “like you’re putting a letter in the post”.  Press to get a nice crisp seam.  Lay your zipper on the wrong side of the pocket.  The book suggested using double sided tape stuff to secure it, I don’t have that and just pinned it.  Use your zipper foot to sew along and stitch the zipper in place.

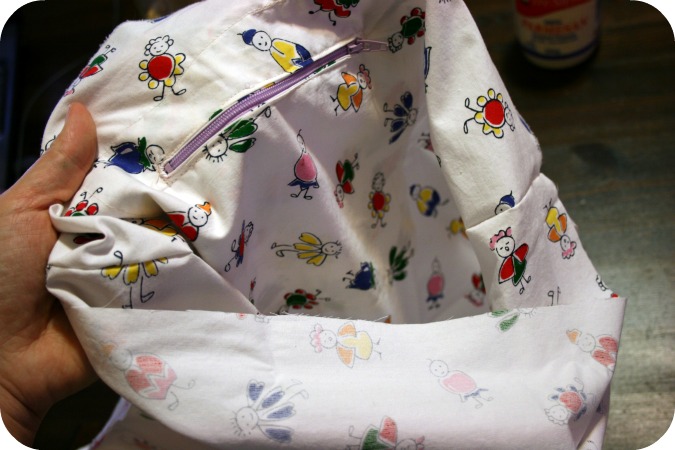
Lay the lining piece right side down and place the other pocket piece, right sides together, on top of the pocket piece with the zipper in it.    Sew around all four sides with a 1/4 inch seam.  This will stitch both pocket pieces to the lining fabric.

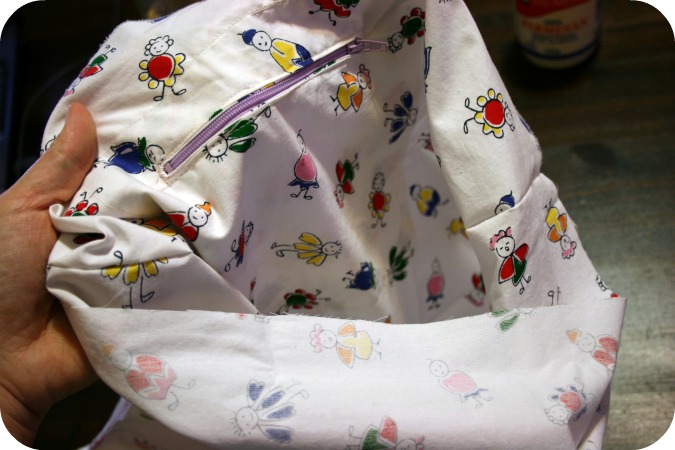
Flip it over and access the pocket through the zipper!  Voila!

Now head back to post part #1 to finish lining your tote.

DIY – Lining a tote!

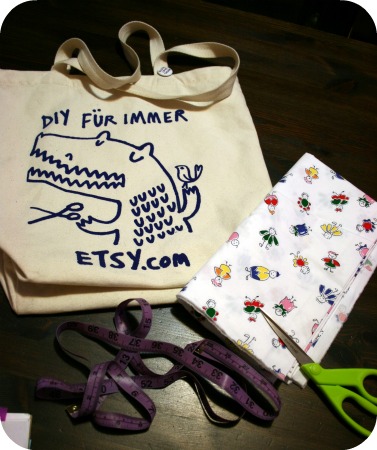
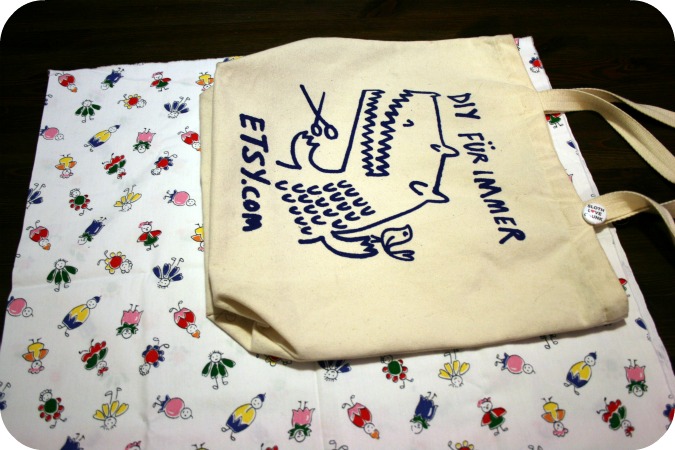
I have this great Etsy tote I picked up at the Renegade Craft Fair in Chicago.  As a crafty blogger and shopkeeper I was so thrilled to have something with the Etsy name on it!  Normally I use it as my work/school bag.  Over the Christmas holidays I planned on relining it with some fun fabric.  Initailly I was going to use a vintage sheet, but then I thought of better plans for those where they’ll be seen more and settled on this cute little print I was given in one of those loads from a friend.  Those ‘oh I came across this at my house/mom’s/grandmother’s and thought you might be able to use it’ sort of things.   So here are some steps you can take to turn a simple tote you have into something way cooler.

You will need a tote, fabric for lining it, tape measure, scissors, sewing machine and iron.

If you want to follow my Little Miss Fancy Pants steps you’ll also need a zipper.  Just in case you want to take the more adventurous path.

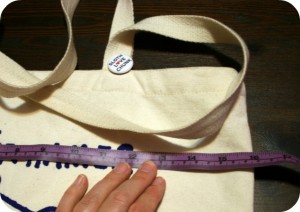
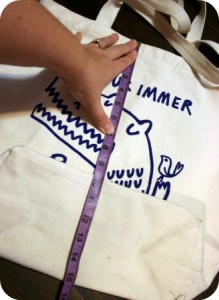
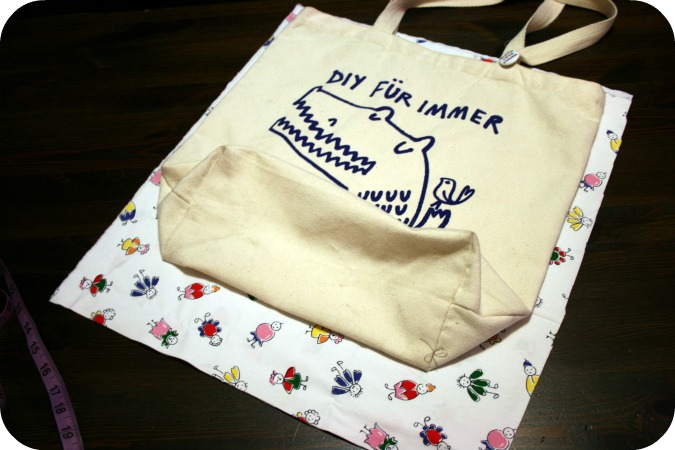
First measure your tote.  Measure the width and length.  My tote has boxed corners so I flattened the bottom out to get an accurate measurement.

My tutorial contains some very technical steps so bear with me.  Mostly it’s me just making up things I think will work along the way.  Don’t worry, they do work.

Lay the tote onto the fabric you’re going to line it with and leave some seam allowance along the top and sides, 1/4 inch is good.

Because of the boxed corners I measured to the seam and added that measurement to the lining fabric.  Then later I had enough material to box the lining as well.  Mine was about 2 1/2 inches so that’s where I made my cut across the bottom of the lining fabric.  Cut down the remaining side to leave the 1/4 inch seam allowance.  Now you have your tote and 2 pieces to line it with.

*If you’re feeling up to adding a zipper I’m going to post those steps tomorrow in a part 2 DIY*

Otherwise carry on here!

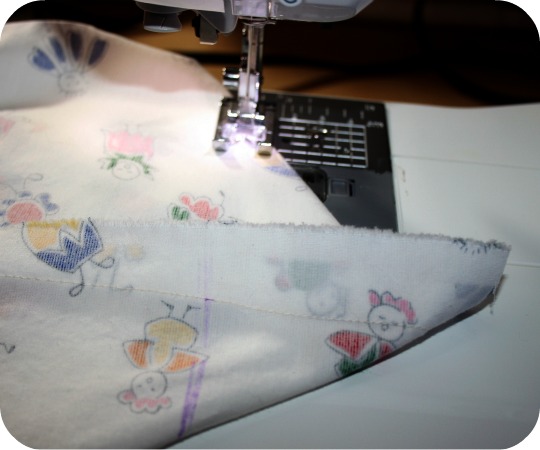
Head to the sewing machine, lay the 2 lining pieces right sides together and sew around the sides and bottom, leaving the top open.

Now you will have this big pocket type lining piece (possibly without a zipper).  Can you tell I was screen printing with my lovely emulsion covered thumb?

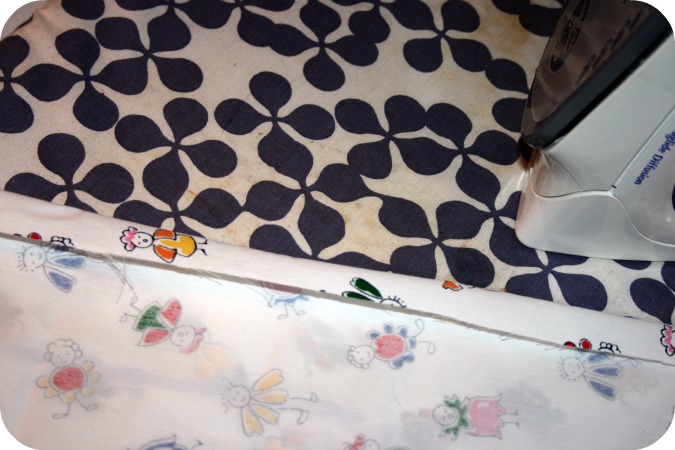
Fold over the top edge 1/4 inch and press.   I think I need to put ironing board cover on my To Sew list!

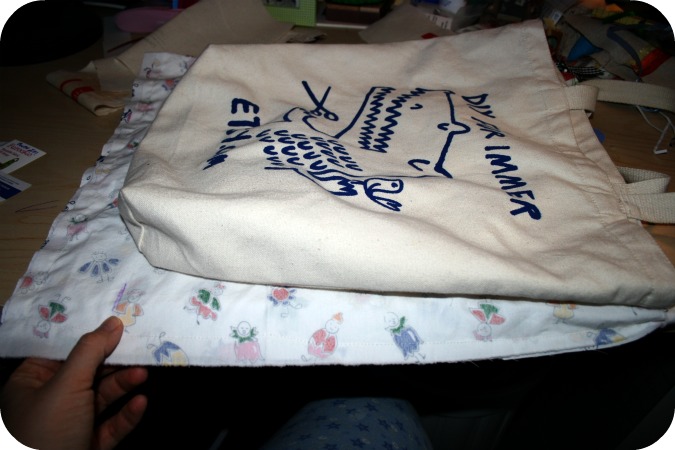
If your tote has boxed corners, lay your lining piece under your tote with the top edges lined up where they will be sewn.  Mark off the bottom of the exterior tote so you have a guide line to sew along.  Now note it was late at night and you can see my lovely jammie clad knee.

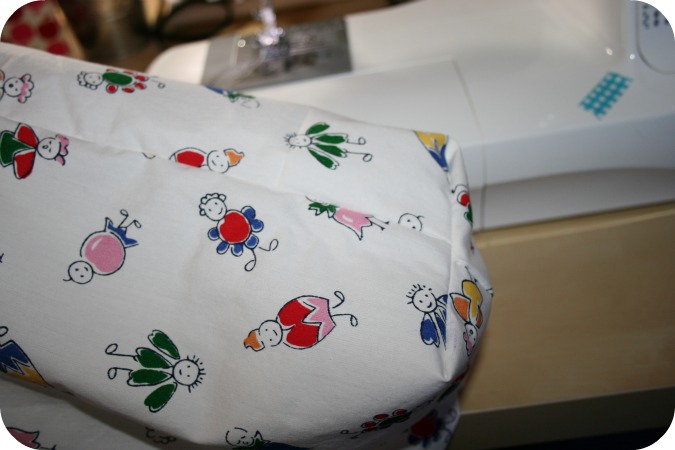
Fold the bottom of the lining at the mark line to make a squared bottom and sew straight across the tote to create a boxed corner.  You can trim that excess triangle of fabric off or just fold it under.

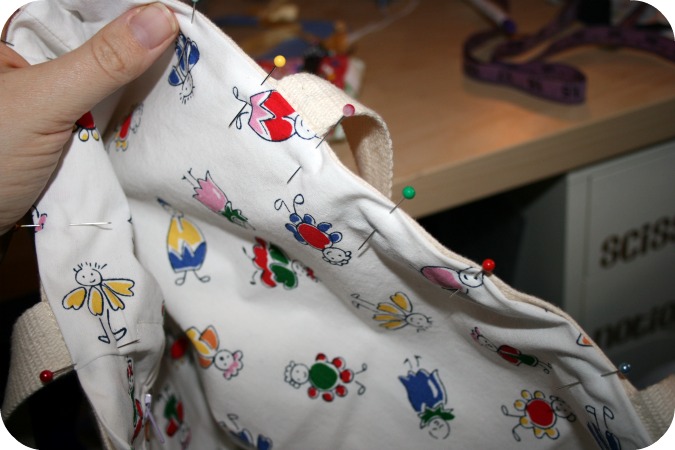
Now plunk your lining inside the pre-made tote exterior.  Make sure you get the boxed corners down deep in the tote and pushed in at the corners.  Match up the top seams of the lining and tote and pin all around.

Go back to the machine and sew all around the tote top edge with a 1/4 inch seam allowance attaching the lining to the tote!

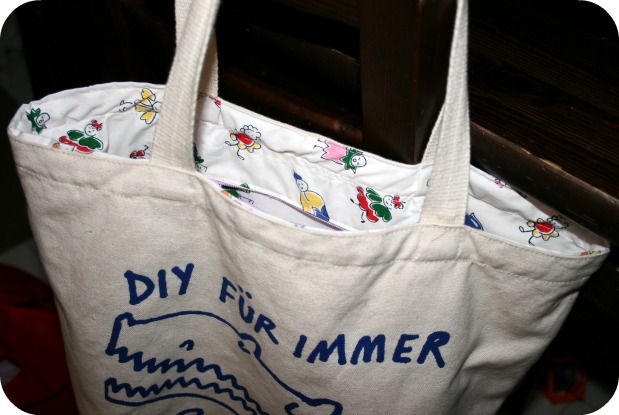
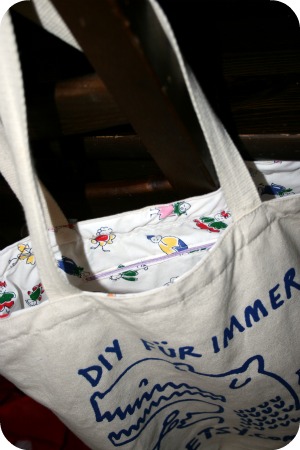
Behold your newly lined tote!