Category Archives: sewing

Scrap Swap Time!

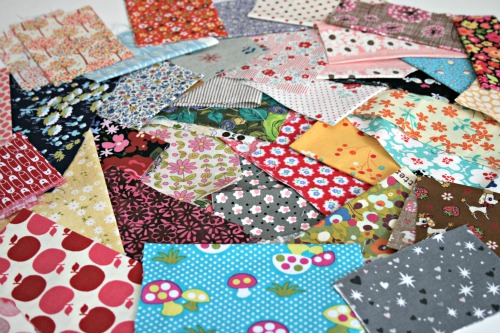
Sooooo who wants to scrap swap?!

I’ve done a bunch of summer sewing and hope to do even more during the fall so let’s revitalize our stashes!

Leave your name here, make sure there’s an email address/blog/contact info and I’ll find you a buddy.
Sign ups are open until Sunday night, September 22nd, and then I’ll match us all up and let you know Monday who your partner is.

The keep everyone happy guidelines:

– scraps must measure at least 2 inches by 2 inches, there is no maximum size
– scraps must be clean and in usable condition
– scraps can be new fabric or vintage reclaimed pieces
– fabrics should be of relatively the same weight (cotton preferred) to allow for quilting, or mixing with other fabrics and use in the same project
– be ready to send 10-ish ounces to your partner by Monday October 1st.

Swap is open to everyone so please be aware you may be shipping internationally unless you tell me otherwise.

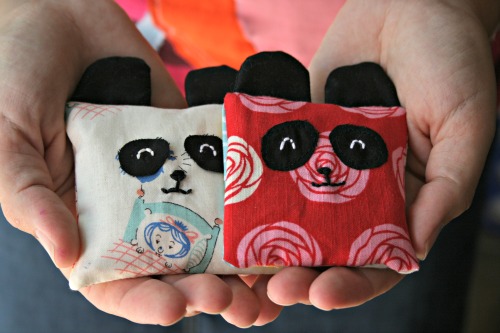
DIY Panda drawer sachets

While shopping at a farmer’s market the other weekend I picked up some lavender and got a neat idea for these sachets for my drawers. They’re really quick and easy and can help destash your scrap bin, something I love to do. I’m making a run for the border today and so in lieu of a Create Along post (too busy with back to school) I thought I’d share this instead.
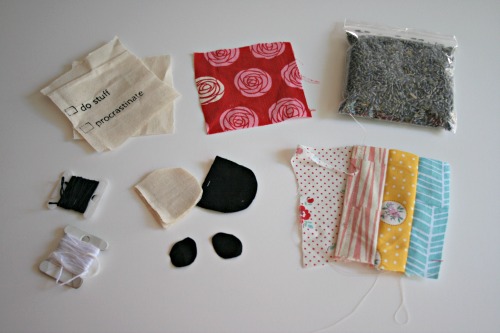
So you will need the following supplies, along with a needle, on a machine or for your hand.
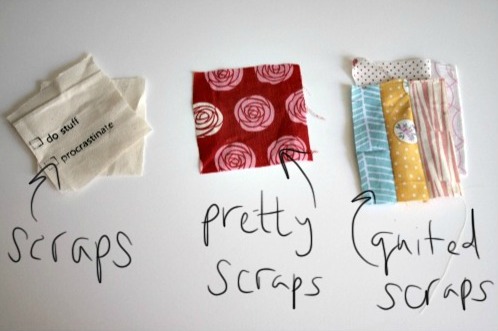
The fabric pieces can be any measurement you want, they just need to end up a square. I made 2 and one is slightly smaller than the other but they’re around 3 1/2 inches square. You need to make 2 quilted pieces that measure wide enough for your front piece and then have some extra because they will overlap and make an envelope pillow cover sort of closing.
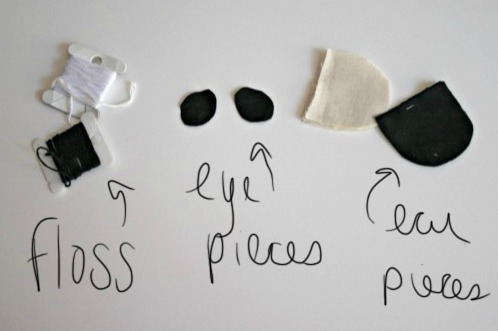
You’ll need white and black embroidery floss, some black fabric for eyes and ears and I used some scraps from my cup cozies as lining for the ears.

Panda making

1. Place the eyes on the pretty scrap (sew them on with black thread or iron on with a fusible thing)
2. Embroider the features on the panda, white eyes, and a black nose and mouth.
3. Layer the ear pieces – black, black and then lining. Sew around the curved part of the ears and then turn right side out.
4. Quilt together the backing pieces from scraps, hem the edge where the opening will be.
5. Put the quilted pieces on your work surface right side up, make sure the hemmed parts where the opening will be overlap by at least 1/2 inch.
6. Lay the ears down with the straight edge lined up with the top of the quilted pieces.
7. Place the panda face pretty piece face down on top of the pile. Make sure the ears are sandwiched in.
8. Pin to hold everything in place.
9. Stitch around the entire square.

Sachet making

1. Get your scraps and lay one on top of the other. I use the screenprinted bits that got messed up and I can’t turn into cup cozies.
2. Stitch around the square leaving an opening on one side, about an inch wide.
3. Stuff your sachet with something pretty smelling (potpourri, lavender, etc)
4. stitch the opening closed.
5. Trim around the square, be careful not to cut into your stitches.
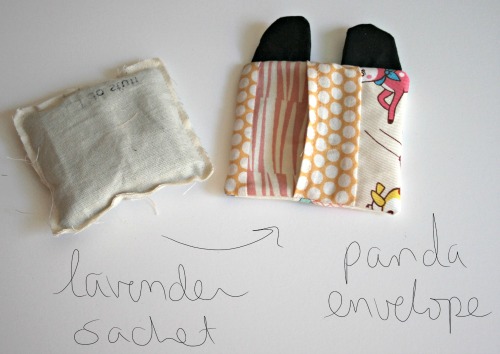
The great thing about making the panda with an envelope closure is you can swap out the inner sachet when the smell fades or to change things up a bit. I’d love to see what you make!
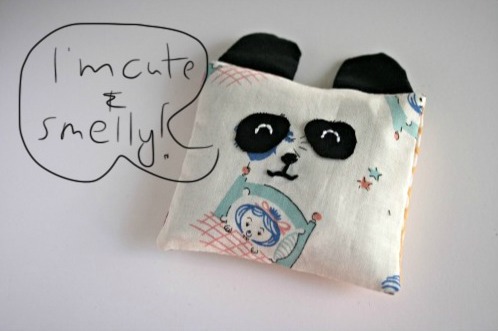
Also, I’ve been dying to use handwriting on my photos and haven’t been happy with the results/methods. But today I figured I’d give it a try and not be so picky. Elsie‘s post sabout apps and techniques helped guide me in my quest.

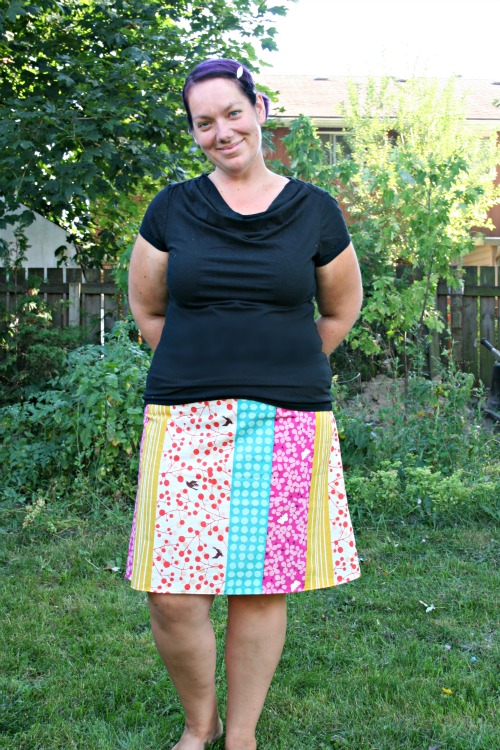
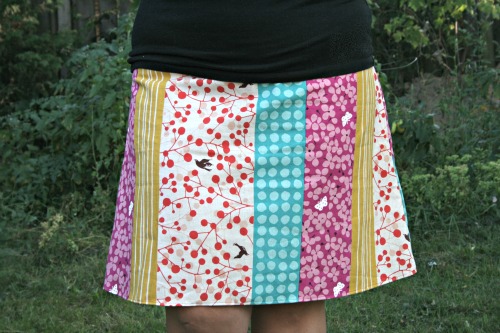
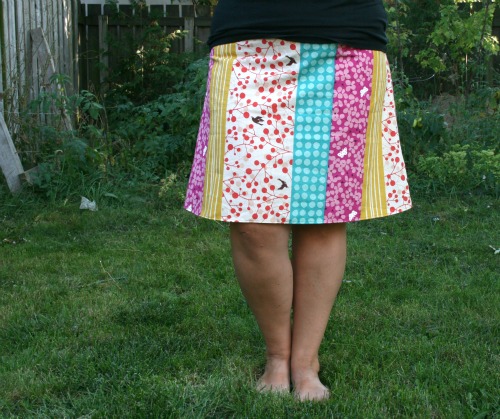
I went with no pockets.

After the great inner debate I had I decided to go with no pockets at all.

I just thought it showed off the awesomeness of the fabric’s print better without pockets taking away from it. Plus I’m ridiculously indecisive and the votes seemed pretty split.

It was received well as my first day of school outfit.

Friday Create Along

Made this neat little pouch for my phone. Yes of course it’s a Michelle Patterns pattern, I’m so addicted.

It was ridiculously easy to whip up. It’s super cheap because it’s only the pattern pieces and some very brief notations, but since I own almost all her patterns and I’ve sewn a lot it was easy to figure out the assembly bit.

Now I’m going to be smart and not choose my next project, with the first week of school looming next week I’m going to be realistic and know that I won’t have time to sew something new. Instead I’ll post a really fun tutorial, an item of my own creation! That hasn’t happened in a while. So yeah, next Friday, super awesome cool stuff.

Thoughts on sewing daily, and yeah more scrappy wallets.

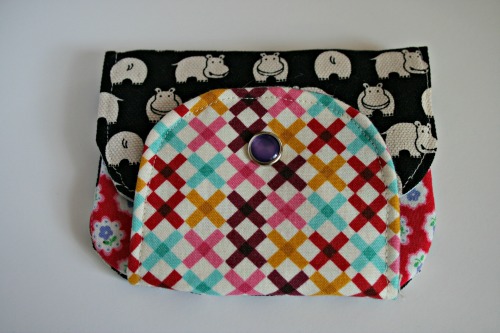
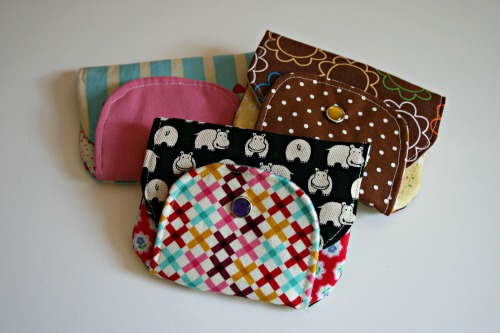
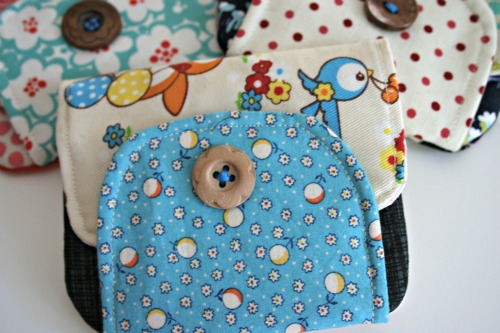
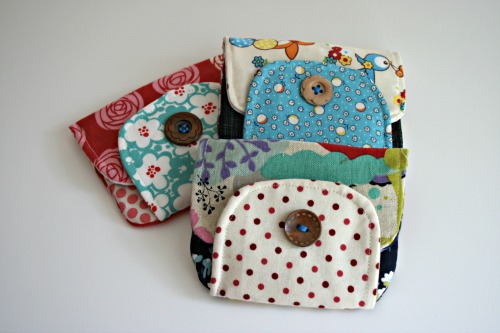
I made more scrappy wallets. I had orders to get to, I had other stuff to sew for people but sometiems I just have to put it all on hold and sew something *I* want to make. Usually, I turn to the scrappy wallets since they’re super quick and I can feel a sense of accomplishment when I walk away. Otherwise I’ll walk away and yet another unfinished project sits on my table judging me in it’s pileness.

Michelle talked about how she feels happier if she sews every day. She was inspired by this post about developing good sewing habits over on The Colletterie. Since she’s usually busy designing patterns or managing her online shops she doesn’t get much actual sewing time.

Lately I’ve been trying really hard to use up what I have an not buy new supplies. I’m also working on clearing off the pile of ‘in progress’ projects that sit on my table, because I totally believe they’re a source of stress. Sort of like a reminder to yourself that you didn’t live up to your promise/expectations. In effect you let yourself down. Yeah, wow, that’s deep but you know what I mean.

Also, I have to go to work tomorrow, it’s a sad day.

Addicted to these things

I went on another scrappy wallet binge. Pattern available here zip pocket pouches.

On the weekend while we were camping I took a pile of fabric and cut out tons of pieces for more wallets. I sorted them in zip lock bags and labelled them A, B, C, D and E. I was also organizing my space last night and I made a project bin for them, it’s got all the zip locks in it, and some scraps to cut out later, zippers, precut velcro and lining pieces all ready to go.

Now when I need something quick to make to satisfy my ‘I gotta make something’ urge, I can just pull that bin over and go crazy.

Pocket dilemma!

I’m making another skirt like this one, this time with fun Echino fabric. It’s a really nice weight and I’m excited to get it finished. Thanks to Tabatha finding a pocket template that works, from a totally different pattern, I can make it super functional for work by having some handy pockets. I don’t think I mentioned it in my last post but she made some really nice versions of these skirts. But I’m having pocket indecisiveness. Opinions are welcome.

Grey/gray (never know which it is).

Natural

Or none?

Friday Createalong

Ok, since it took me ages to finish my last project, that I only revealed on Monday, I thought it best to just wait until Friday to pick a new one.

So next up is this pouch from Obsessive Crafting Disorder.

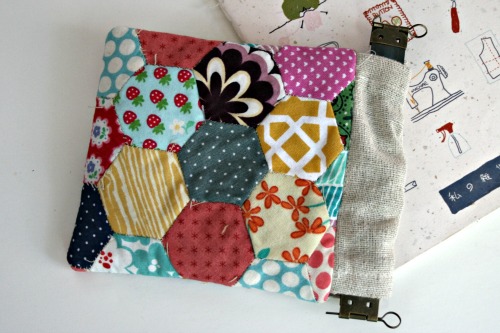
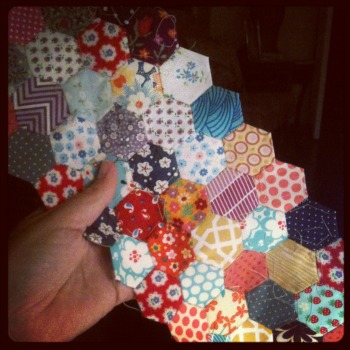
You will need a piece of hexies that looks like this. Then you’re going to trim off the edges and make it smaller, I hate this part. Ever teeny tiny millimetre of hexie bit is such a huge labour, I can’t bear to even trim it down! But hey, that’s how it goes.

23 hexies, I can handle that, please someone play along with me.

Pretty please?

Outfit that I made sorta post.

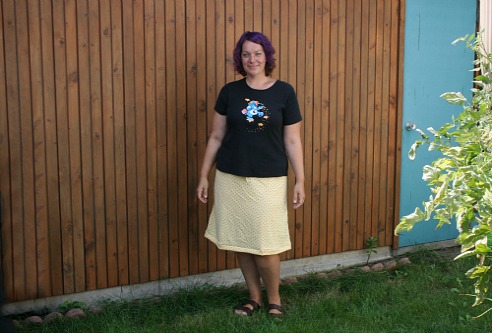
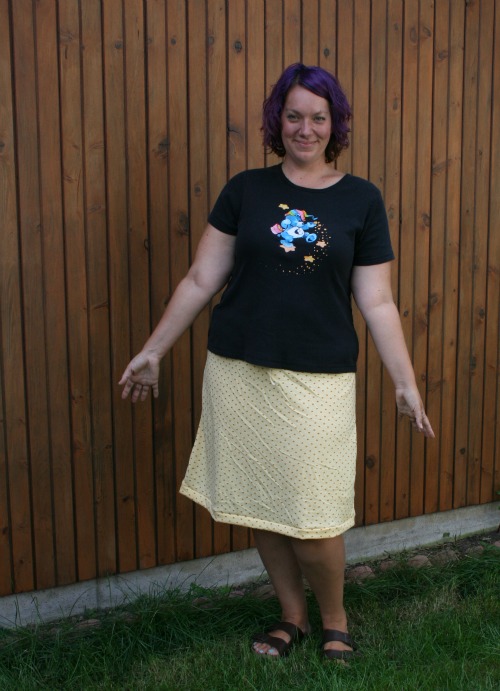
I went over to my friend Tabatha’s yesterday and did some sewing. A while ago she gave me a skirt pattern and I made one but hated how it turned out. This time I popped over to her place for the day lugging my jersey fabric (it’s yellow with little brown hearts all over it) I’ve had for a while and took over her serger for an hour or so. It’s a Kwik Sew pattern, that says it’ll take an hour and it took me about 1 1/2 but we added some different way to hem it so that probably added cutting and sewing time. It’s ridiculously comfy and I love it!
Monday hexies, yes finally.

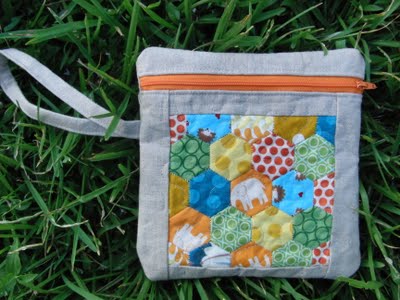
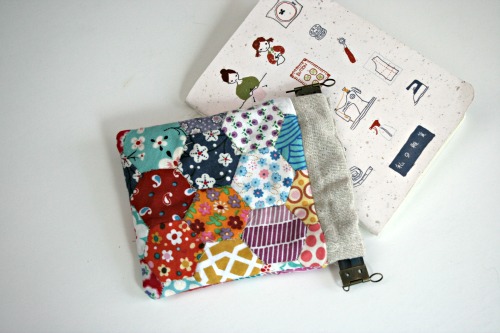
While this should be a Create Along reveal I can’t even bare to claim it as one it’s taken me so long to finish this project!

I had about 40 or so hexies all ready made but I needed 57 to get this project under way and I totally underestimated how long these things take! Perhaps if it was fall or winter and I was stuck inside watching shows or lazing about more, but with it being summer holidays the kids and I are keeping busy and I just found I didn’t have time for making hexies constantly.

The only thing that saved me was 2 Fridays ago my hubby came home and decided we were going to rip up the lineoleum and lay down the ceramic tiles we got on crazy discount. Did I mention he’s a programmer and I’m a teacher? It was apparent rather quickly we had no clue what we were doing. We had shipped the kids off for a Saturday night sleepover in some sort of dilluted ambitious hope we’d actually tile our floor ourselves. We gave up and called in reinforcements. So as Sunday evening approached and our fridge was in the livingroom and stove in the side yard I packed up some stuff and the kids and headed to the lovely home of my inlaws for a few days.

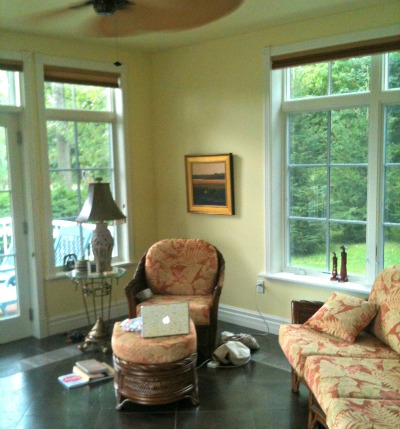
I camped out here and because their house is HUGE I barely saw the kids, they were happy to play with vintage Star Wars toys and visit with Grandma and Grandpa. Also, it’s a ridiculously bright sunny room and it was so awesome for crafting. One day a crazy thunderstorm moved in and it was awesome to watch it from this room since it has 3 sides of giant windows.

I took the kids to the park and tried to hexie but they were all over me.

I watched PanAm episodes and hexied away!

The kids played in the ‘carriage house’ construction mess.

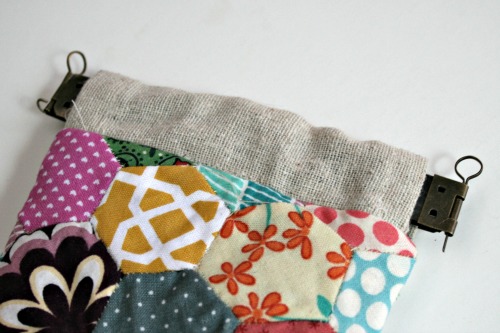
Then last night I stayed up way to late assembling the pouch. The tutorial is fantastic, I love the finished edges on the openings for the frame. Sadly my frames are slightly larger than the one listed in the pattern, so mine sticks out a bit. I’ll go on a quest for a smaller frame soon because it totally bugs me like this.

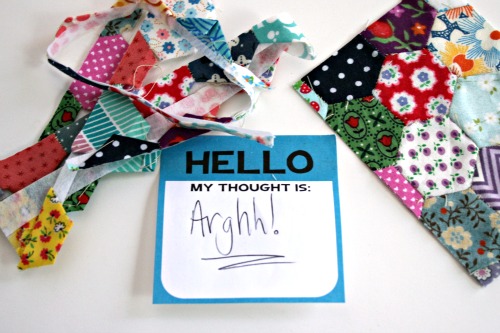
Also, I have no clue how women made these things in the ‘old’ days, I get that they save scraps and use every little bit but my gosh they take oodles of time. It also pained me greatly to actually cut the big piece down a bit to make what I needed for the project, even those teeny scraps of hexies were painful to toss out!