Category Archives: repurposing

Scrapbusting with an iTop hack

I’ve vowed to myself to post more DIY projects this year. I got even fancier and decided to combine this idea with scrapbusting!   Hoping to help you create some fun items while decluttering your scrap bin/box/bag/whatever.  This would also be a great idea as a way to save an important item of clothing, or other fabric.  So on with scraps idea #1.

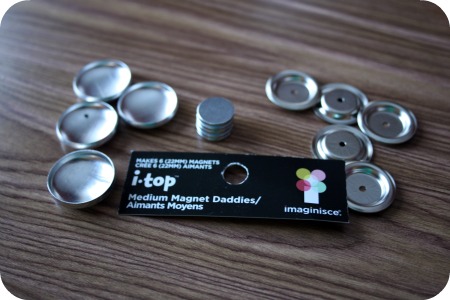
I was wandering Michael’s the other day and stumbled upon make your own buttons, brads and magnets in the scrapbooking aisle. At first I was super exicted and thoguht of all my scraps, then I realised there’s a few tools to make it all work. The iTop tool was $49.99, then there’s the punches or templates, the hardware for the actual buttons/magnets/brads . . . I realized it could add up. So in an attempt to be thrifty I spent $4.99 on a package of the magnet pieces and decided I’d see what I could do.

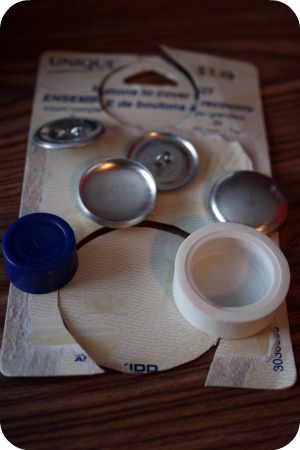
The large magnet pieces I got measured 22mm so I headed to the fabric store and purchased the $2.49 Unique kit for covering 22mm buttons.  It came with pieces to make 3 buttons and the little casing thingie to snap it all together.  Pardon the bits and pieces.  There’s a template on the back for how big the fabric bit should be.  I think it lies, I had to do some experimenting to come up with a size that worked.

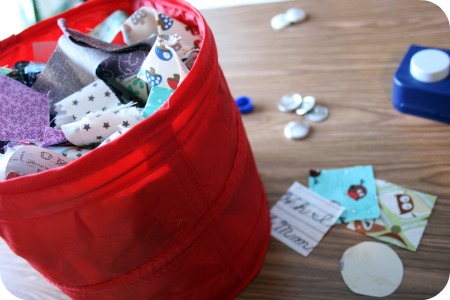
Recently I went through my larger scraps and cut 2×2 inch pieces where I could.  Turns out they’re the ideal size for this project.  However, if you’re trying to get a specific part of the pattern.

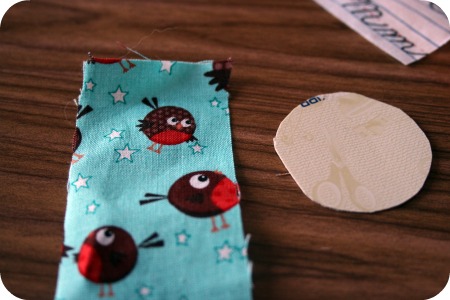
Grab a piece of fabric that will work for the image you want on the front of the magnet.  I was trying to get one of the little owls from my Round Robin print so my 2×2 squares weren’t working out.

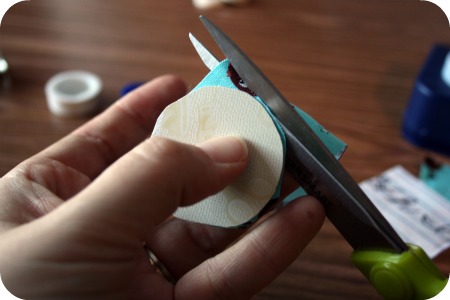
Cut out the circle using your template which should be about 42mm, that’s what mine is.

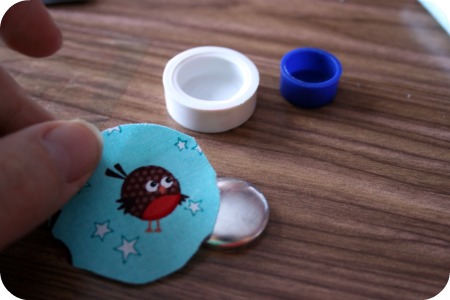
Place the fabric over the magent front positioning your design how you’d like it.  Then pop it into the setting tool.  Try to keep the fabric the way you want it, it can move around on you.

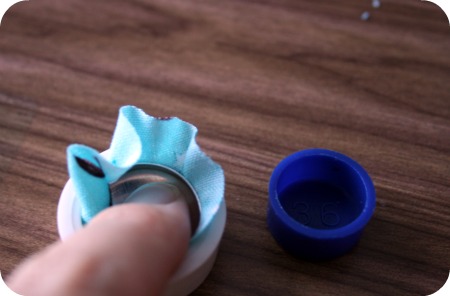
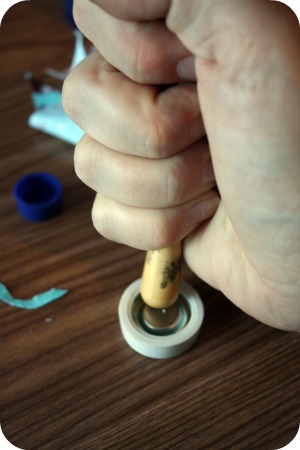
Next you just plop the backing piece into the holder, the magnetic disk should be sandwiched between the front and back pieces, and push down to snap it into place.  Make sure all the edges of the fabric will be squished inside.  The dark blue thingie is a ‘pusher’ to assist in this process, I just used one of my stenciling brushes I use when screen printing.  I’m very technical and particular with my tools.

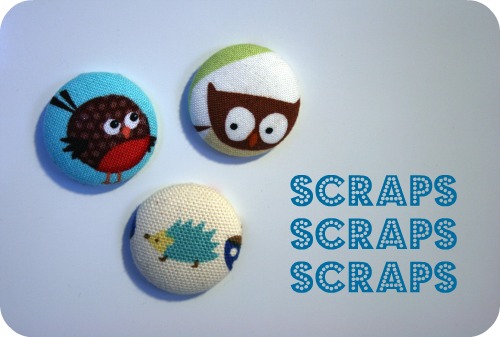
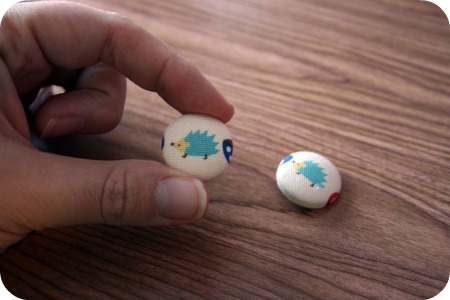
Finally just pop out your new little magnet!  Pardon the fabric switch, it appears I got all excited and ran to the fridge shot without documenting the final stage of my little owly friend.  Here’s a magnet and button I made.  Easy peasy!

DIY – Lining a tote!
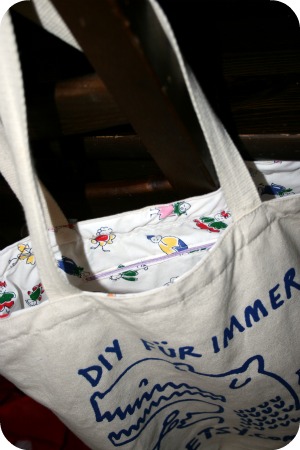
I have this great Etsy tote I picked up at the Renegade Craft Fair in Chicago.  As a crafty blogger and shopkeeper I was so thrilled to have something with the Etsy name on it!  Normally I use it as my work/school bag.  Over the Christmas holidays I planned on relining it with some fun fabric.  Initailly I was going to use a vintage sheet, but then I thought of better plans for those where they’ll be seen more and settled on this cute little print I was given in one of those loads from a friend.  Those ‘oh I came across this at my house/mom’s/grandmother’s and thought you might be able to use it’ sort of things.   So here are some steps you can take to turn a simple tote you have into something way cooler.

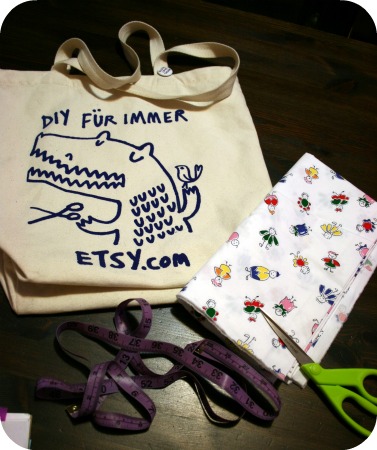
You will need a tote, fabric for lining it, tape measure, scissors, sewing machine and iron.

If you want to follow my Little Miss Fancy Pants steps you’ll also need a zipper.  Just in case you want to take the more adventurous path.

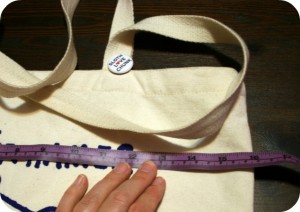
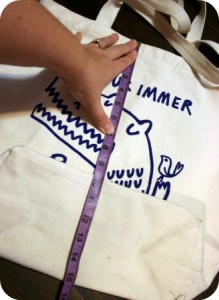
First measure your tote.  Measure the width and length.  My tote has boxed corners so I flattened the bottom out to get an accurate measurement.

My tutorial contains some very technical steps so bear with me.  Mostly it’s me just making up things I think will work along the way.  Don’t worry, they do work.

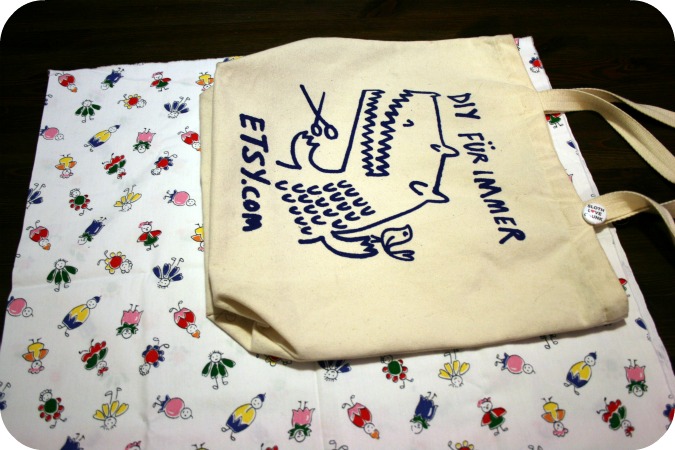
Lay the tote onto the fabric you’re going to line it with and leave some seam allowance along the top and sides, 1/4 inch is good.

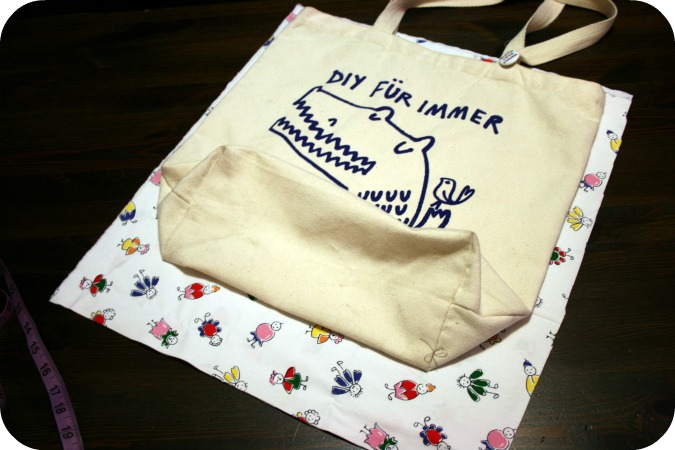
Because of the boxed corners I measured to the seam and added that measurement to the lining fabric.  Then later I had enough material to box the lining as well.  Mine was about 2 1/2 inches so that’s where I made my cut across the bottom of the lining fabric.  Cut down the remaining side to leave the 1/4 inch seam allowance.  Now you have your tote and 2 pieces to line it with.

*If you’re feeling up to adding a zipper I’m going to post those steps tomorrow in a part 2 DIY*

Otherwise carry on here!

Head to the sewing machine, lay the 2 lining pieces right sides together and sew around the sides and bottom, leaving the top open.

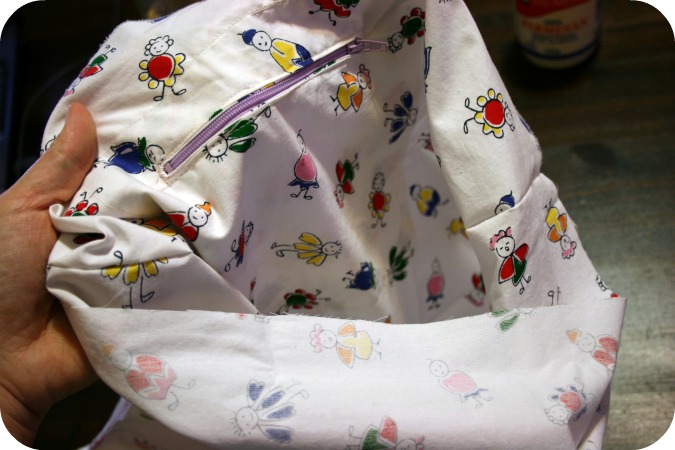
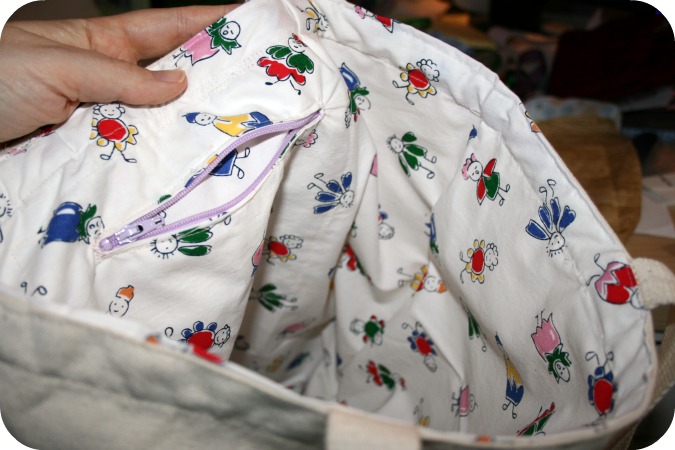
Now you will have this big pocket type lining piece (possibly without a zipper).  Can you tell I was screen printing with my lovely emulsion covered thumb?

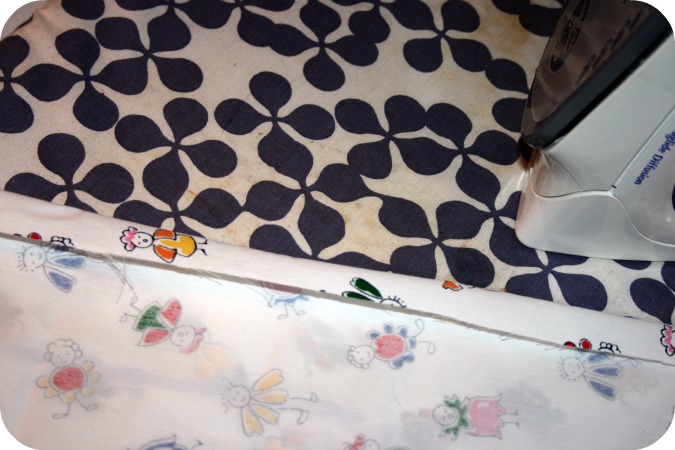
Fold over the top edge 1/4 inch and press.   I think I need to put ironing board cover on my To Sew list!

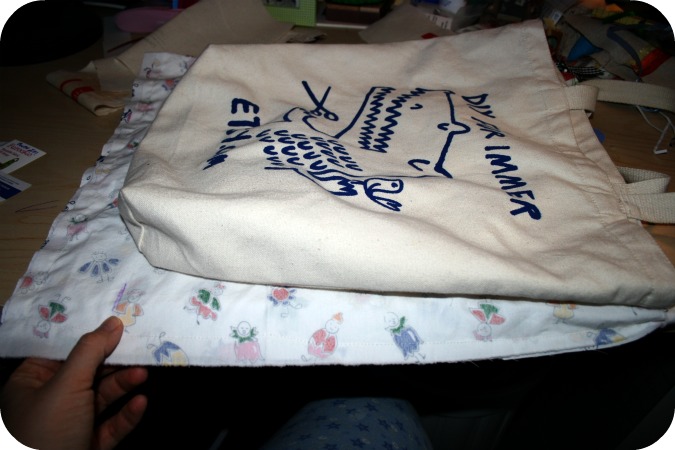
If your tote has boxed corners, lay your lining piece under your tote with the top edges lined up where they will be sewn.  Mark off the bottom of the exterior tote so you have a guide line to sew along.  Now note it was late at night and you can see my lovely jammie clad knee.

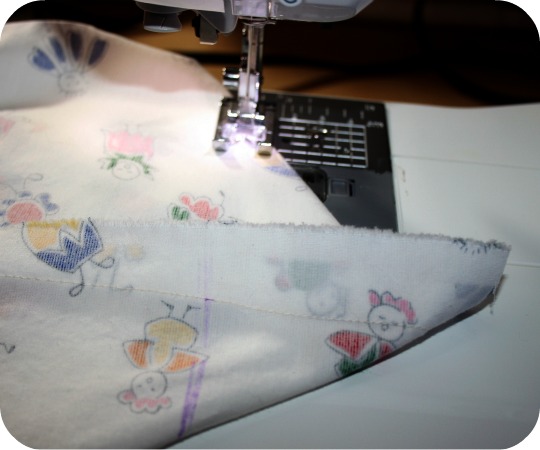
Fold the bottom of the lining at the mark line to make a squared bottom and sew straight across the tote to create a boxed corner.  You can trim that excess triangle of fabric off or just fold it under.

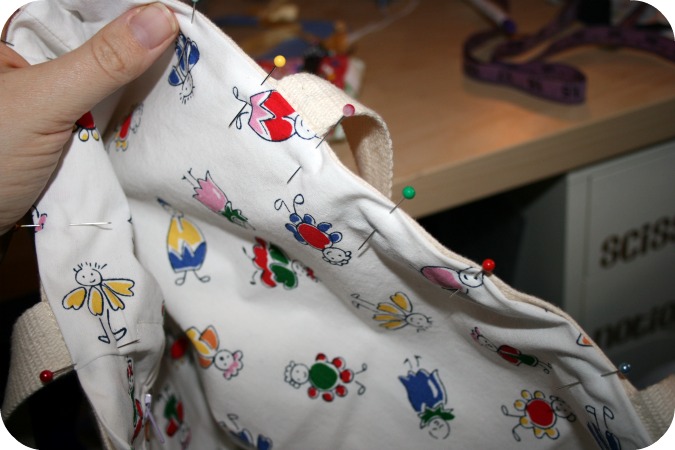
Now plunk your lining inside the pre-made tote exterior.  Make sure you get the boxed corners down deep in the tote and pushed in at the corners.  Match up the top seams of the lining and tote and pin all around.

Go back to the machine and sew all around the tote top edge with a 1/4 inch seam allowance attaching the lining to the tote!

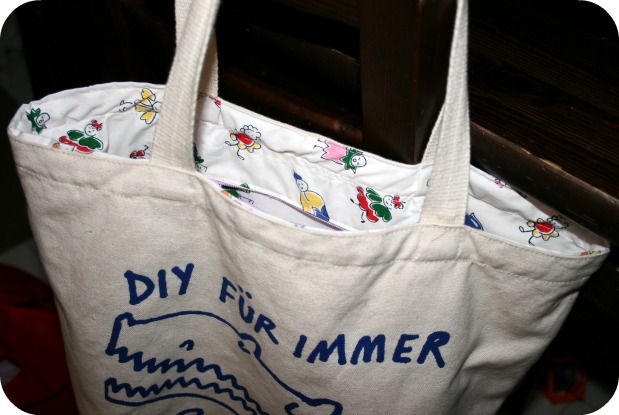
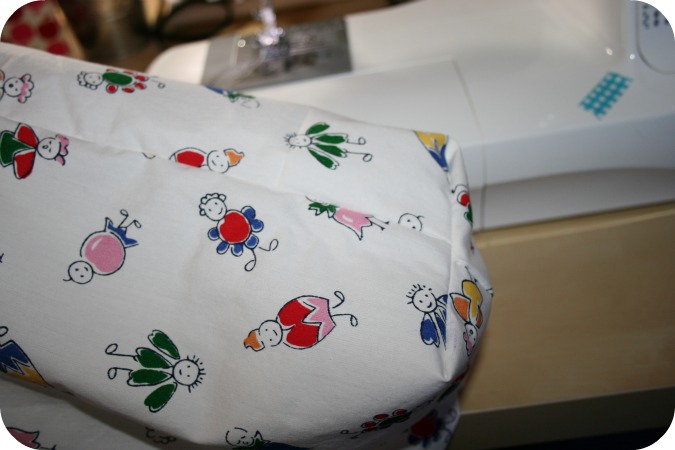
Behold your newly lined tote!

Preparing for the new year.

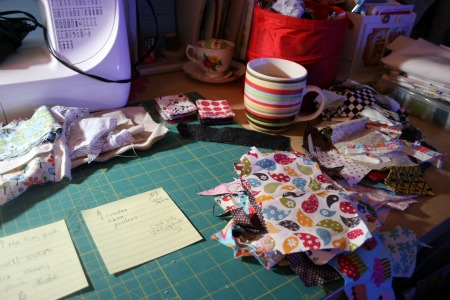
I’m slowing making my way through cleaning up in the basement. We’ve been purging things for a while, my son has been very excited to “share” his toys with other kids who can use them. I’ve taken things into my school for classrooms, to the consignment store and off to donate. I’m doing everything to avoid making garbage. The other day I spent a load of time sorting my scrapbin. Since I’ve changed my cup cozy design a bit there were some pieces previously too small that will now work. Usually I make pin cushions but I’m getting a little tired of that. I’m going to make some of these pouches, with Wesley’s help, for some of the important women in his life. I also want to make a cover for my bodem so I’ll quilt the little pieces into a larger piece of fabric to make that. Plus I really want to try Keyka Lou’s technique.

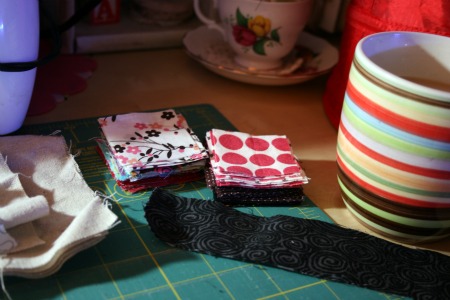
So I cut what I could into 2 X 2 inch squares. Not entirelly sure what I’ll make with them yet but I’ll figure something out, or ideas are welcome!

Organizing galore!

Last weekend I procrastinated from completing some last minute orders by organizing my craft area. Time well spent I must say.
When Nate was born I gave up my sunny upstairs craft room to move down into the basement, known as The Man Space at that time. First I had 1 table and my IKEA computer desk/wardrobe thingie. Then I had to buy another table . . . Then piles of things started to form. Then because my husband wasn’t using his desk down here I sort of started to rely on that space, ironing and such. He wasn’t happy. So I’ve been hard at work purging and tidying and cleaning up so we can both have a much more workable space that isn’t an eye sore.

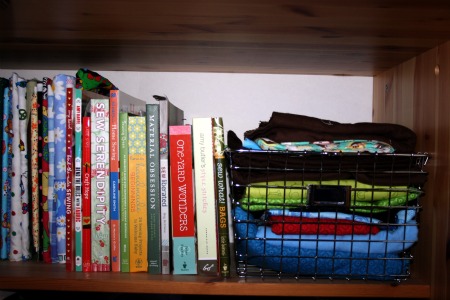
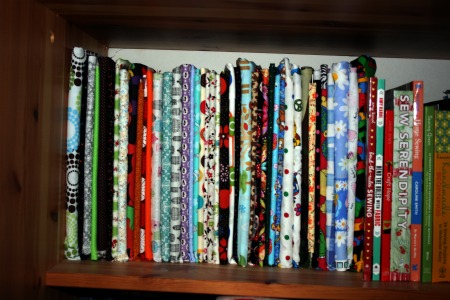
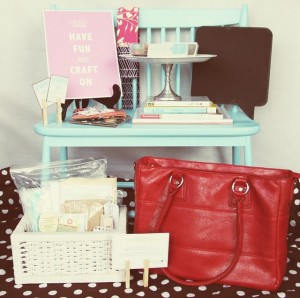
These are the pretty parts. I can’t show the rest of the inside of the wardrobe, it’s a bit of an avalanche of disaster. I took this advice and folded and wrapped my pretty and larger pieces of fabric onto comic book backings to make these little mini fabric bolts. It was $10 for 100 so they went pretty far. For some I used 2 pieces of cardboard just to give it a bit of added stability. Definitely one of the best little pieces of advice I stumbled upon this year. Beats stashing them in a fabric crush drawer!

Now when you look through the little windows in the top of the doors to the wardrobe you can see my lovely fabric, books and the basket looking all ready to go. Luckily the windows end before the messy madness can be seen.

Sorry for the less than stellar photos, I really need to crack the code about taking pics in my gloomy basement.

Counting book frenzy.

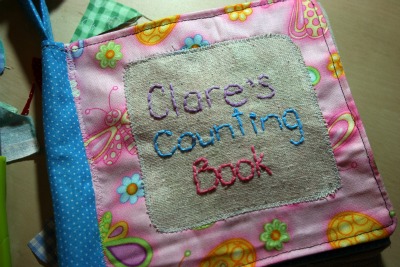
Since my Etsy shop rush was over I  turned to the pile of counting books I had lined up to get them finished in time for Christmas.  Here’s one I did for Clare.  I was trying it without the numbers, I liked the look of the pages without them.  In the end I did end up putting them on, these pics are pre-numbers.

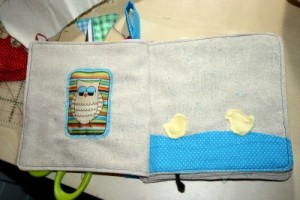
1 puffy owl and 2 rubber duckies.

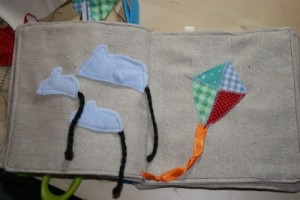
3 mice and 4 triangles on a kite.

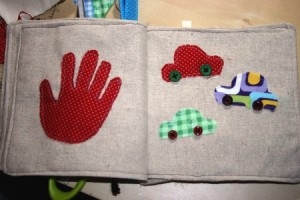
5 fingers and 6 wheels.

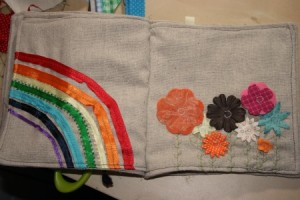
7 colours in a rainbow and 8 flowers.

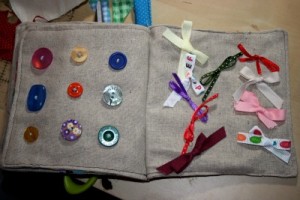
9 buttons and 10 bows.

I also made one for Griffin, which I was really proud of. It had a puppy like this for the first page and was super cute. In all my rushing I left to hand it over without taking pictures first. Silly me.

Well duh!

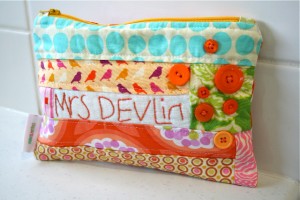
Ok so how lame is it that I’m a teacher, and a crafty one at that and I’m only realising now I should have made my son’s teacher a gift!?  Again a sign of how busy I have been these last few weeks.  So while I don’t have a gift to send in with Wesley today I’m totally planning on making this lovely teacher one of these before the school year ends!

It’s super cute, functional, personalized and handmade!! How can she not like it!  From a crafty sewer perspective my son can help with writing her name and choosing the buttons and fabric and I get to use up some of the fun scraps I have lying around.  It’s all win win. Thanks for sharing Make It Perfect!

Probably the reason I hadn’t picked her up a gift yet is because I know how tricky it is as a teacher at Christmas/end of year when you get gifts.  It’s sort of a weird time especially depending on the school you’re at.  Not every student will get you a gift and the ones who do might want to see you open the gifts but you don’t want to make a big deal about it if some students don’t have the means to buy gifts.  It can be awkward.  I’m also a terrible lair and have a horrible poker face and Christmas teacher gifts tend to be of the mug/snow globe/ornament nature, which while totally thoughtful there’s sort of only so many you can have.   So pencil case it is!  Perhaps I’ll even use my 2 weeks off to craft one and send it in for January, random gifts are cool too.

One of a kind craft show scores.

Headed out to the One of a Kind Craft Show on the weekend.  Had a lovely day out wandering and looking at all the pretty things.

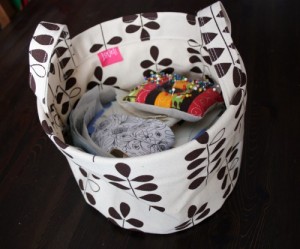
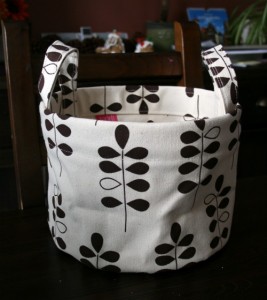
I picked up this fun little basket hamper thingie from Lovell designs. It’s super handy for all the ‘on the go’ crafts I’m constantly toting upstairs when I go to bed in the wee hours so I have something to craft while the kids are around in the mornings.

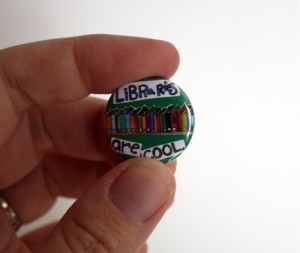
I also got this fun little button from Sister Sister Buttons. They had many silly buttons that made me smile, but I limited myself to this one.

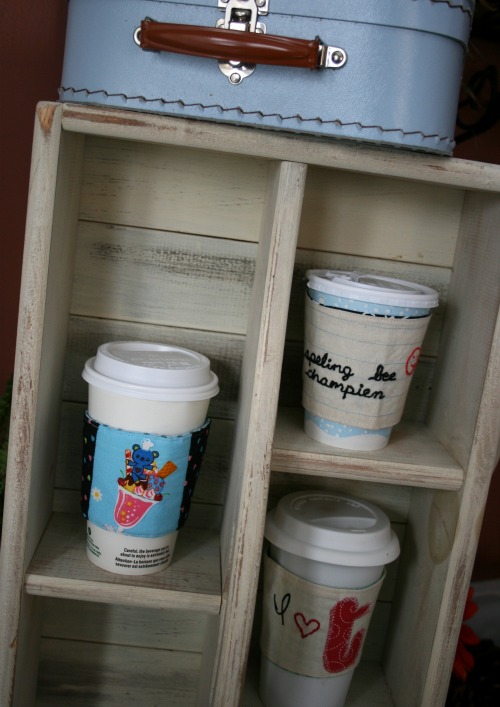
The best find of the day was this old wooden tool box thingie that’s been refinished and makes an awesome display for my cup cozies in action! Can’t wait to use it on the weekend.

On Sunday, if I’ve recovered from the inventory building blitz, I’ll be sure to link some more of the fun, creative and handmade things I came across at the show.

I know I posted about this already but I can’t resist some more . . .

Emily has the most fun stuff in her mega giveaway right now!

Here are some of the things making their way onto my wishlist.

This one has most of my favs. The camera tote from Jo Totes, the crafty books, and the fun print that’s begging to be put in my craft space.

Another fun print.

Sadly for us poor little Canadians, you have to be a US resident to enter. Perhaps you can bribe a friend you have across the border :)

Camp themed swap stuff!

I’ve been a bad blog owner, forgive me. My fun package for the Camp Themed Swap that Amanda so willingly ran for me and a group of lucky ladies arrived . . . . 2 Fridays ago. It took me until Sunday to even open the package, I’ve been sooooo busy lately it’s been insane. Hence the blog absence. I’ve been frantically making cup cozies, yes still! Everywhere I go I’m pulling out some stitching, it’s a little crazy. I’ve finally made it into my September orders and I only have about 20 more to make. I sat around all summer on vacation and of course my shop had to go viral (for the second time) right when it was back to school time!

Anyhow, enough ranting, here’s what I’m supposed to be writing about, my haul!

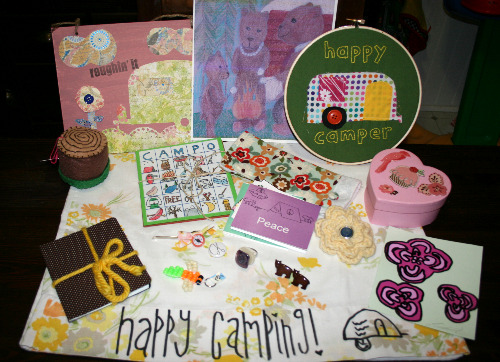
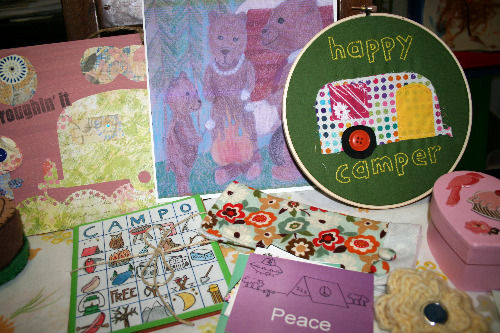
Going across the rows – back row –  a fun mixed media painting, a print of a drawing of three bears camping and some awesome hoop art with a happy camper.

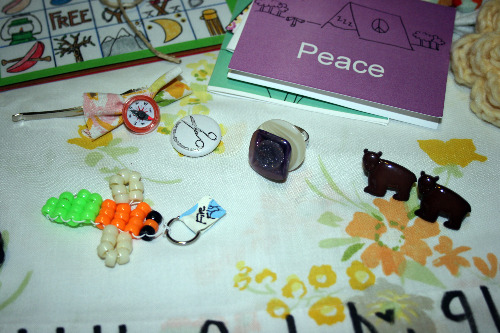
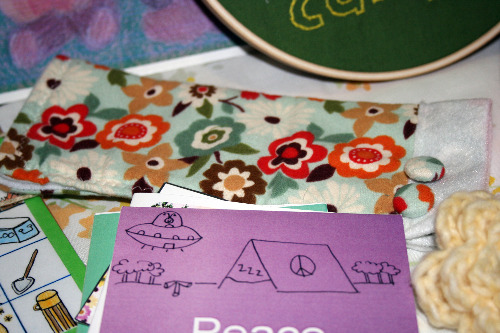
Middle-ish my log pin cushion, a CAMPO game, a fun floral case for glasses, some camp themed stationary, a crocheted flower hair thingie, and a heart shaped box.

Front-ish – a little note book with graph paper and camp themed stickers in it, a compass hair pin, a firefly keychain, a button ring,  brown bear earrings, and a signed original piece of art work.

All placed on top of a vintage pillow case sending me happy camping wishes!

Here’s some close ups,

It was such a fun thing to be involved in.  At first I wondered what on earth we would all come up with for camp themed crafts (especially as someone who’s never been camping) but we did all right!

In a faraway land . . .

well to me, Ms Muffins over in Germany is dedicating her blog to all things tea this month! Here’s how I fit in.

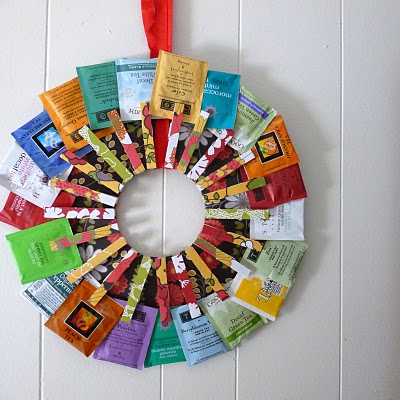
She’s had some really cute ideas so far, including this lovely gem. Tutorial for the wreath is here.

This is super fun too, great way to use thrifted finds! Tutorial here.

Can’t wait to see what else she posts! There might even be some giveaways! I mean, I’m just saying . . . there might be ;)