Category Archives: DIY

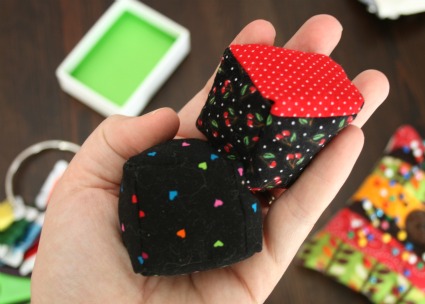
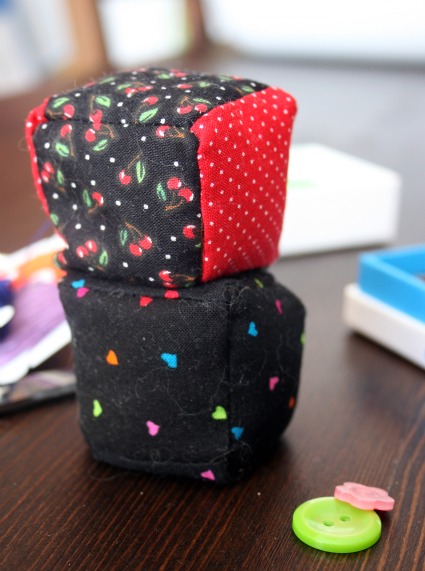
Pattern weight thingies. Or just fun cubes to toss around.

I stumbled across Zaaberry and found this neat little tutorial on making little weights to hold down your patterns while you trace and cut.  Bye bye pins.  Luckily I had previously cut a bunch of my scraps into little squares so they were perfect for this project.  It’s a really simple project, just sew squares of fabric together, fill them up  with someone that has a bit of weight to it and sew them shut.  I filled mine with some flax left over from my eye pillow making.  There’s even some lavender bits in there too I think.


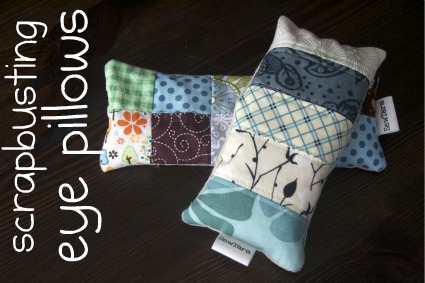
DIY Scrapbusting eye pillow project.

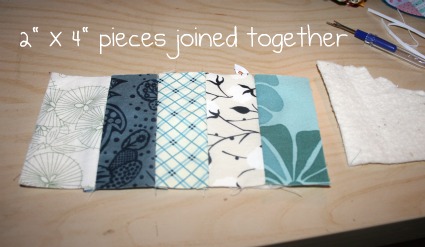
Now that everyone has their lovely scrap swap bits I figured it was time to start sharing some scrapbusting ideas.  I made these fun little eye pillows over the weekend.  For one I used my pre-swap scraps that are all cut into 2 x 2 pieces.  For the other I pieced together 5 2 x 4 pieces.  Either way the math is the same and the finished pillows are the same size, perfect for laying across your eyes and having a quiet moment to yourself.

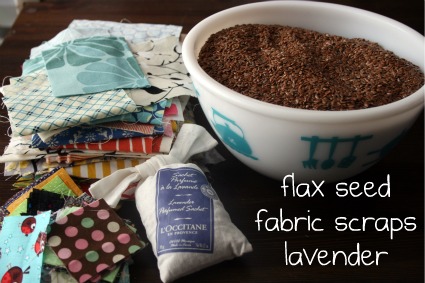
Here’s what you need.  I suppose you could use some other smelly scent but I like lavender and so I just broke open this drawer smelly thing I had and used the bits from inside.

I joined the pieces together and then cut a piece of batting for the back and did some accent quilting.  Then I cut a piece of my nice soft natural cotton for the back.  With right sided together I zipped around and left a little opening to pour in the filling.

I fashioned a little funnel out of paper and poured in flaxseed and lavender until the pillow was full but still floppy enough to curve nicely over my nose.  The last step is sewing up the opening, and voila you have a relaxation aid!

I created a Flickr group where you can post things you’ve made with odds and ends of fabric.  If you make something using one of my tutorials I’d love to see it there.

Some much needed Mommy organization and crafty fun.

Somehow I’m getting stuffed up again.  It’s so not cool.  We all just got over some hideous cold.  I don’t want a new one.  I saw this printable linked  and had a great idea for it.  It’s from yoursecretadmiral and she’s a superstar for sharing such a fun little printable.

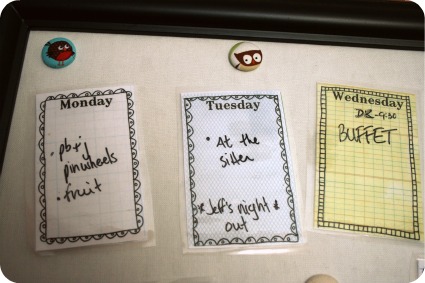
I wanted to make something to help me plan lunches during the week.  I teach in the afternoons, which at my school start at 12:25, but I have a 10 minute yard duty everyday from 12:15-12:25.  So I have to start lunch for me and the boys at about 11, especially with all the winter gear.  If we go out in the world to do something in the mornings I’m usually rushing to get a lunch ready and I’m lucky if I get to eat before we have to run out the door and across the street to the sitter.  I *hate* feeding them quick convenience food and really make an effort to prepare from scratch.

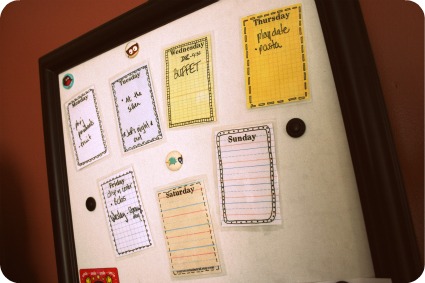
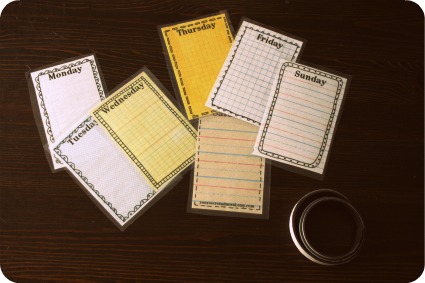
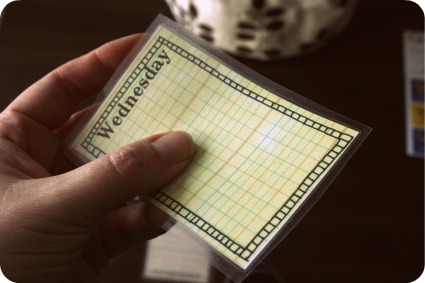
I printed out the file, cut the days apart and laminated them.  I have the cute little “My lists” house set aside for a notebook or something, I didn’t laminate it.  Then I cut pieces from a roll of magnetic tape and attached a little bit to the back of each day.  Then you have little magnets that are also write off/wipe off boards!

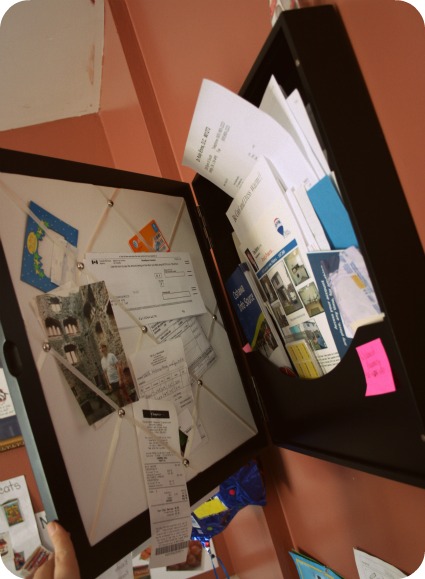
You could put them on your fridge or anywhere else magnetable.  These are on one of the handiest things in our kitchen, that isn’t used for cooking.  I’m a tad embarassed to show the inside but it’s such a wonderful little thing I’m going to share.  Magnetic front, builiten board back and storage compartment, all in one handy good looking thing!

Cheap easy gift/item tags.

I’ve been floundering trying to decide on how to prettily package my items I sell.  I know it’s so fun to get something all wrapped up beautifully, it’s enough of a present to get your order, then it’s like another present to have it look beautiful.  It doesn’t determine wether or not I re-order from that person, but it does make me smile.

I absolutely adore all the MOO products I’ve accumulated but I’ve noticed it can get pricey to decorate your items with pretty packaging so I was looking for a inexpensive way to create some packaging and reusing things I already have is a bonus.

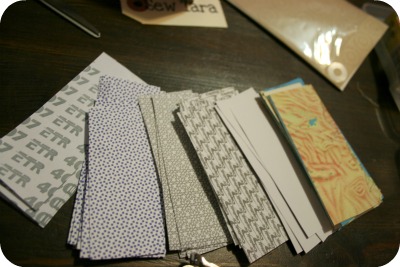
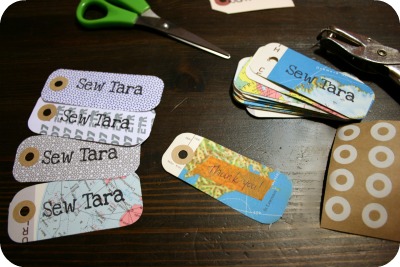
I gathered some paper stuff I had lying around, used envelopes, those return envelopes that for some reason still come with all the bills I pay online and some pages from an old atlas.  I cut them up into little rectangles sized to fit my SewTara custom stamp.

Then I SewTara’d one side, punched a hole at one end and used these cool kraft reinforcements I’ve had sitting around waiting for the perfect use.  You can also find white or coloured reinforcements in stores.

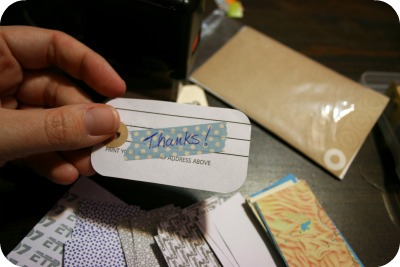
On the other side I stuck a small piece of Japanese washi tape to create a little canvas for my thank you message.

This would be a great technique for gift tags.  There’s even little ‘To: From:” stamps out there you could use if you didn’t want to just write it.  Every year when I pack away the Christmas decorations I keep the stack of cards we received.  Next year I’m going to turn those into tag for all our gift giving fun!

Scrapbusting with an iTop hack

I’ve vowed to myself to post more DIY projects this year. I got even fancier and decided to combine this idea with scrapbusting!   Hoping to help you create some fun items while decluttering your scrap bin/box/bag/whatever.  This would also be a great idea as a way to save an important item of clothing, or other fabric.  So on with scraps idea #1.

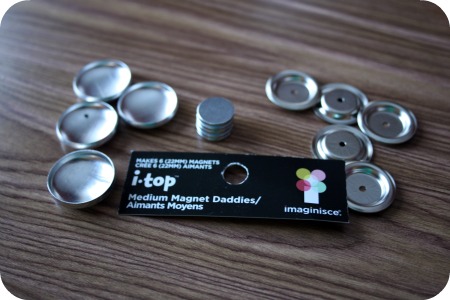
I was wandering Michael’s the other day and stumbled upon make your own buttons, brads and magnets in the scrapbooking aisle. At first I was super exicted and thoguht of all my scraps, then I realised there’s a few tools to make it all work. The iTop tool was $49.99, then there’s the punches or templates, the hardware for the actual buttons/magnets/brads . . . I realized it could add up. So in an attempt to be thrifty I spent $4.99 on a package of the magnet pieces and decided I’d see what I could do.

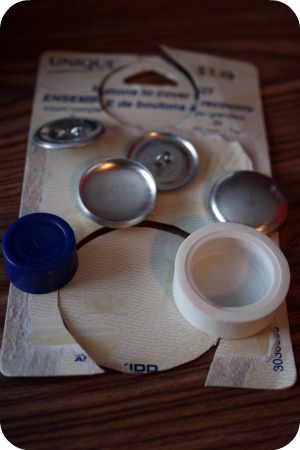
The large magnet pieces I got measured 22mm so I headed to the fabric store and purchased the $2.49 Unique kit for covering 22mm buttons.  It came with pieces to make 3 buttons and the little casing thingie to snap it all together.  Pardon the bits and pieces.  There’s a template on the back for how big the fabric bit should be.  I think it lies, I had to do some experimenting to come up with a size that worked.

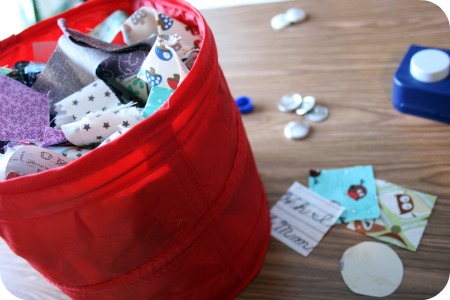
Recently I went through my larger scraps and cut 2×2 inch pieces where I could.  Turns out they’re the ideal size for this project.  However, if you’re trying to get a specific part of the pattern.

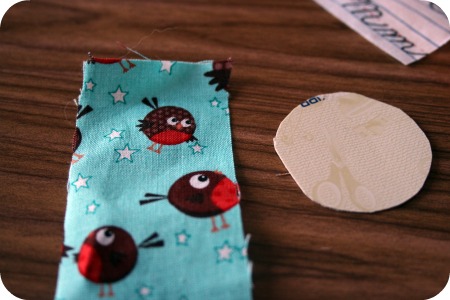
Grab a piece of fabric that will work for the image you want on the front of the magnet.  I was trying to get one of the little owls from my Round Robin print so my 2×2 squares weren’t working out.

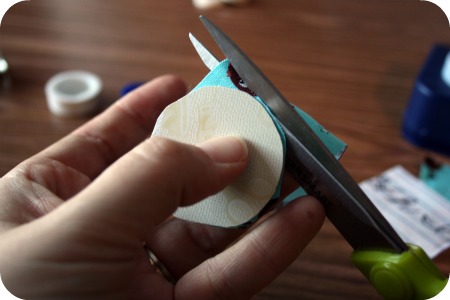
Cut out the circle using your template which should be about 42mm, that’s what mine is.

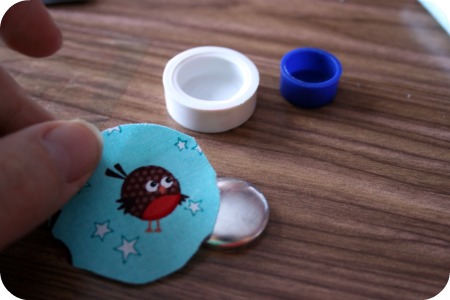
Place the fabric over the magent front positioning your design how you’d like it.  Then pop it into the setting tool.  Try to keep the fabric the way you want it, it can move around on you.

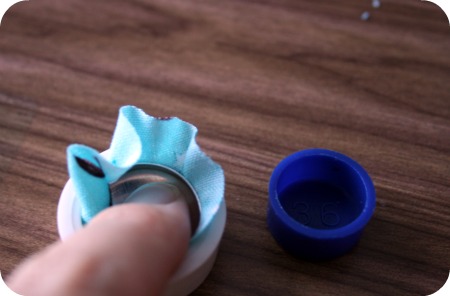
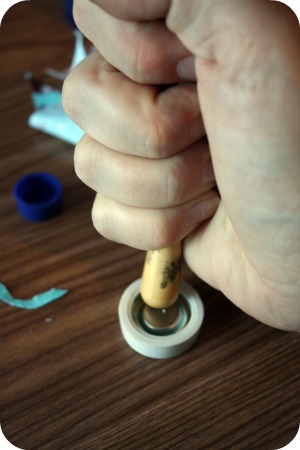
Next you just plop the backing piece into the holder, the magnetic disk should be sandwiched between the front and back pieces, and push down to snap it into place.  Make sure all the edges of the fabric will be squished inside.  The dark blue thingie is a ‘pusher’ to assist in this process, I just used one of my stenciling brushes I use when screen printing.  I’m very technical and particular with my tools.

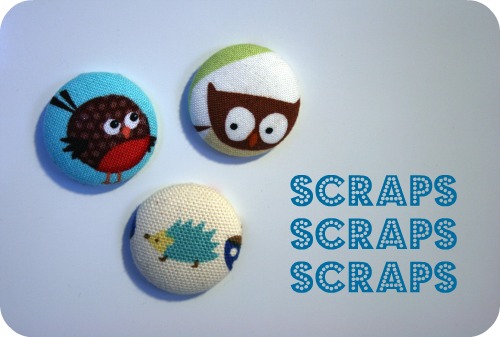
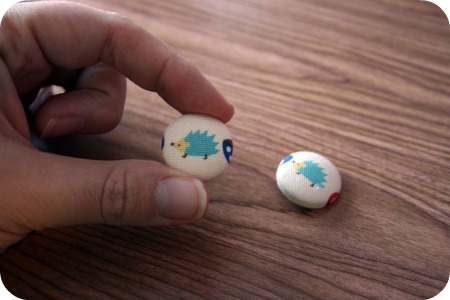
Finally just pop out your new little magnet!  Pardon the fabric switch, it appears I got all excited and ran to the fridge shot without documenting the final stage of my little owly friend.  Here’s a magnet and button I made.  Easy peasy!

DIY – Adding a zippered pocket while lining your tote!

Ok, welcome those of you who are feeling adventurous!  Here’s my little part 2 on lining a tote where I’ll walk you through the steps to adding a zippered pocket to the lining.

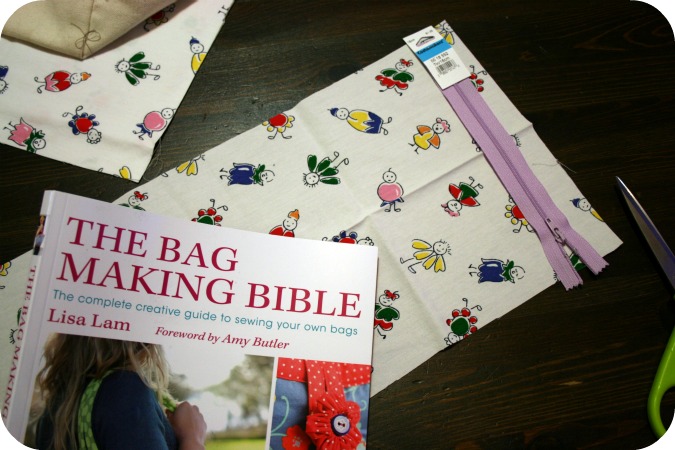
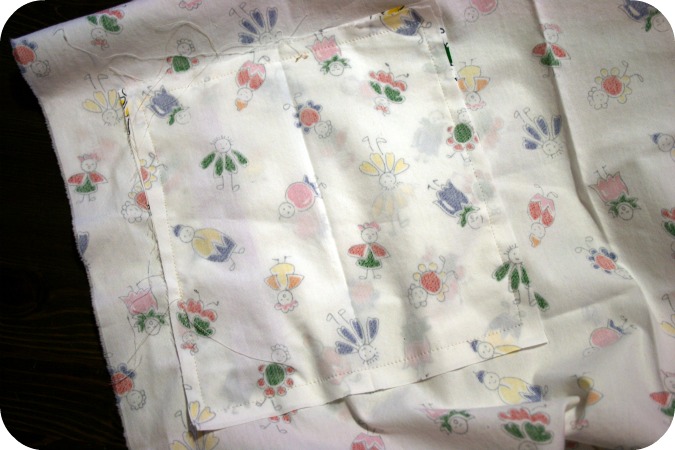
I cracked open my Bag Making Bible for this part and followed the instructions for inserting a zipper.  Lisa Lam explains very well,  I’ll give you enough information, hopefully, to tackle it yourself.  I used the panel of fabric I cut off the bottom to make my pocket.  I just folded it in half and cut it to have 2 squares to use for the pocket.

Decide how big you want your pocket and cut 2 pieces of fabric to that size, allowing for a 1/4 inch seam.  The zipper should be placed with about 3 inches on either side of the pocket pieces.  I didn’t know this, but you can just cut off the end of the zipper if you need to shorten it.

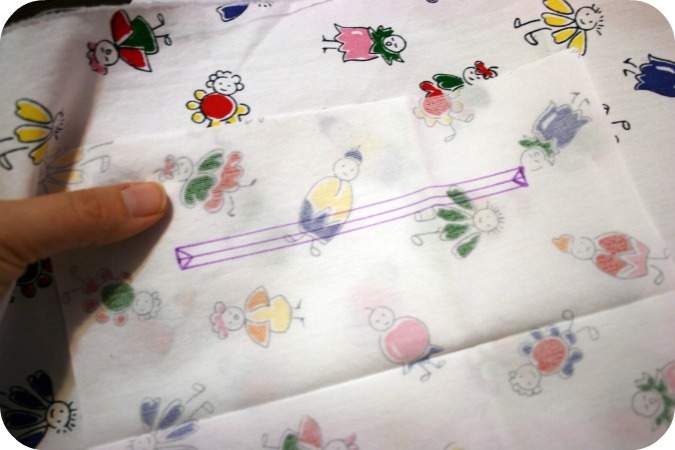
Place one of the pocket pieces right sides together on the lining piece where you want to have a pocket.  Trace out a rectangle the same size as your zipper.  Mark a line down the middle and those cute little triangles at the ends.

Sew along the outside of the rectangle, this will sew the pocket piece to the lining piece.

Cut along the guide lines you drew inside the rectangle, the half way line and the little triangles.

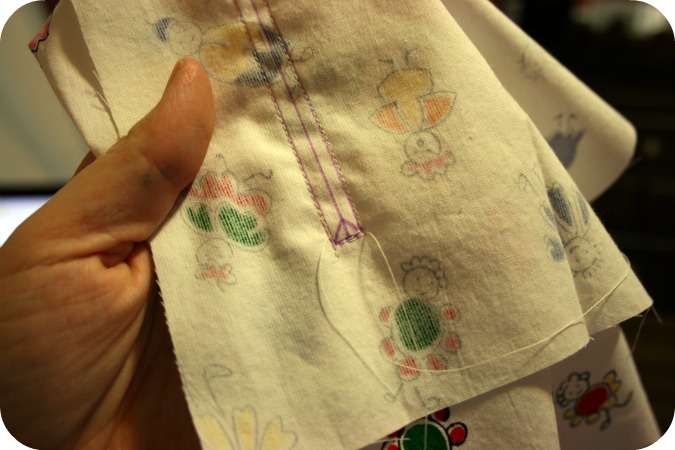
Next turn the pocket piece through the hole, as Lisa says “like you’re putting a letter in the post”.  Press to get a nice crisp seam.  Lay your zipper on the wrong side of the pocket.  The book suggested using double sided tape stuff to secure it, I don’t have that and just pinned it.  Use your zipper foot to sew along and stitch the zipper in place.

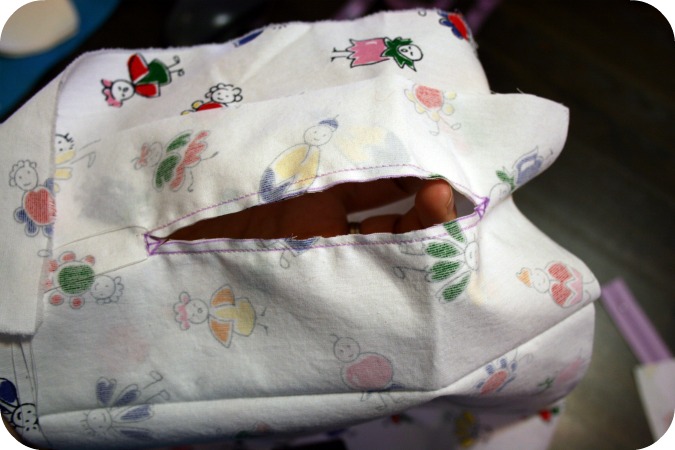
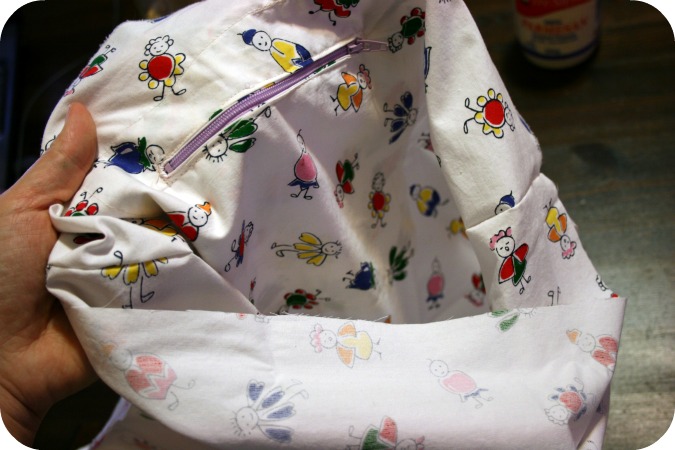
Lay the lining piece right side down and place the other pocket piece, right sides together, on top of the pocket piece with the zipper in it.    Sew around all four sides with a 1/4 inch seam.  This will stitch both pocket pieces to the lining fabric.

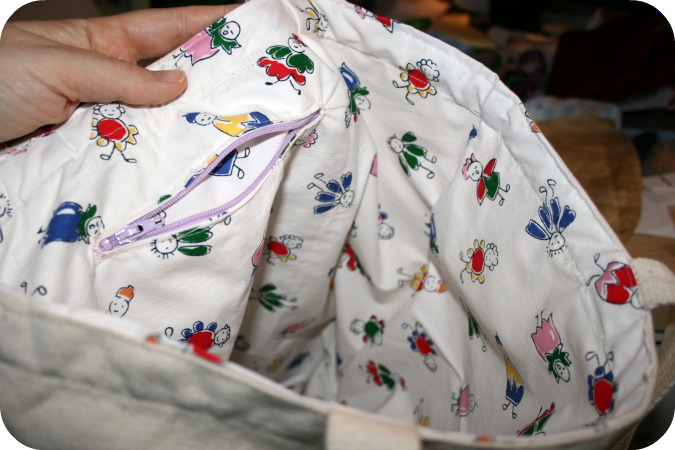
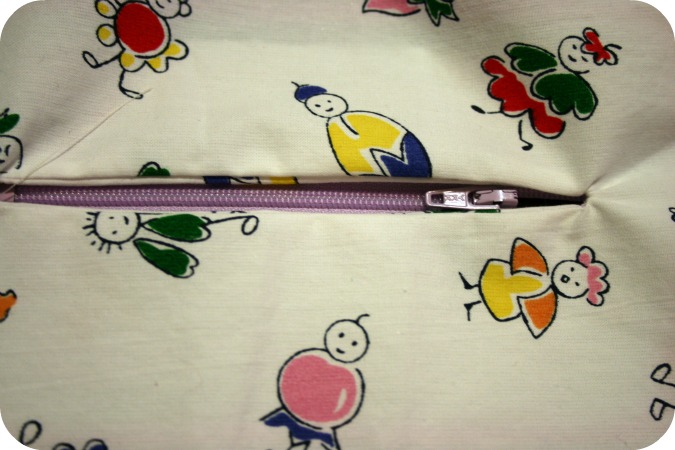
Flip it over and access the pocket through the zipper!  Voila!

Now head back to post part #1 to finish lining your tote.

DIY – Lining a tote!

I have this great Etsy tote I picked up at the Renegade Craft Fair in Chicago.  As a crafty blogger and shopkeeper I was so thrilled to have something with the Etsy name on it!  Normally I use it as my work/school bag.  Over the Christmas holidays I planned on relining it with some fun fabric.  Initailly I was going to use a vintage sheet, but then I thought of better plans for those where they’ll be seen more and settled on this cute little print I was given in one of those loads from a friend.  Those ‘oh I came across this at my house/mom’s/grandmother’s and thought you might be able to use it’ sort of things.   So here are some steps you can take to turn a simple tote you have into something way cooler.
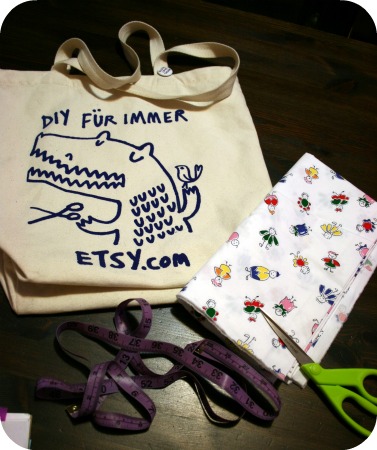
You will need a tote, fabric for lining it, tape measure, scissors, sewing machine and iron.

If you want to follow my Little Miss Fancy Pants steps you’ll also need a zipper.  Just in case you want to take the more adventurous path.

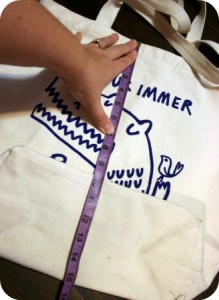
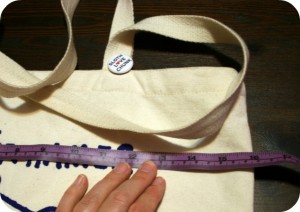
First measure your tote.  Measure the width and length.  My tote has boxed corners so I flattened the bottom out to get an accurate measurement.
My tutorial contains some very technical steps so bear with me.  Mostly it’s me just making up things I think will work along the way.  Don’t worry, they do work.

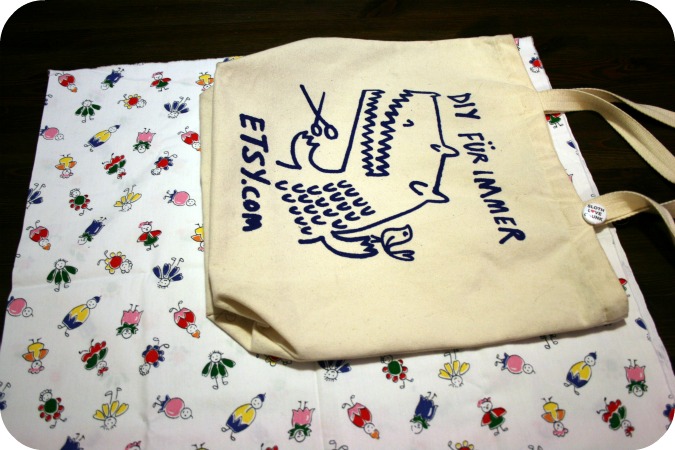
Lay the tote onto the fabric you’re going to line it with and leave some seam allowance along the top and sides, 1/4 inch is good.
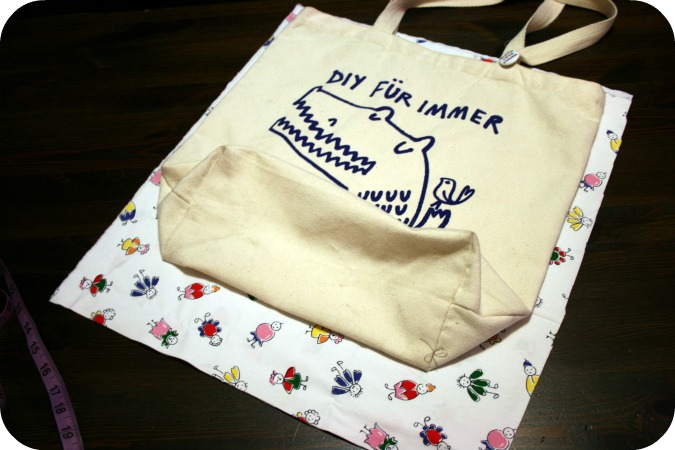
Because of the boxed corners I measured to the seam and added that measurement to the lining fabric.  Then later I had enough material to box the lining as well.  Mine was about 2 1/2 inches so that’s where I made my cut across the bottom of the lining fabric.  Cut down the remaining side to leave the 1/4 inch seam allowance.  Now you have your tote and 2 pieces to line it with.
*If you’re feeling up to adding a zipper I’m going to post those steps tomorrow in a part 2 DIY*

Otherwise carry on here!

Head to the sewing machine, lay the 2 lining pieces right sides together and sew around the sides and bottom, leaving the top open.
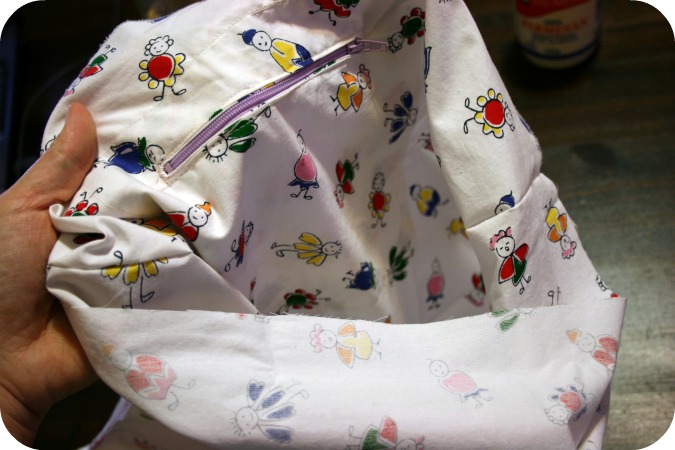
Now you will have this big pocket type lining piece (possibly without a zipper).  Can you tell I was screen printing with my lovely emulsion covered thumb?

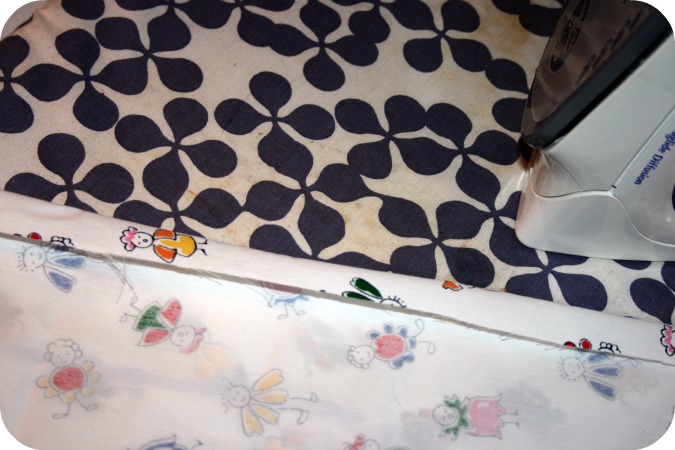
Fold over the top edge 1/4 inch and press.   I think I need to put ironing board cover on my To Sew list!
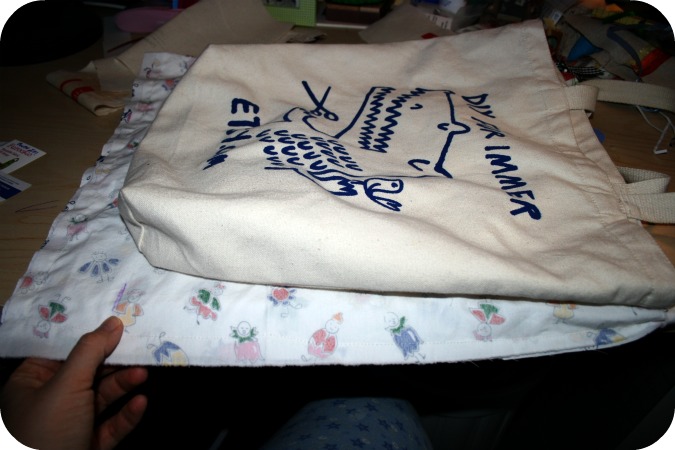
If your tote has boxed corners, lay your lining piece under your tote with the top edges lined up where they will be sewn.  Mark off the bottom of the exterior tote so you have a guide line to sew along.  Now note it was late at night and you can see my lovely jammie clad knee.
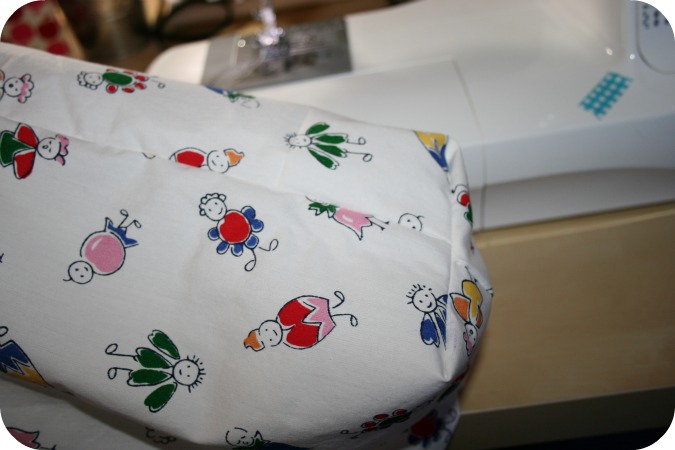
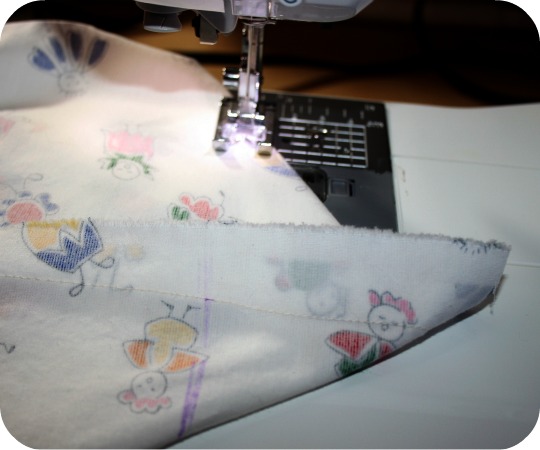
Fold the bottom of the lining at the mark line to make a squared bottom and sew straight across the tote to create a boxed corner.  You can trim that excess triangle of fabric off or just fold it under.
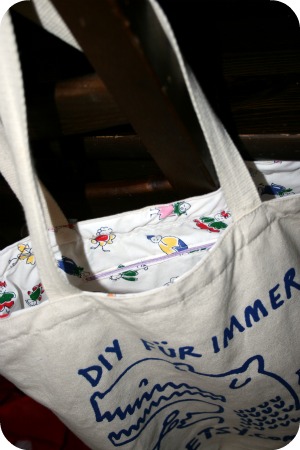
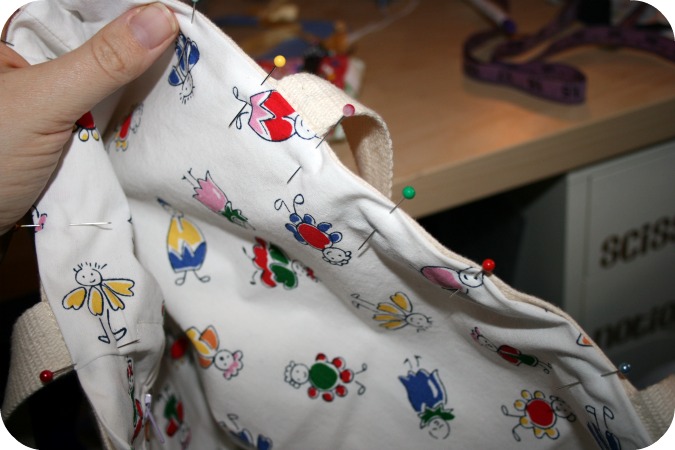
Now plunk your lining inside the pre-made tote exterior.  Make sure you get the boxed corners down deep in the tote and pushed in at the corners.  Match up the top seams of the lining and tote and pin all around.
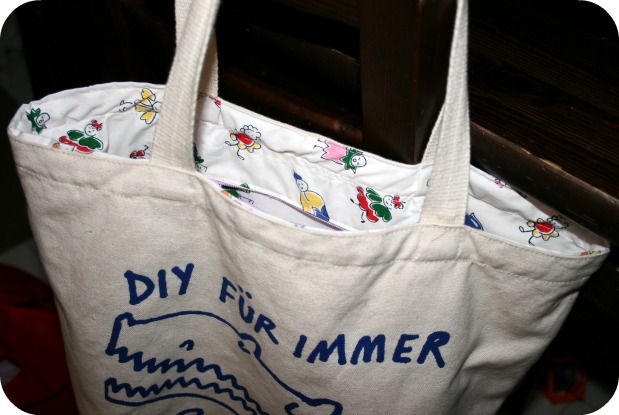
Go back to the machine and sew all around the tote top edge with a 1/4 inch seam allowance attaching the lining to the tote!
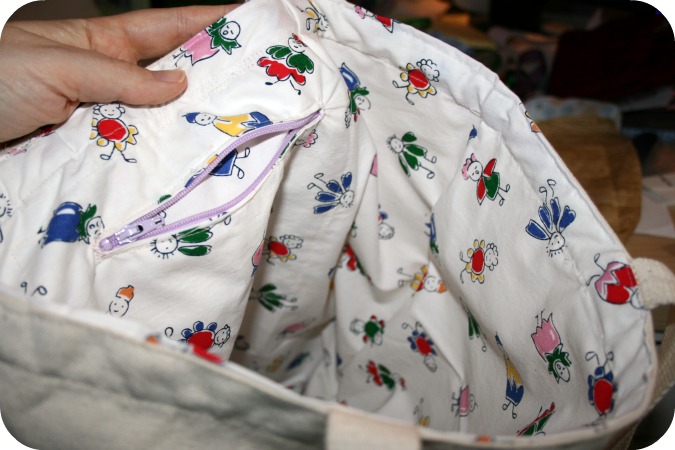
Behold your newly lined tote!