Category Archives: DIY

Snack pouch tutorial, complete with teaser.

We’ve been making the switch to glass and stainless steel lunch containers. Both my school and my son’s school push for the whole literless/boomerang lunch thing. Bomerang lunch basically means if you send it in packaging or it creates some sort of garbage they’re going to send it back home to you. Strangely we teacher folk are free to load up the garbages at school with our lunch litter but I’m trying desperatly to avoid that. Hence my binge to create some snack pouches!

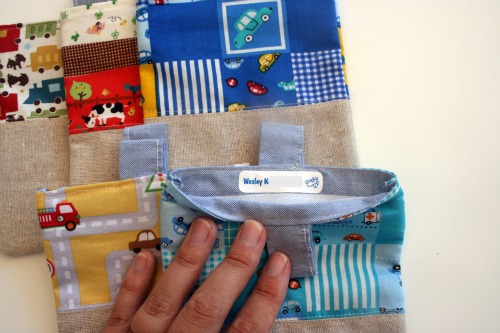
Now I created a few for my son and I’m going to show you how to make some yourself. I was really hardcore with his and used parts from one of my hubby’s practically new shirts. Somehow he got a weird big circle stain on it right in the front and tossed it into the donate pile. I rescued it.  Oh, lookie a Mabel’s Label.

I also tried to use fabrics I had on hand and chose some of the bright colourful kid prints I have to jazz the pouches up a bit. There some debate online about materials to use for the inside and what is and isn’t food safe. To just avoid having to buy something or find out later what I chose was wrong I’m sticking with cotton fabrics. If you plan on carrying something that could get things wet I suggest adding a layer between the inner and outer cotton pieces to help prevent everything else in your bag getting soaked. Cutting up a freezer bag would work great for this and you could probably get a few out of just one.

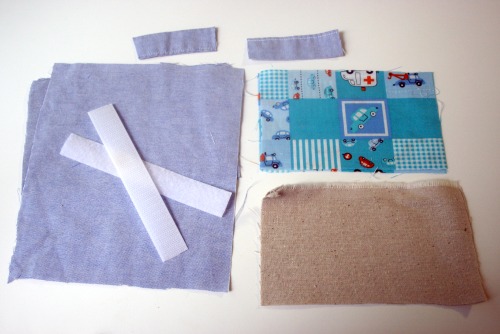
You will need:

– lining fabric 4 1/2 x 6ish

– printed fabric for outside about 4 1/2 x 3 1/2

– plain fabric for outside 4 1/2 x 3 1/2

– 4 inch length of velcro, hook & loop piece

– strip of fabric to make tabs

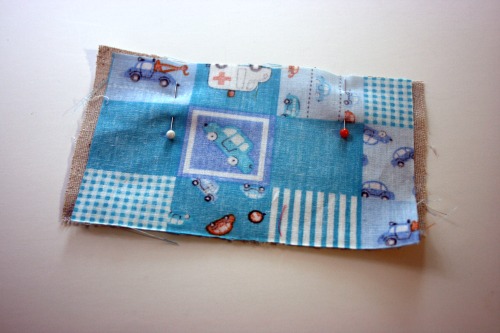
Pin the 2 outside fabric pieces right side together and sew together. I use 1/4 inch seam, or slightly less.

Unfold the pieces and press the seams flat.

Stich on the rightside of the fabric to each side of the seam.  This will help reinforce where the fabrics are joined and adds a nice little decorative stitch.

Because I repurposed an existing garment I didn’t have to make my own little tabs but if you do it’s really simple.  Take 2 pieces of fabric shaped like rectangles and fold it in half so it’s a long piece and then sew down the edge. Turn it right-side out and you should have a nice long thin rectangle.  If you want the little decorative top stitch mine has you can just do a straight stitch down one side.  Trim one tab so it’s slightly shorter than the other.  I’ve found it’s easier to separate them when opening the pouch.

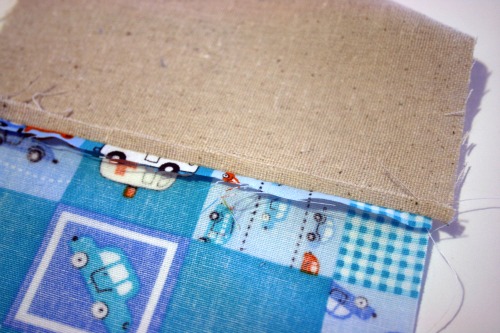
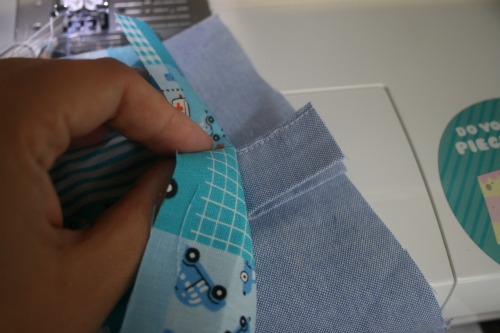
Fold your tab piece in half and sandwich it between your lining and outside piece, placed right sides together.  Sew through all 3 pieces.

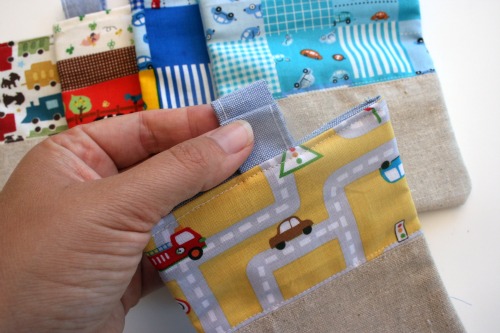
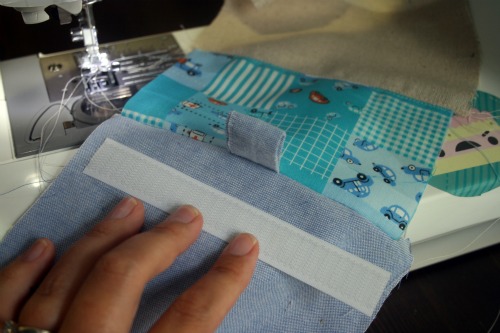
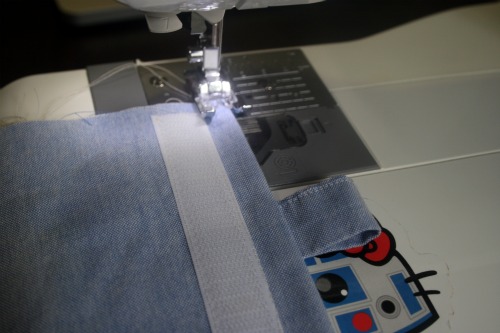
You should now have this sort of looking thing, with your tab sticking up.  Now position the velcro about 1/4 – 1/2 inch from what will be the top of your pouch.  Stitch along at least the top and bottom of the velcro, you can do the sides too if you like.  Secure the velcro on the opposite side of the pouch, measuring them against each other to get the positioning correct.

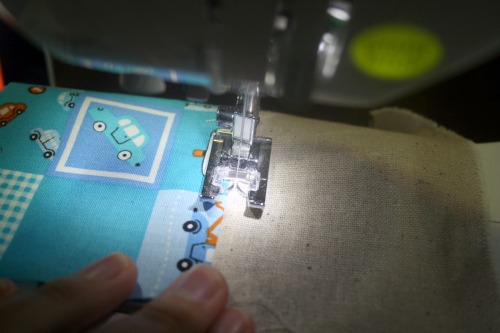
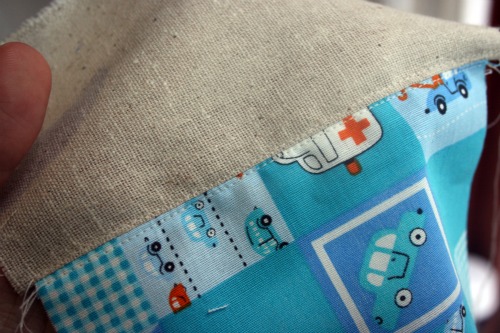
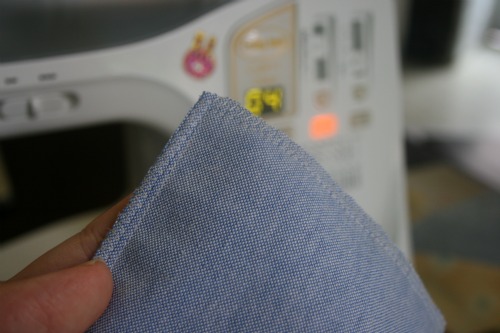
Fold the pouch over completely so the outside is outside and you’re looking at the lining.  Press to get a nice clean edge and then topstitch along near the edge of the pouch.  This will create a nice finish stitch on the inside and outside and reinforce the tab.

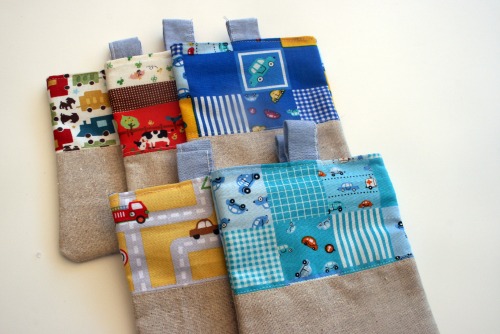
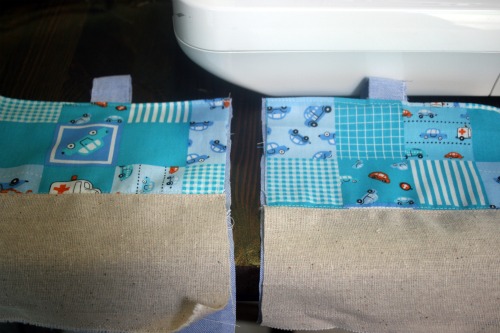
Once you’ve completed all these steps for both sides you should be left with something that looks like this.

Place the 2 pieces with the outsides together and stitch all the way around 3 unfinished sides.  This would be a great place to use a serger if you have one.  I don’t so I just went back and did a zig zag stitch just beside the straight stitch and then trimmed the fabric really close to the stitching.

These are really fun and easy to make.  It’s a great way to use up some scraps.  I’m thinking of making them to use as loot bags for my son’s birthday party this year, then the kids leave with some goodies and a fun little reusable snack pouch.  Since things will only be in there a few hours I’m not worried about them getting stale but if you were, or plan to put wet-ish snacks in there, then you can put a water resistant lining between the fabrics.

Also, I’m going to tease you with a little fun embellishment you could add to these.  You’ll have to come back tomorrow for the full explanation.  All I can say now is it involves a guest post and it will kill you with cuteness.


Using scraps, adding products and making a display.

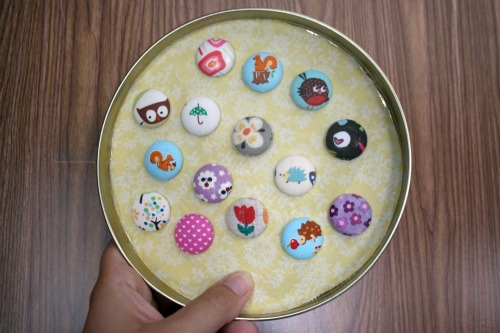
I made a pile of fabric scrap magnets. Some of the fun ones are gone already, but I thought I’d share the fun little display ideas we came up with. At the craft show on Friday all my little magnets were in a dish together and sticking to each other whenever anyone took a look at them. Luckily I was with a creative friend and she came up with a great idea. Then we both went home and made one! Hers is way better though . . . her kid is quietly contained in her belly so she has more time than I do.
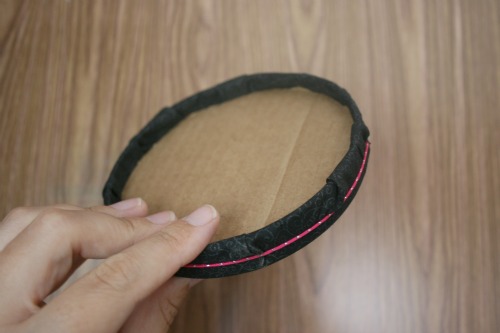
Joanna’s idea was to take a cookie tin lid and Modge Podge some fabric on the inside for a nice backing. I’ll probably add some piping or something around the inside.

I whipped mine up really quickly and wasn’t sure how permanent it was, or if she got to making one, so it’s really easy to take this one apart. Which is good if you need something like this but only have 1 cookie tin and need it later . . . or something.

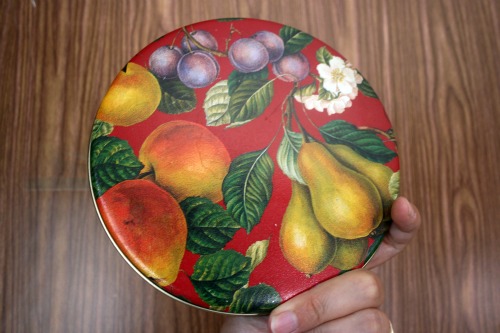
Using a smaller cookie tin lid I cut a circle of fabric and wrapped it around it and secured it in place with a circle of cardboard and an elastic for good measure.

It would stand up nicely on a little plate stand or one of those book display easels. They were a great addition to my cup cozies and bags and totes. Small, cute and inexpensive a lot of people picked one up as they paid and added it to their purchase.

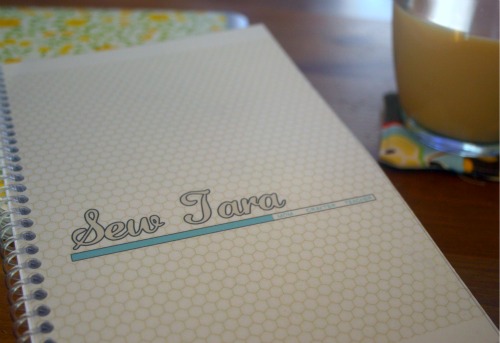
SewTara the planner.

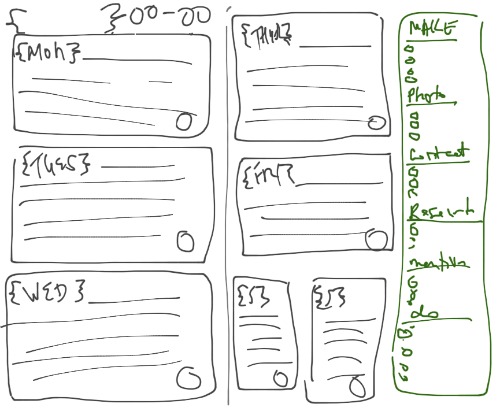
So, I know I’ve said it before, but having a blog, online shop, family and ‘real’ job gets tricky to balance. I’ve been missing opportunities and dropping the ball on things because I’ve been *gasp* disorganized. I decided I needed to unplug in order to feel organized by going back to pencil and paper and planning things out. I started to poke around Etsy looking for printables or a complete planner but nothing was fitting exactly with what I wanted. I spent some time thinking about what my needs would be and made a sketch. A very professional sketch with my finger on my ipad.

With no idea how to go about making a graphic printable or a PDF I turned to my friend Mollie for some advice. I have no many things on my to learn list and graphics and PDF creation are on it. However, the sweet Mollie just went ahead and quickly whipped something up, and it’s stinking perfect!

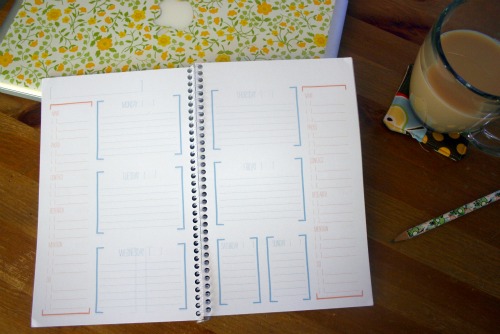
Here’s a close up.

It has a 2 page layout for the week with 2 columns ready for listing To Dos and checking them off as you go. She squared things up a bit and created some balance and even added some pretty colours. We thought it was pretty comprehensive as a planner for a blogger and so we’re going to share!

Click to see and download the calendar

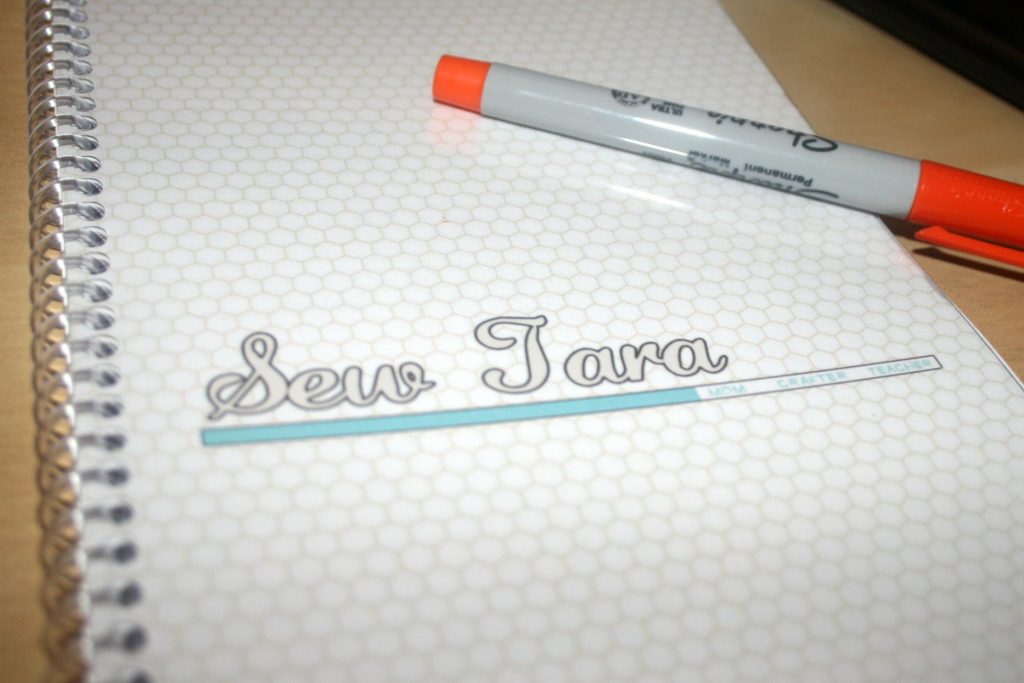
I printed mine on 32lb white paper, double sided it and made up a cover based on some of LA’s blog redesign drafts. I took the pile of paper over to Staples and for around $11 they cut the pages in half, added covers and coil bound it. Voila my very own custom made planner!

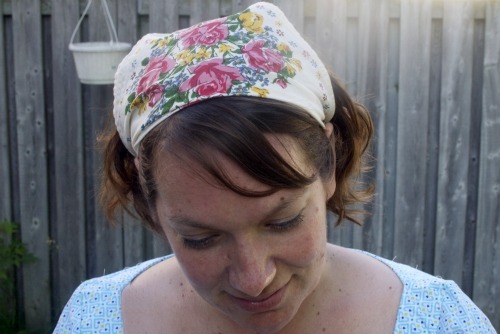
Summer hanky headband DIY

I guest posted over the weekend at amy is the party where she featured a bunch of fun summery projects, like cupcake fondue!! Plus other post by some superfunawesomecool people including Thursday and Crafty Minx. So head over there and have a peek!

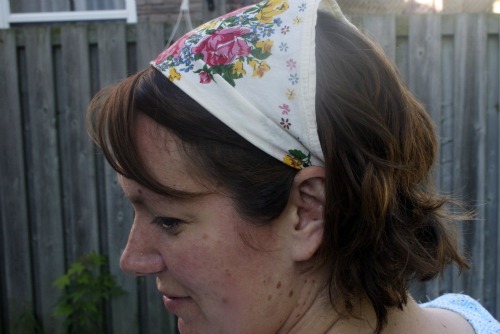
Ok I’m going to show you how to turn a hanky into a fun hair accessory for the summer. It’s a super quick project that you can make with thrifted materials and probably things you have on hand, scraps material and a bit of elastic. I’ve burned my scalp already this summer and I’m hoping this is a cuter alternative to hats.
You will need
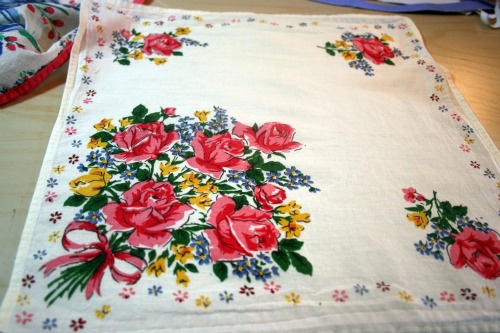
– a hanky you like
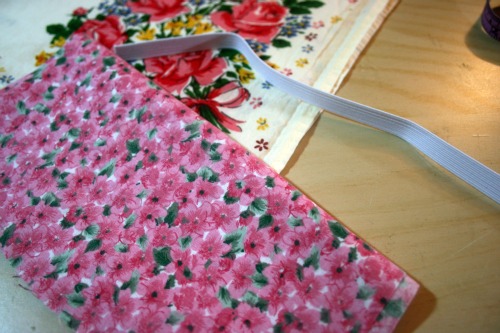
– a piece of elastic (mine was 7″)
– a strip of fabric (3″ x 15″)
Other handy items – safety pin, turning tool,

I picked this one because it has a great pattern on one corner which is perfect because you’re going to fold the hanky diagonally.

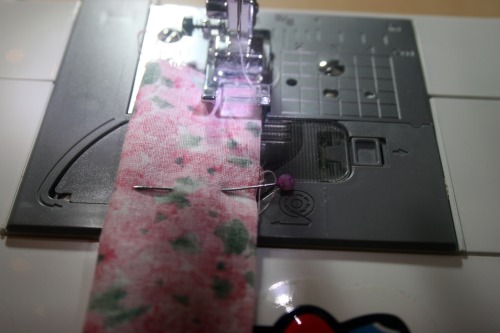
First fold the strip of fabric in half and sew down one side with a 1/4 inch seam.

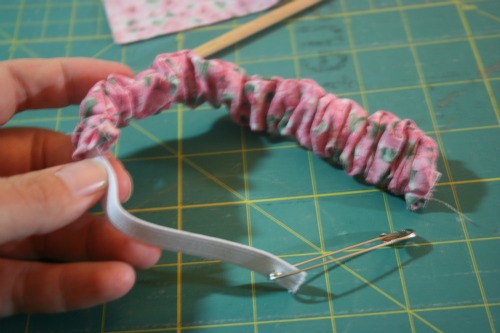
Turn it right side out. This part was a bit tricky, I used my handy little turning tool, this long metal stick thing with a hook on it. Once you have it turned right side out take the elastic piece and feed it through the casing. Sew it in place at one end. Then pull the elastic through so it’s sticking out the other side. It’s easy to guide through if you put a safety pin on the end first.

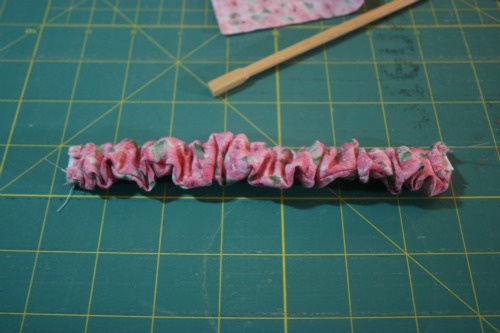
The casing fabric should be all gathered up like a hair scrunchie.

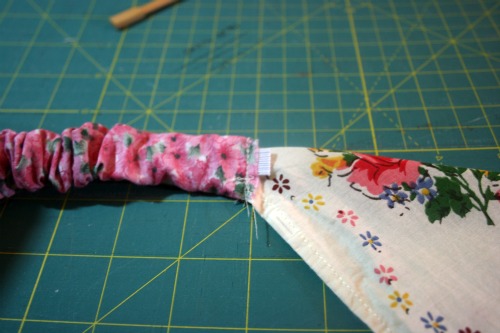
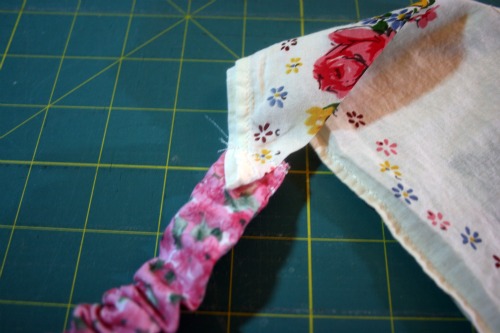
Fold the hanky in half diagonally and sew the stitched up end of the elastic to one corner of the hanky.

Chceck to see how it fits on your head. I had to trim about an inch from the scrunchie piece. Once it’s a comfortable tightness at the back of your head stitch the other end of the scrunchie piece to the other hanky corner.

And voila, a great cool summer alternative to hat head!

Here’s my ‘I’m not ready for a photo’ frontal shot. Sorry for the sunny bit.

Single girl quilt support group

Oh I joined the group . . . a while ago. You have to commit to making a quilt at some point. So I’m committed to someday. This weekend, in slow, slow preparation for making the quilt some day, I made myself some templates to work with.

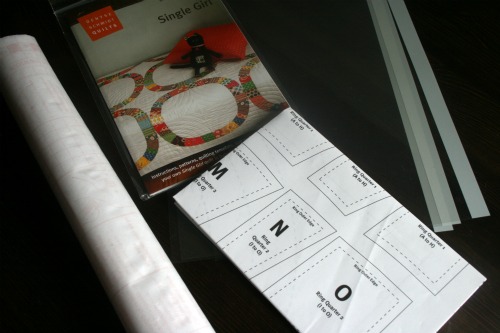
I used some overhead transparencies, Sharpies and some left over peel and stick window frosting stuff I had lying around.

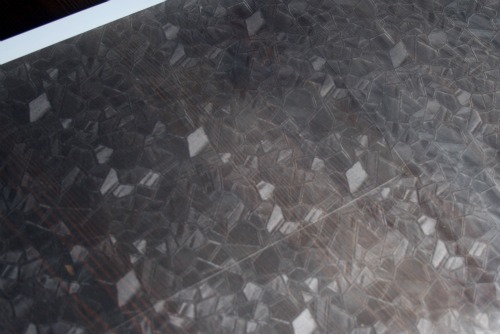
This isn’t the best picture but I peeled off the window frosting and stuck it to the overheads. It give it a look like vellum but it’s way sturdier I think. I could have traced the pattern twice and maybe saved some of the frosted stuff in the process but I was being too lazy to cut things out twice. There are a lot of bits and pieces to this thing!

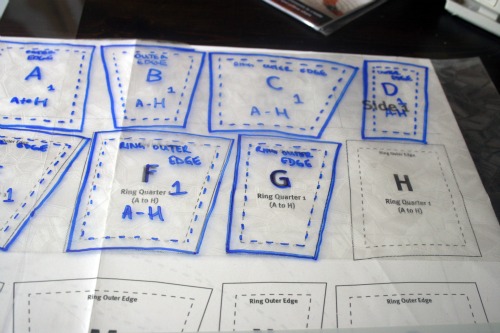
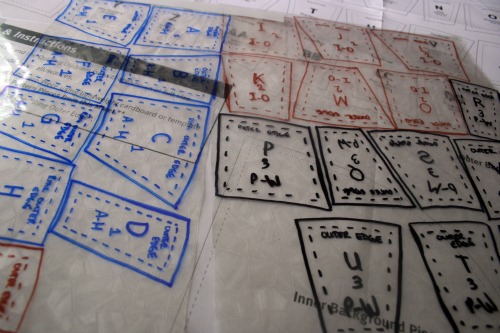
Then I just took my Sharpie and traced around the pieces making all the important markings. Skipped the ruler bit, again, lazy.

I even got fancy and used a different colour for each of the 4 sections of the circle. With the seam marked on the pieces and being able to see through the pieces it will be really easy to make sure I catch the part of the print I want to highlight.
Just call me Little Miss Fancy Pants why dontcha?

DIY little notebook

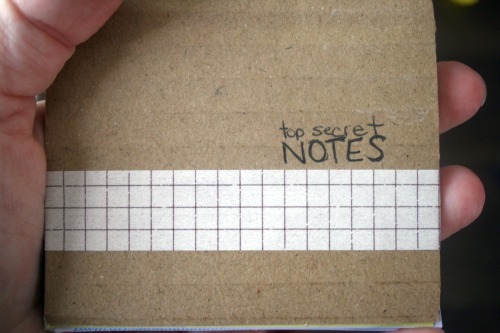
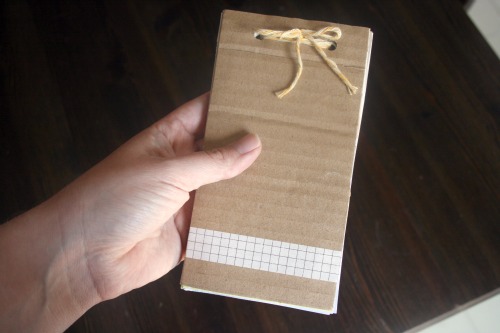
I made this little notebook using papers and things from around the house. You should have everything you need to whip one up in a few minutes. They’d be great for keeping in your bag for lists, or for the kids. My kids are always wanting their own handy, dandy notebook! Plus you can recycle the whole thing once you’re done with it. Re-use the twine if you’re that hardcore.

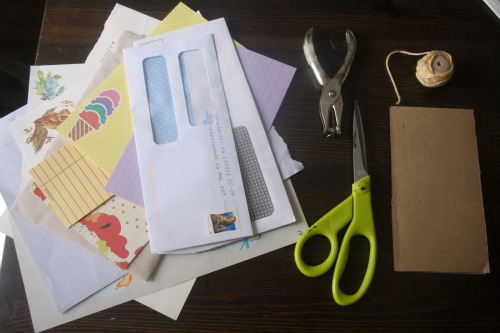
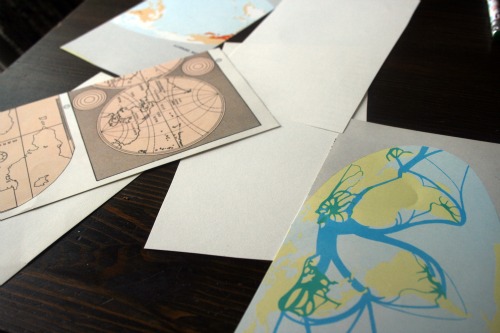
You need 2 pieces of cardboard cut to the same size. These will make the front and back of the notebook. Gather some scrap papers. I used a lot of bill envelopes, pages from thirfted writing papers and some atlas pages. A whole punch, scissors, twine/string/yarn/floss or something stringy.

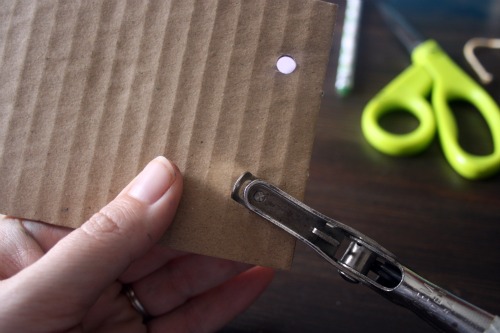
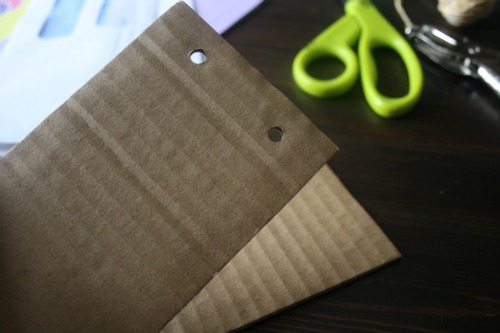
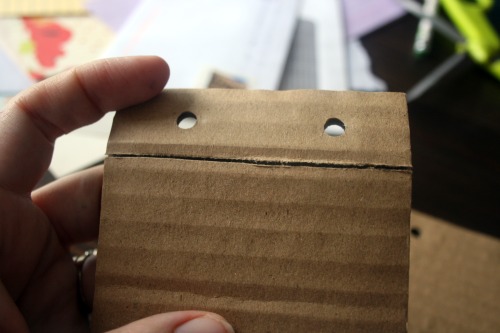
Punch holes in the cardboard pieces that are going to be the front and back of the notebook.

Then with your scissors score a line across the front cover piece of cardboard. Just press gently so you only cut through the top layer of paper.

Decide how you want your pages to be placed. If there’s writing on some of them, like atlas pages, you’ll need to decide what side you want to have available for notes.

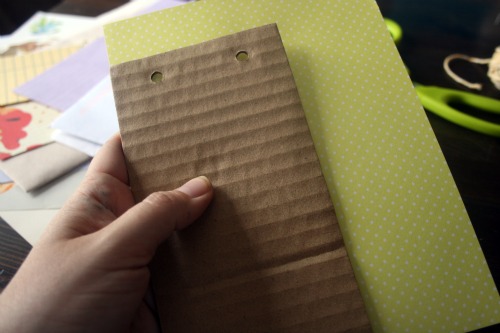
Trim the pages to the same size as your cardboard cover. You could get fancy and get out a paper trimmer and actually measure this but I just held them to my cover and cut around it. Remember, it’s not ‘lazy’ it’s ‘creative’.

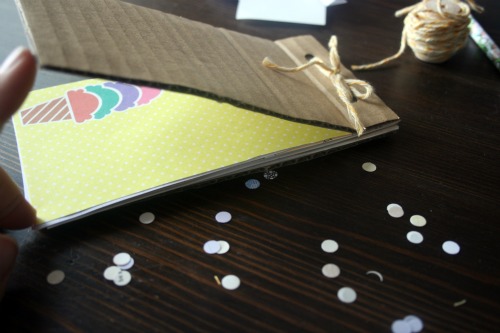
Then in the spirit of ‘creative’ I held the pages up to the cover and punched the holes in the same place, lined up with the ones on the front and back cardboard pieces. Punch all the pages you want in your notebook. Thread some stringy like substance through the 2 holes and tie it up in some pretty way.

You can decorate the cover or leave it blank. I stuck a bit of washi tape on mine just for fun, gotta use that stuff up somehow I just keep collecting it. I had tried to stamp doily designs on it but the cardboard is too bumpy and it doesn’t print well. You’d have better luck using a stencil I think rather than trying to stamp.

Budgeting with the zippered pouch system.

My hubby and I have been using Mint.com for our household budgeting, we keeping track of the money online.  But somehow we’re messing it up so we’re going to keep the cash at home.  Instead of boring paper envelopes I’ve decided to steal this idea and make some zippered pouches. I’ve made a lined & zippered pouch before but couldn’t seem to find the link again, so I just used a few I found after Googling for instructions/a tutorial.

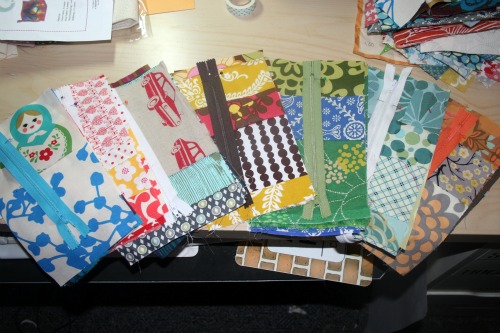
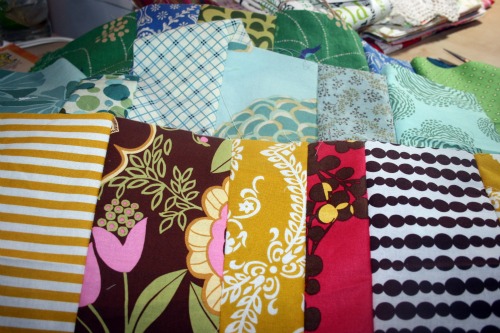
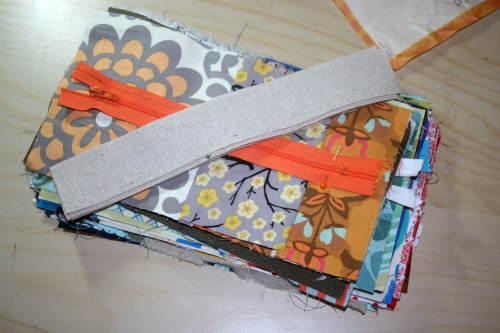
I gathered up all my various scrap swap scraps and pieces together some fun colour combinations.

I just pieced them together stripe by stripe.

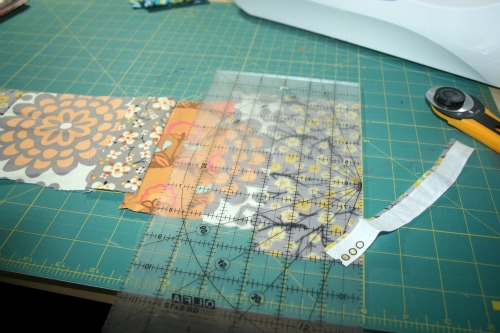
Then cut them down to the right size.

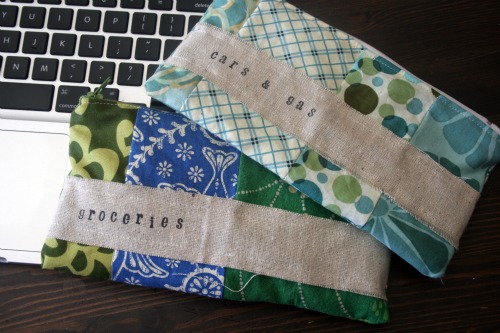
I cut some plain cotton for the strip of fabric to stamp the lettering on the front.

I used Staz-On I had at home and some $1.50 alphabet stamps I picked up in those impluse buy bins at Michael’s.

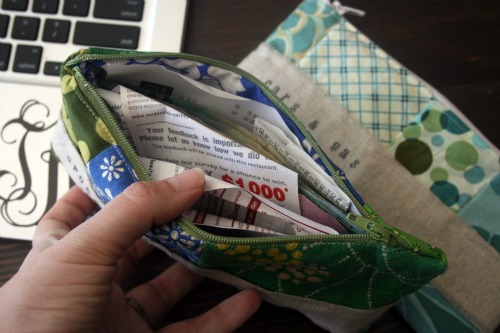
We left all our bill money in the bank so we can still pay those online and we have cash in our ‘envelopes’.

DIY vintage pillow case restyle.

On the weekend I turned my kitchen table into a bit of a nightmare so I could squeeze in some crafting while Nate was avoiding his nap. I was working on a project with vintage pillow cases and inspiration hit and took me on a bit of a detour.

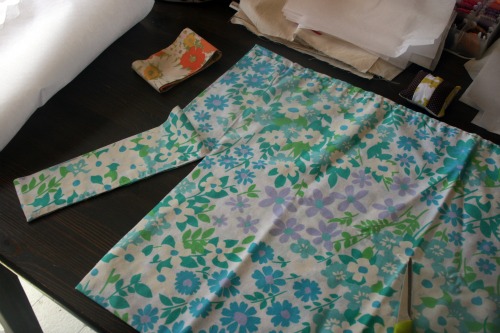
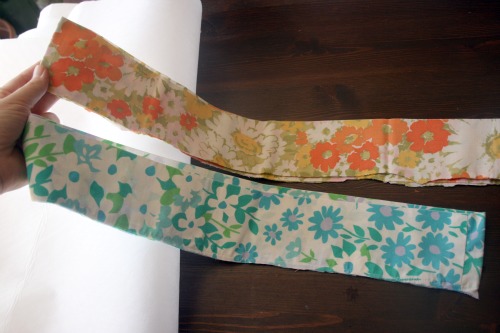
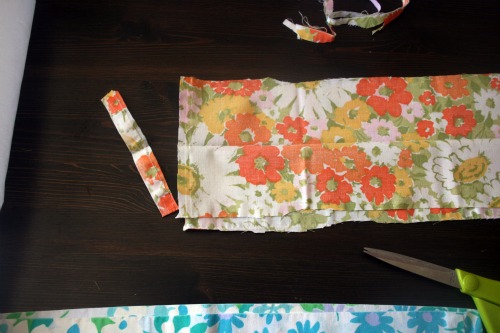
Start with a vintage pillow case and trim off the nice finished edge at the opening where you put your pillow in. You can either trim really close to the stitching and have a closed loop piece, or cut into it and have an open edge. I’m going to show you how to work with both options.

Now you have 2 big loops, cut off the seam so you have one long piece of fabric.

I was cutting the orangey one for another project and in the process I trimmed a bit into the seam and created an opening on one edge. So here’s how to finish that off and make a nice clean edge, and a thinish headband.

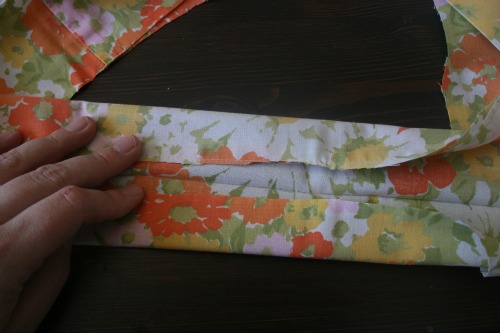
Open the fabric up and use the fold inside, the part that was the very end of the pillow, as a guide to fold the unfinished edges inward. I didn’t go all the way because I wanted my band a bit thicker.

Then fold it again so the raw edges disappear inside. You can iron and pin at this point before you sew. Of forge ahead like I did.

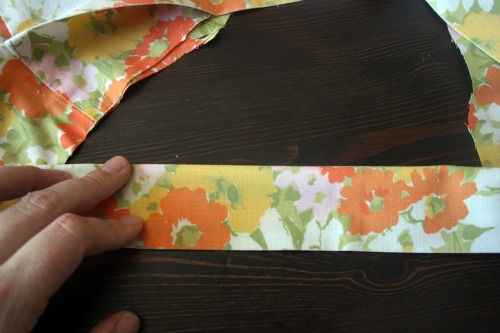
Top stitch along the sides to make nice clean edges. Fold the bottom raw edges up inside the ‘tube’ to create a clean edge and topstitch to seal it all in. Then you have one nice ruler shaped piece of fabric that you can wrap around your head and tie at the back.

For my blue headband I just carefully trimmed around the pre-existing stitching. Why make more work?

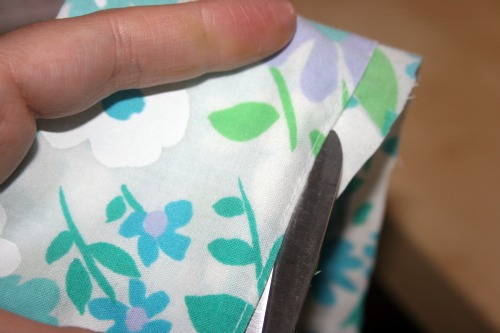
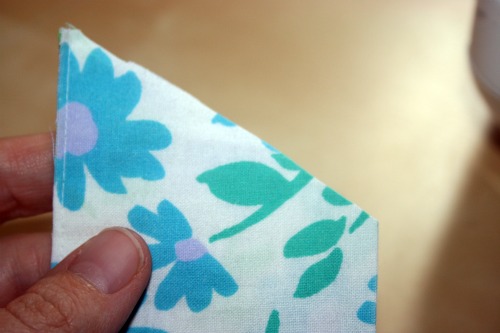
Then I cut the ends on an angle just to had some interest to the ends. Fold the raw edges inside and top stitch around the whole thing.

There you have it, a lovely new headband that was half made already!

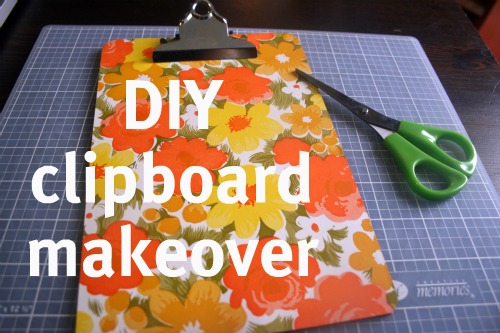
DIY clipboard snazziness

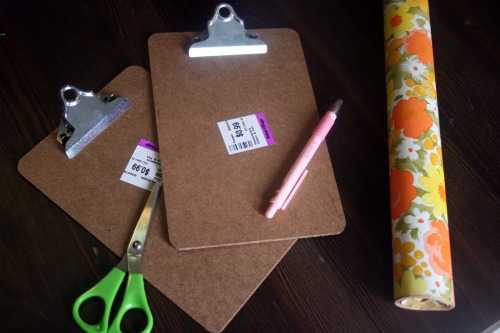
You will need some scissors, an exacto knife or some sort of precise cutting instrument, some shelving/contact paper, a cutting mat helps annnd a clipboard!  My clipboards are little mini ones I picked up for 99 cents each at Value Village.

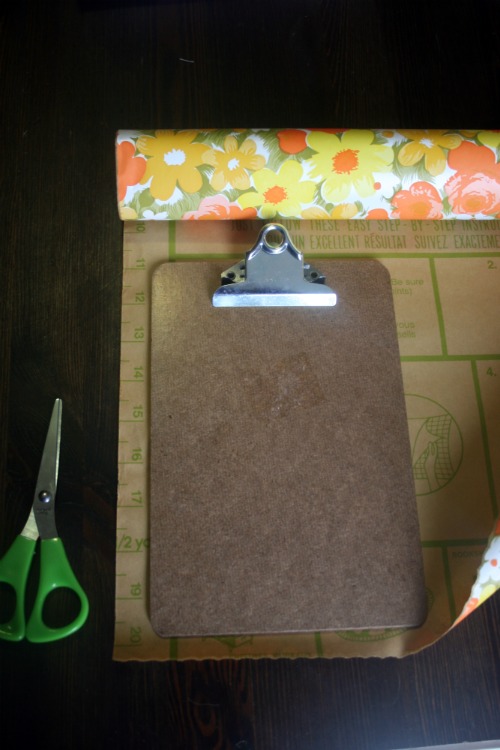
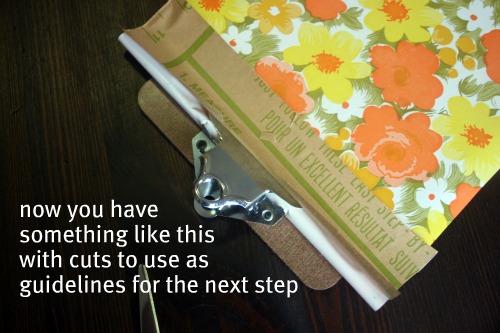
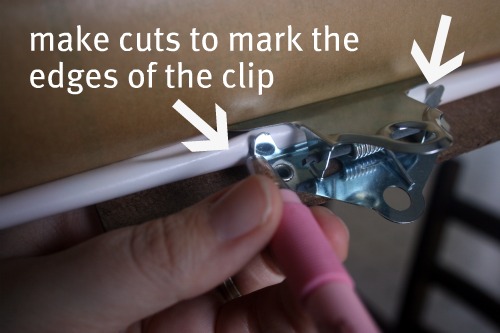
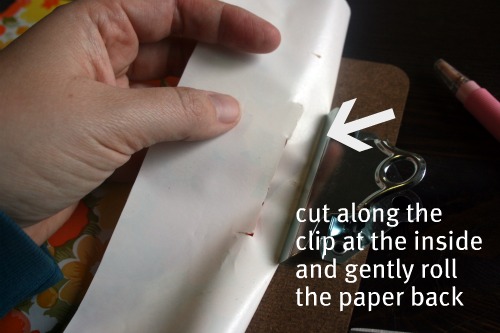
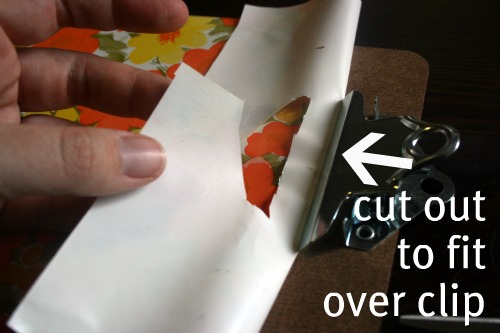
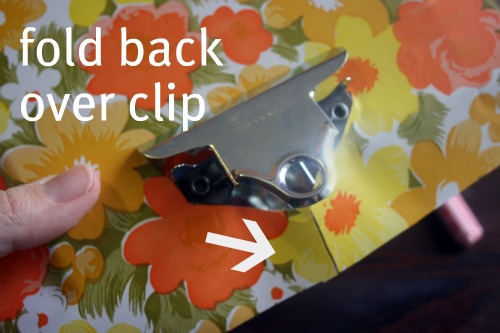
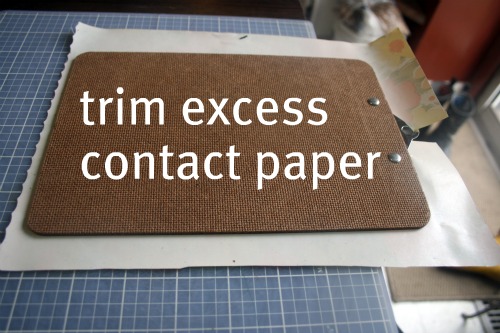
Remove any stickers or labels from your clipboards before you start.  I left the price tag on my first attempt and there’s a faint outline of the price tag.  Measure your clipboard or just do what I did and lay it on the contact paper and cut out a piece big enough to cover it.

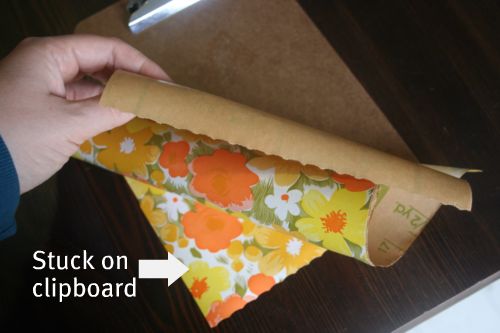
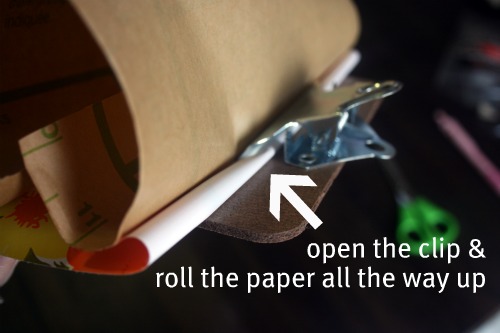
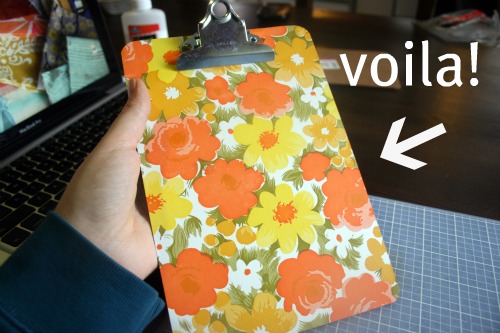
Cut the piece out and starting at one of the bottom corners stick the contact paper on and work across the clipboard making sure there are no bubbles or bumps.


It has been a ridiculously busy week in my house. It’s literally taken me about 5 days to write this post. Which is sad since there’s hardly any writing!

Vintage find and redo.

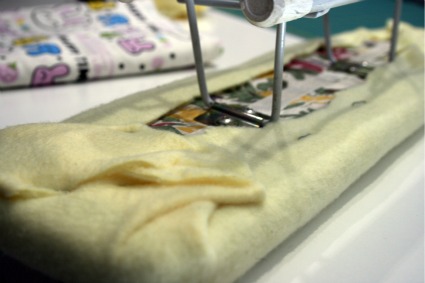
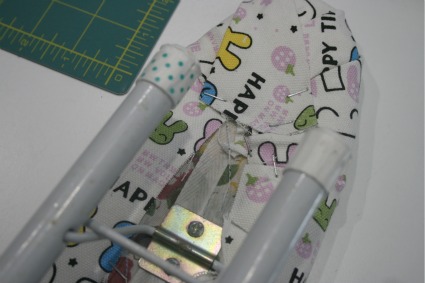
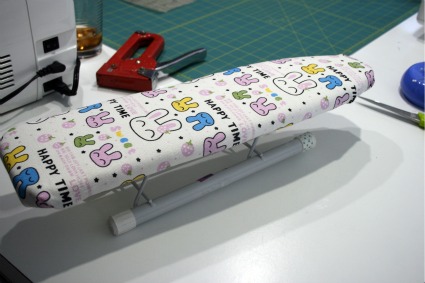
After about a year of communicating I finally met up with fellow crafty chick Cristina of Craftee on Friday night. We went for some yummy food and wandered around to some creative stores. She spotted this little teeny tiny ironing board at the thrift store and I thought it would be perfect for when I use my little teeny tiny mini iron to put my labels on. It was covered in a icky fabric so I decided to recover it.

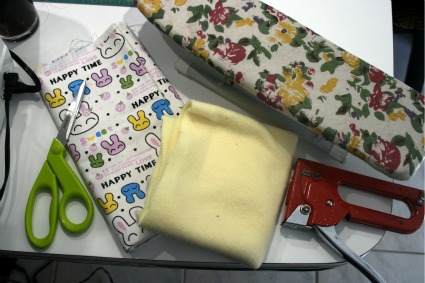
It was just a piece of wood with batting and fabric stapled on it so I went with that design and put my own batting and material on it.

I chose a fun Japanese canvasy type fabric since it’s a little thicker than just a quilting cotton.

Now ironing on my labels won’t seem so work like with these cute little bunnies looking up at me!