Author Archives: SewTara

Tinkertote madness!

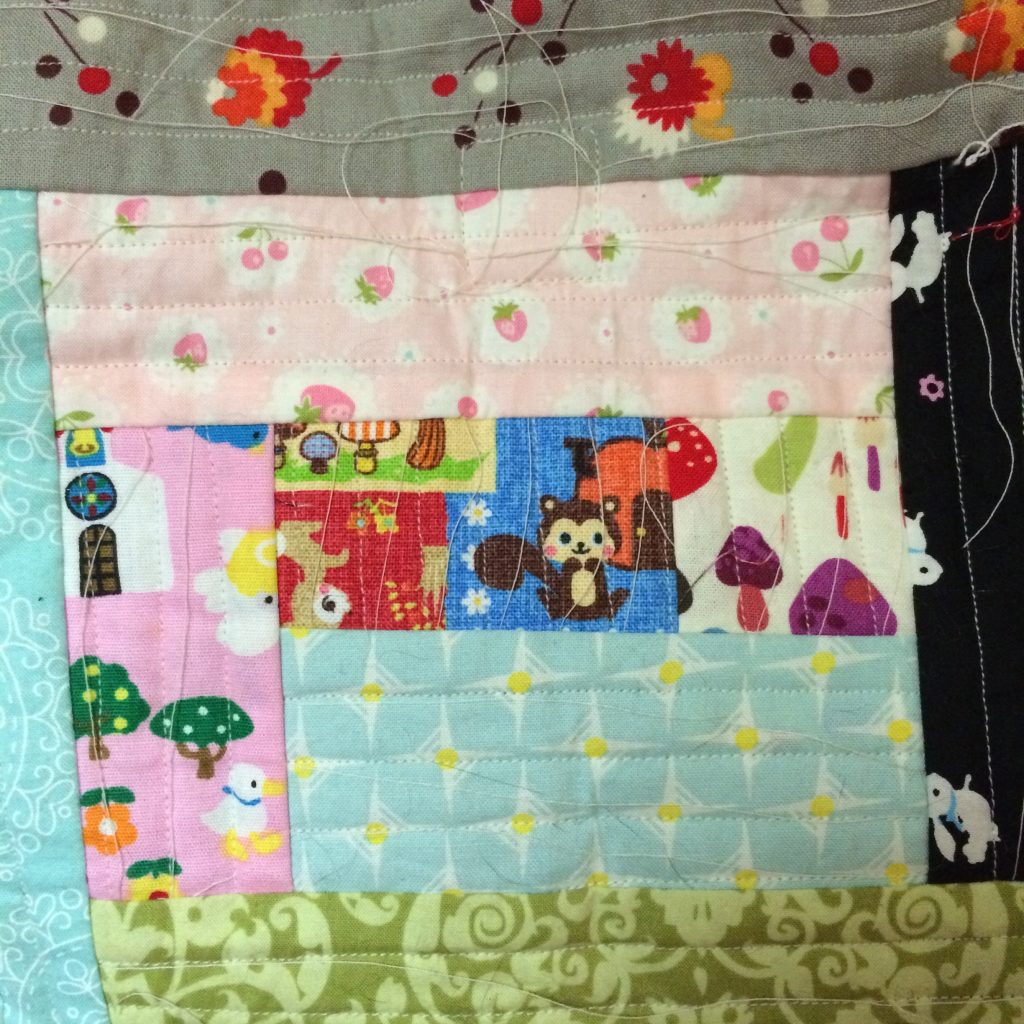
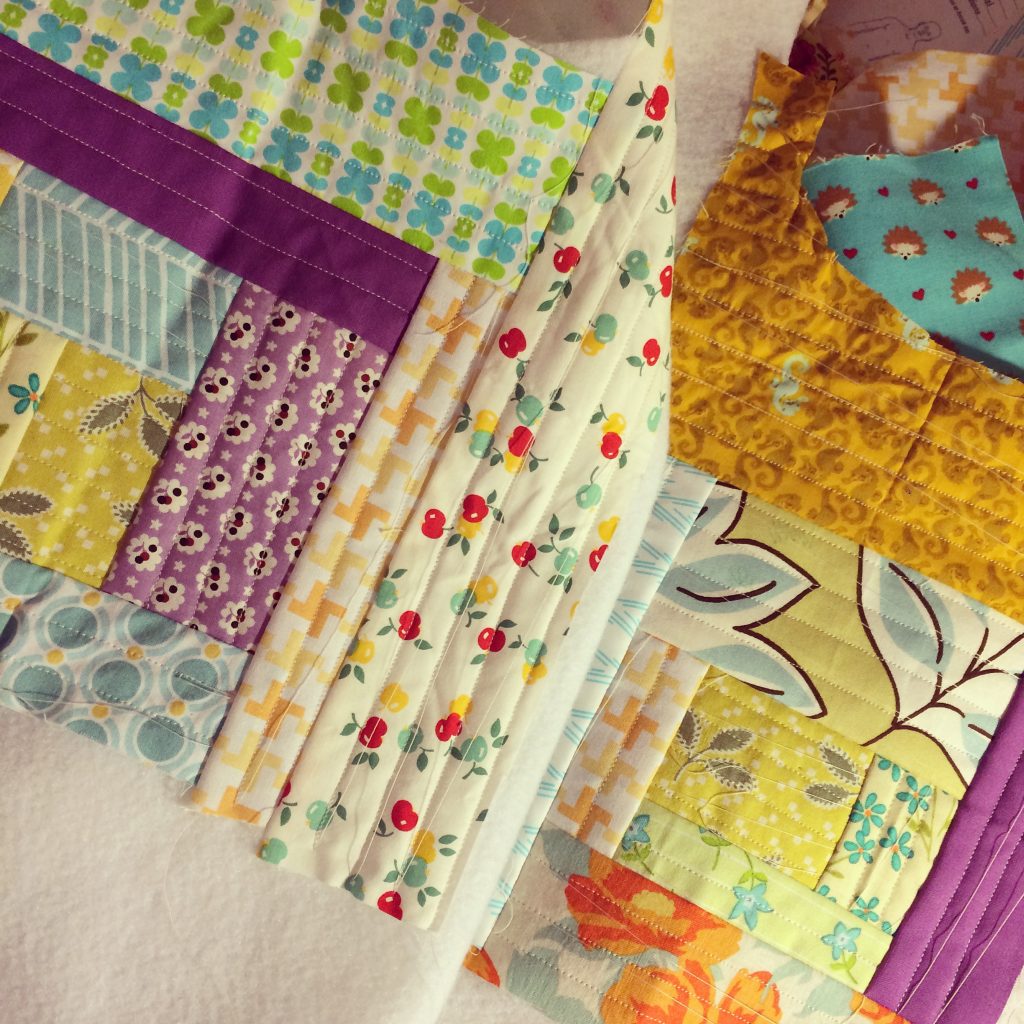
I swear I am in complete and utter love of this technique and making more of these beautiful creations of Tara Rebman’s Quilt-As-You-Go: Patchwork Bags

IMG_1868

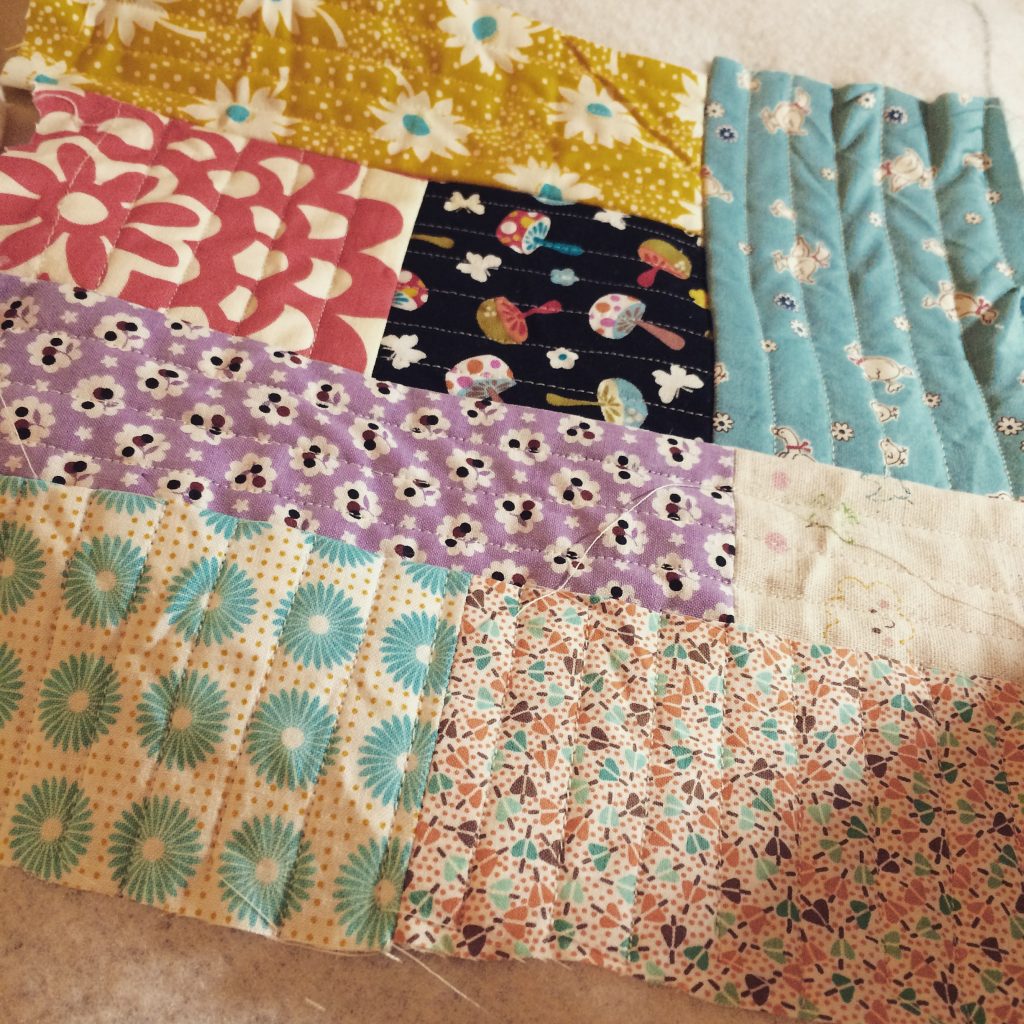
I love using up my scraps, making them work together or just throwing whatever with whatever and seeing how it goes.

IMG_1877

That’s how I’ve pieced the scrappy wallets I make and I love how they turn out with so many bright colours and patterns.

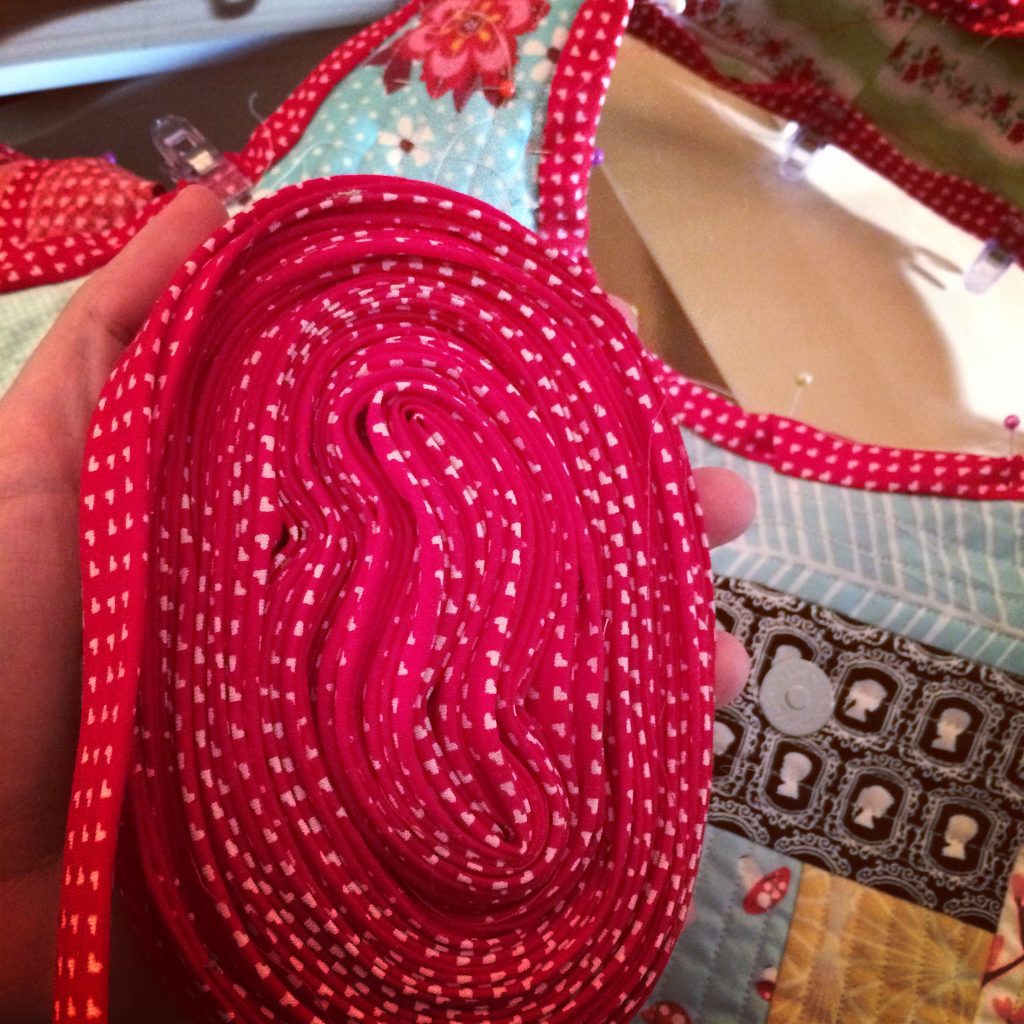
IMG_1718

They look absolutely fantastic if you go the extra mile and make your own bias tape. It is time consuming and a bit finicky but the results are great.

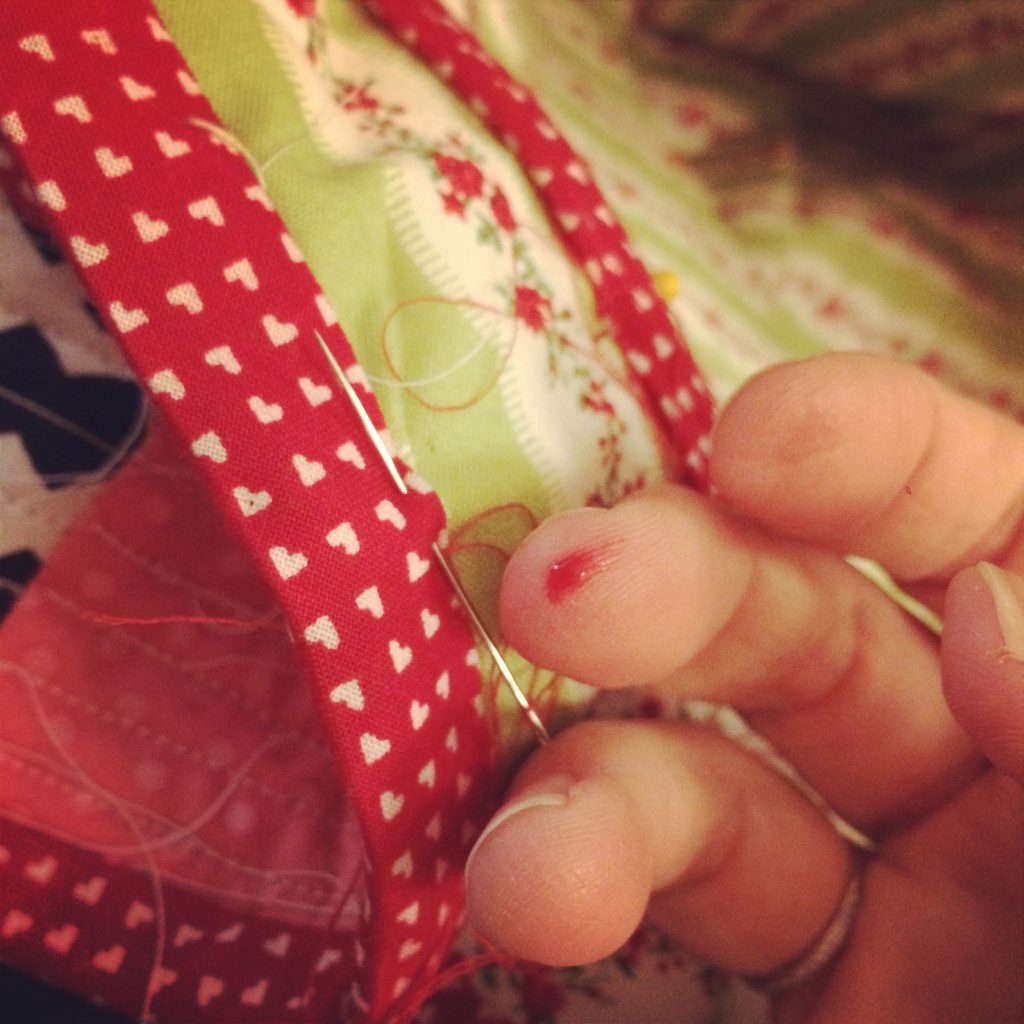
IMG_1728

Hand stitching the second side of the tape on is the best way to go. Keeps it really nice and tidy. But beware! Thimble recommended.

IMG_2093

Guess How Much I Love Sharing the Love?

Years ago one of my earliest blog posts was all about my son Nate’s nursery. I had lucked out on a warehouse clean out after contacting the publisher and I bought a bunch of Guess How Much I Love you themed stuff that seemed to be part of the very hard last to find things out there.

Pardon the evil pictures, as I said early post.
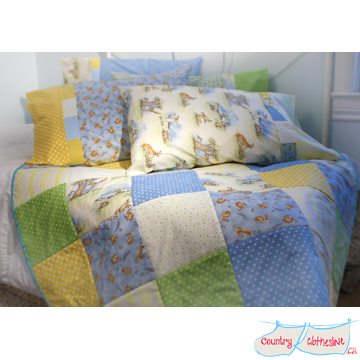
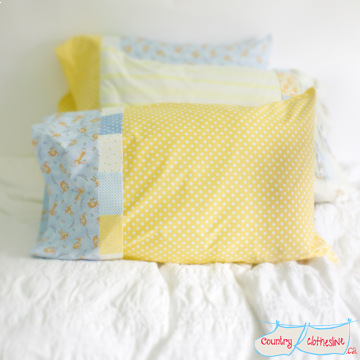
While wandering at the Spring One of a Kind Craft Show a booth caught my eye, Country Clothesline. Not only were her items pretty, she used words like me ‘vintagey’ and she somehow had some Guess How Much I Love You fabric in her items and stash!

IMG_3712n_grande

She’s got a pillowcase and another and quilt.

IMG_4380Wide_grande

I used to get emails often asking me where my stuff was and what I was keeping and could people purchase it. I eventually went through it and parted with that I was willing to pass on to another mother.

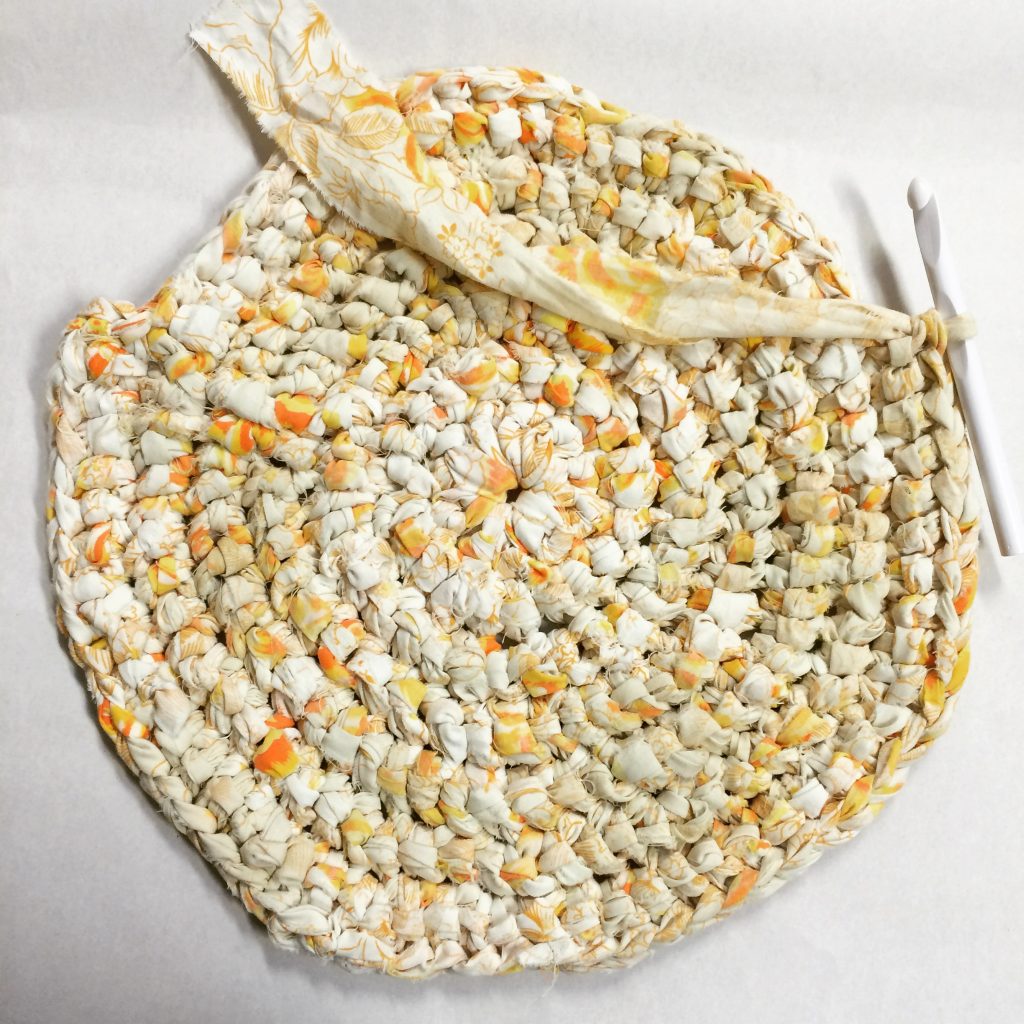
Rag rug still in progress.

Here’s how it all started!

IMG_2202

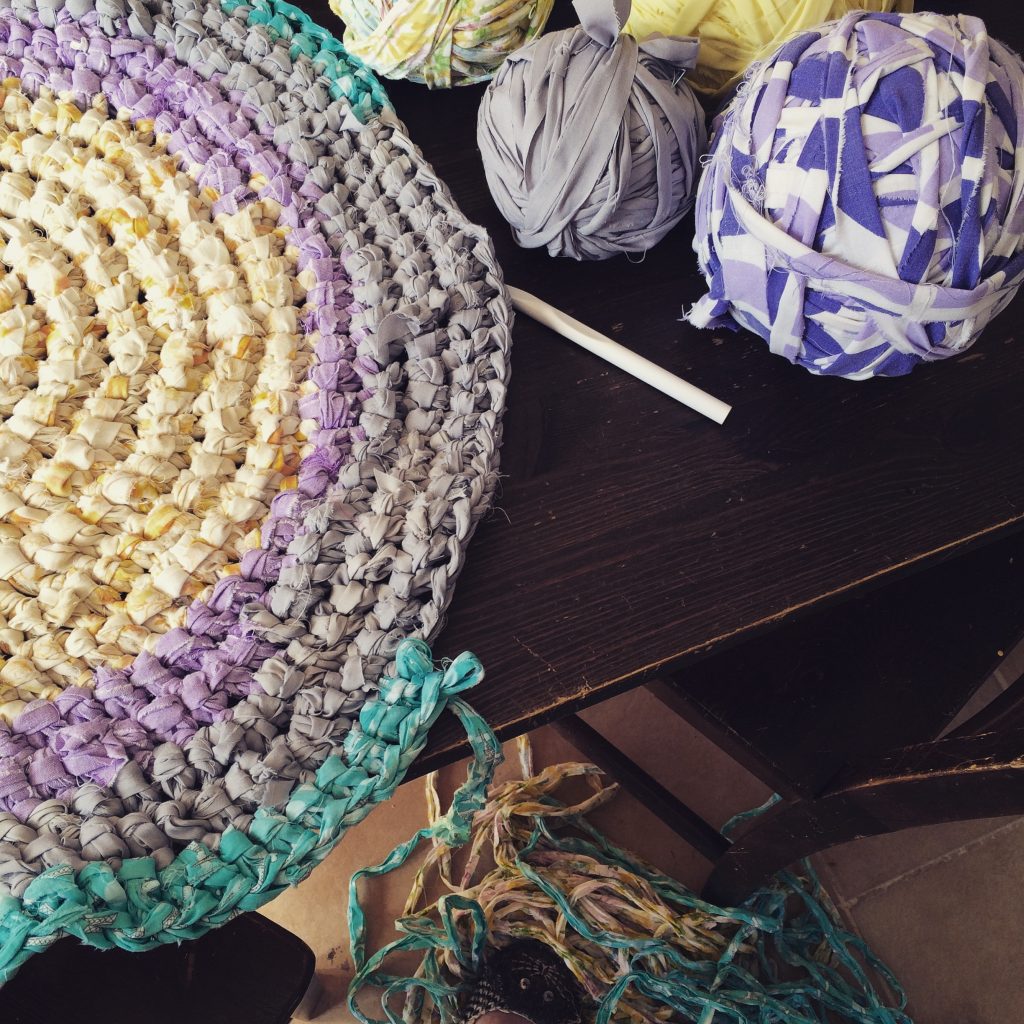
Since I’ve been chronicling the progress of my rag rug on my Facebook Page and Instagram but here are some of the pics all put together.  It’s nearly done so there will be one last “KABOOM! lookit it’s all finished” pic coming soon.  There are instructions around online but I used  Creativebug’s class.

IMG_2305

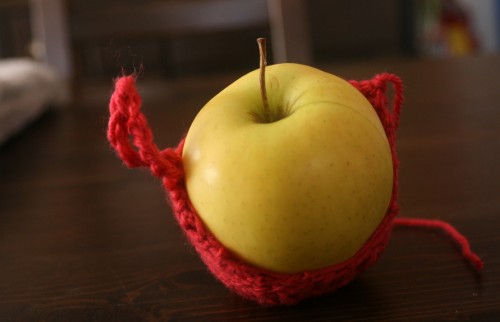
I’m not a great crocheter, as illustrated by my attempt at an ‘apple cozy’ years ago.

not an apple cozy 2

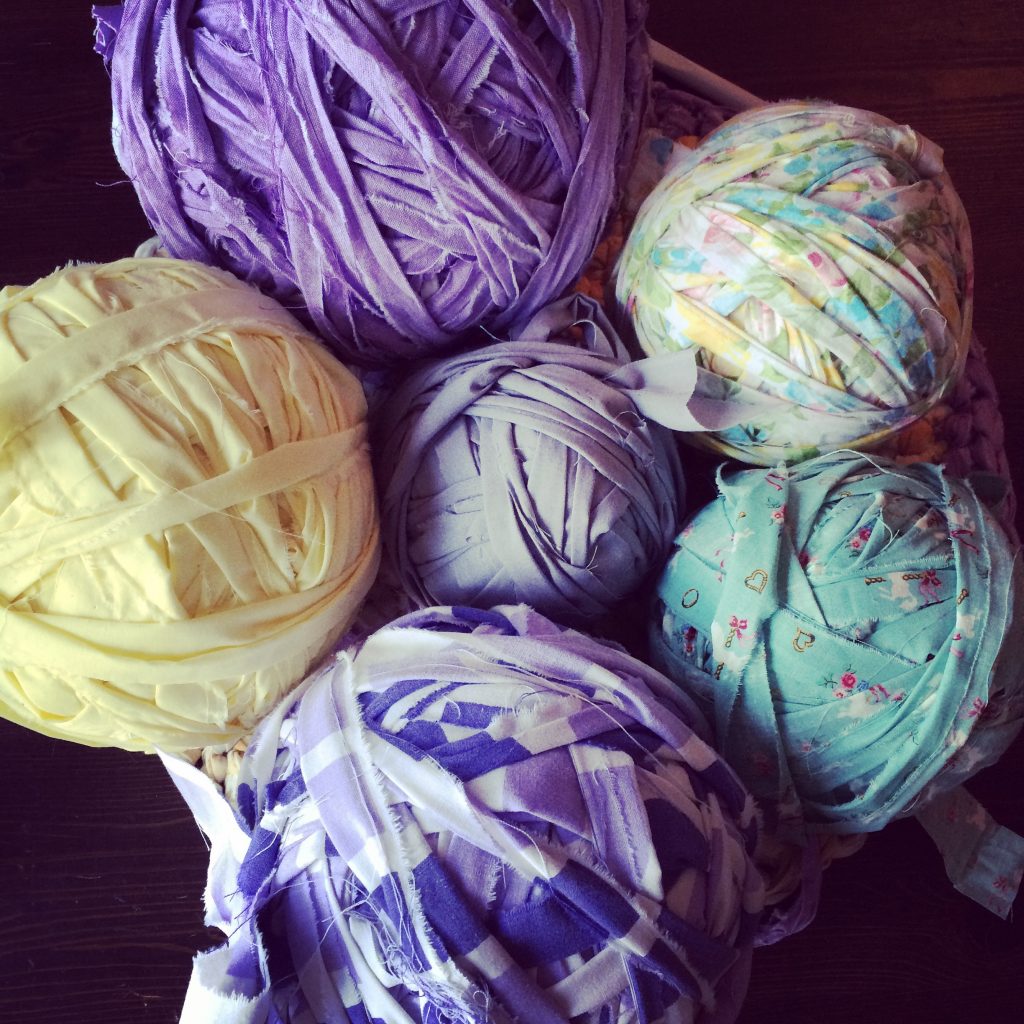
This project is great and goes quickly once you’ve got your fabric ready to go. But you’ll need some muscles for tearing up sheets or lengths of fabric. They look pretty neat all balled up.

IMG_2299

I had a really hard time getting my rug to lay properly. I struggled with it curling up, then being warbly and I’ve sort of been making my own pattern up as I go. Laying the rug down here and there to see how it falls. And I’ve been writing down what I do on each round so that *if* I do have to do some ‘reverse crochet’ I’ll know where I left off.

IMG_2321

Happy Easter weekend!

Hope you’re all having a lovely long weekend with your loved ones!

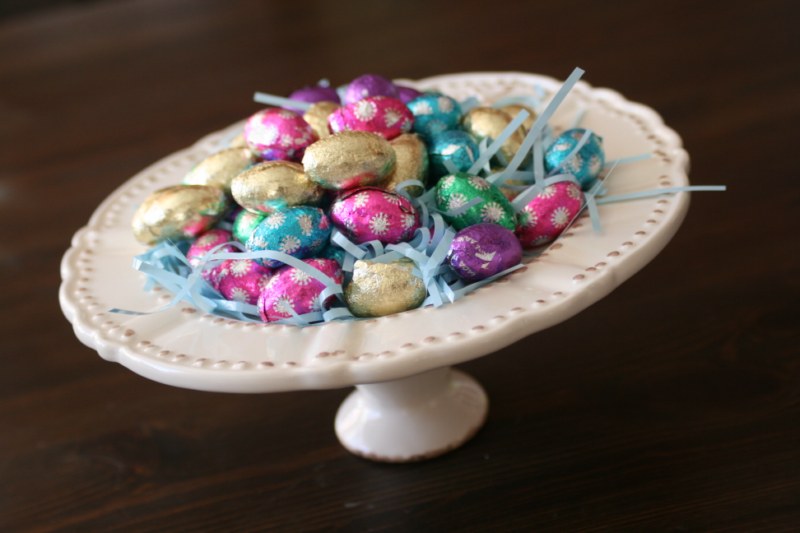
easter treat stand

Yummy Pumpkin Cake.

Here’s an amazing pumpkin cake recipe I’ve been making for years. It’s an easy one and is so great for cooler days, usually fall but hey I’m just a touch late to the party. It’d be yummy for the holidays too!

Here’s what you’ll need to gather up,

Dry stuffs
3 cups flour
2 cups granulated sugar
1 tbsp pumpkin pie spice *buy it or better yet, make it*
1 tbsp baking powder
1/4 tsp salt

Wet stuffs
4 large eggs
1/2 cup vegetable oil
15 ounces (a touch under 2 cups) of pumpkin puree
2 tsp vanilla extract

Icing
3/4 cup icing sugar
1 1/2 tbsp lemon

Mix the dry stuffs in a big bowl.

Mix the wet stuffs in another bowl and then add the dry to the wet and mix it all up.

The recipe calls for using a bundt cake pan, I suppose you could use another kind but I have no idea how that would effect the baking time. Plus it looks really cool from a bundt pan, honest. So you need to grease up the pan somehow, I use butter and smear it around the pan with a paper towel.

Pour in the batter and level it out a bit.

Bake at 375F for 55-60 minutes. When it seems done bring it out and let it cool in the pan for about 15 minutes.

After 15 minutes flip it over and hope that it pops right out in one nice piece. It’s going to need to cool a bit more, about 15 minutes, so use this time to make the icing.

Take the icing sugar and add the lemon juice to it. When I first made this it seemed like such a strange combo but it’s really great paired with the cake.

Now here’s something I’ve learned making this over and over – if you’re going to serve it right away go ahead and drizzle the icing on top of the cake and let it run down and look all Martha Stewart and gorgeous for a minute before everyone devours it. If you’re taking it somewhere or just eating it at home with your family and it’s going to take days – keep the icing on the side and just drizzle it on each piece. I find it will soak into the cake and get it all soggy if you let it sit too long. Trust me, the presentation is still great even if you do it piece by piece.

A new addiction.

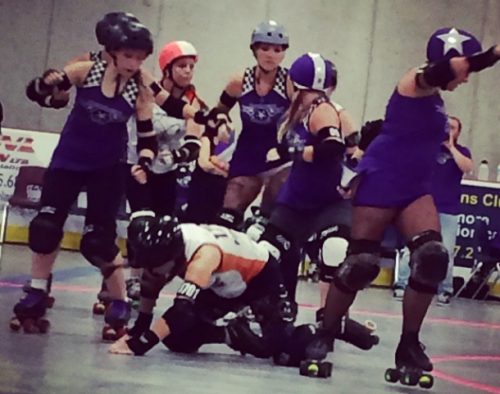
Mid July I was taken to watch roller derby for the first time. I was smitten.
Screen Shot 2014-08-10 at 10.30.58 PM

Then I did something sort of kinda crazy, I signed up for roller derby fresh meat camp and I invested in my first pair of roller skates.  Before then I’d been on roller skates a grand total of two times I think. So it’s been an interesting 2+ months.

roller derby me

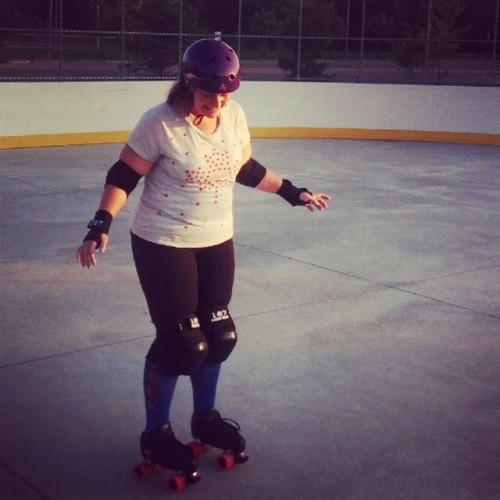
There’s me on my skates for the first-ish time. Petrified out of my mind. So afraid to fall (which is crazy with all that gear on, you really can’t get ‘hurt’ just going down on your gear). Didn’t know how to stop, too scared to really *go*. Looking back now it’s pretty silly.

derby tara

In the 10 weeks I learned a whole lot! I can do a bunch of things I never thought I’d be able to master, especially at 39 and in a few weeks. I also have a lot of things to improve on and look forward to doing so!

I’ve even cleared my living room out to practice balance and foot work when I couldn’t get out.

derby living room me

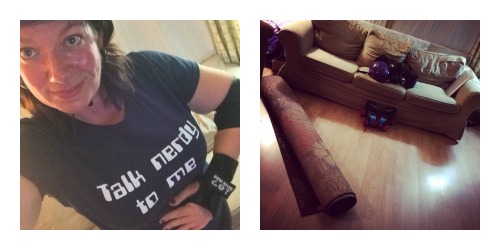
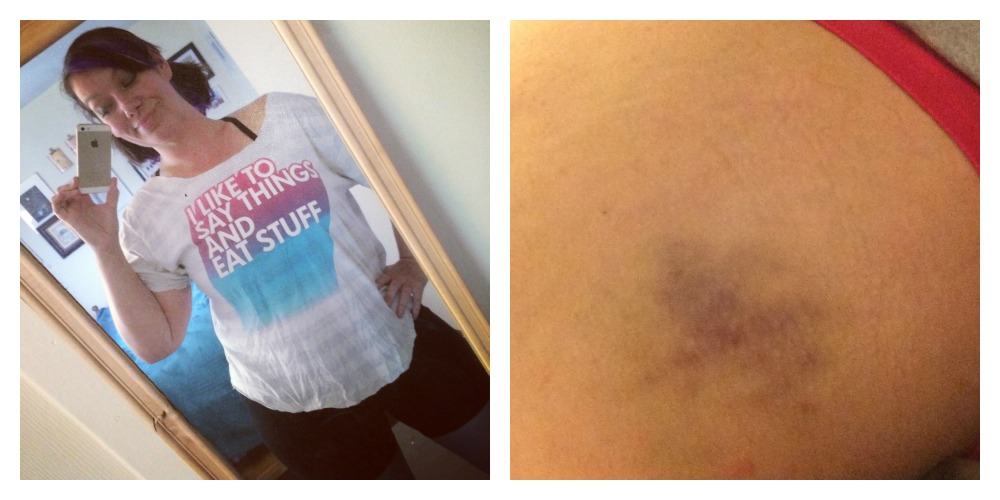
There were some bumps along the way for sure. But the outfits are fun and it’s a good workout.

derby outfit bruise

If you live sorta of kinda close to me check out Durham Region Roller Derby it’s a thing and it’s really awesome to watch or participate in and it’s allll over so you can find it near you too.

Giveaway Day!!

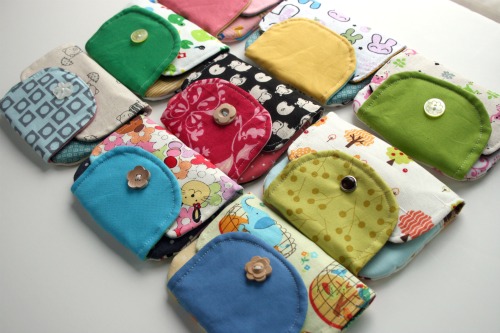
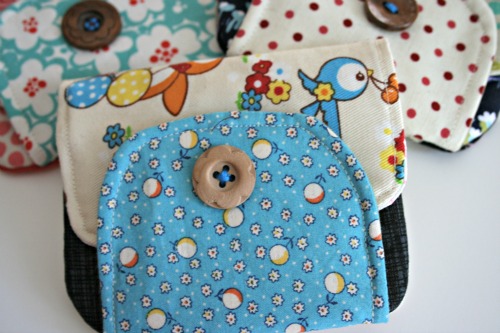
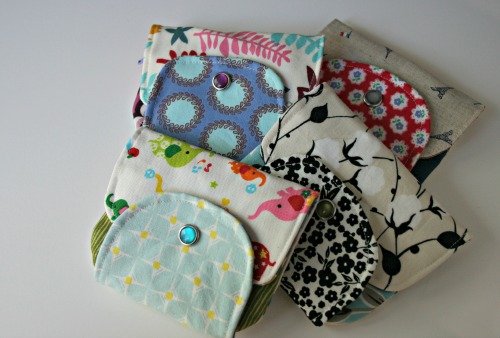
Why hello there! I’m giving away one scrappy wallet to some lucky winner! I will ship internationally (that’s anywhere in the world because you’re worth it). Please leave a comment below and make sure there’s a way for me to contact you. These are stock photos of some of my past wallets but I assure you the wallet will be adorable and meet all your accessorizing needs. We can chat about colours and patterns later.

I’ll love you forever if you like my Facebook page, I’m so close to 1000 likes!

Giveaway open until December 12 at 5 p.m. PST.
Winner will be emailed on December 14.
Go here to enter more giveaways!

Art Journaling

Well I signed up for this class and I’m excited!

Creativebug

I watched the first week for a bit while sewing and scrawled a list of all the fun supplies I wanted to run out and buy so badly. But then I just went on an organizing binge because, truthfully, I own most of that fun stuff already I just had to unearth it from my craft area.  I dug out a ton of adhesives and markers and pens and my water colour pencils . . . I have quite the stash ready to get creative with!

So I’m off to finish a sewing WIP and then sit with my sketchbook and hitagain!

Another one.

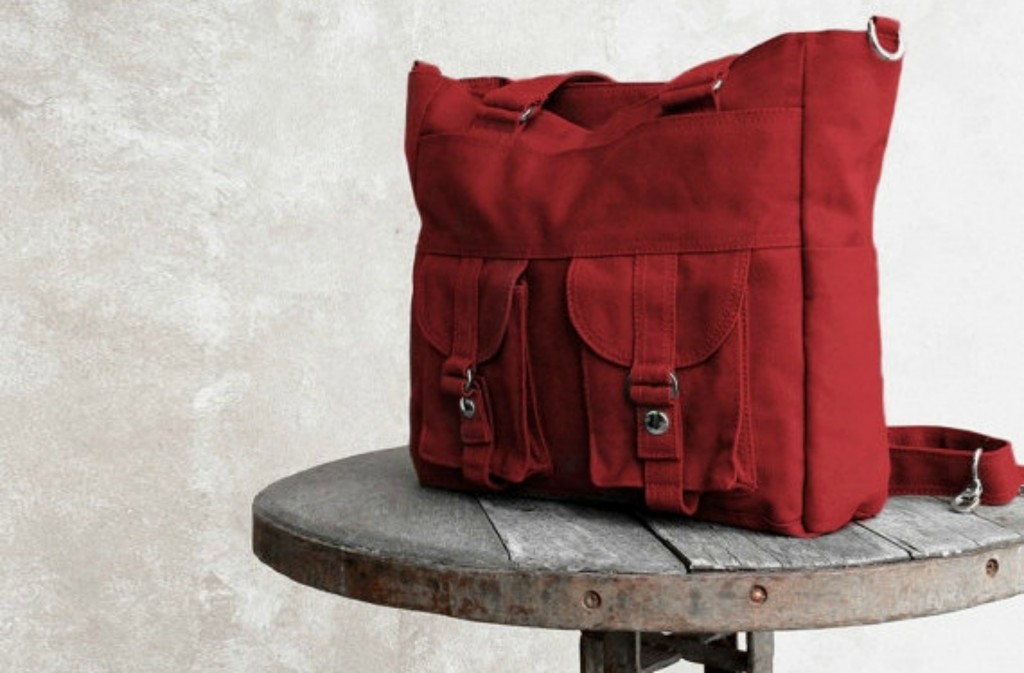
I bought another bag. I did it before with this one.

Then I did it again with this one.

Now I’ve done it with this one.
Same style I already have, just in another awesome colour.
This bag is great, I have little words to tell you how awesome it is.

I still want the grey one.

I may have a problem.

Check out the whole shop selection here.

New Jewlery display for my room

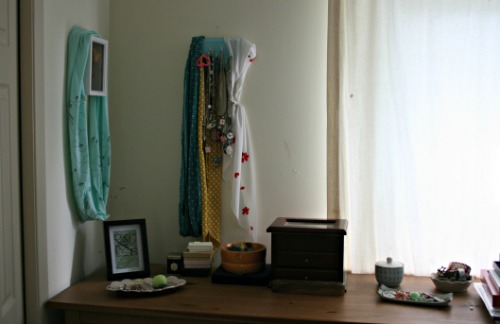
I had this.

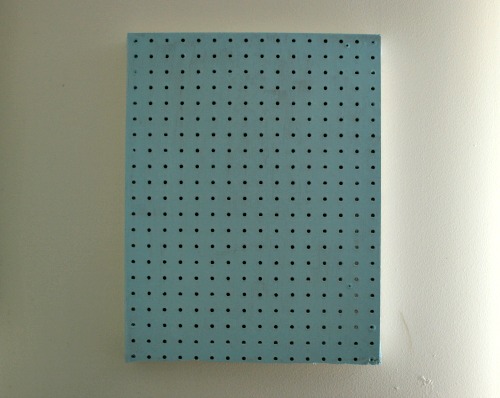
I wanted things more spread out. So I built this.

It was just 4 pieces of wood making a square on the back and the pegboard on the front. I had my lovely little boys help me sand and paint it too.

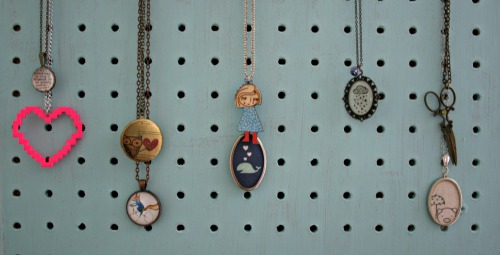
Then I moved everything back onto it.

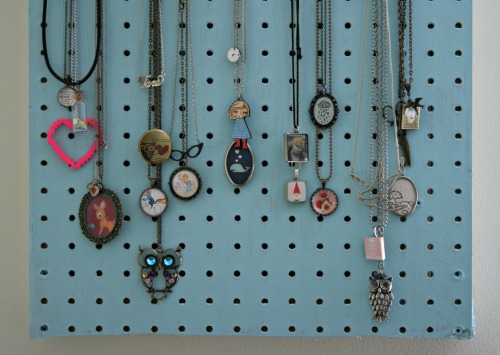
And kept adding.

Ta da!