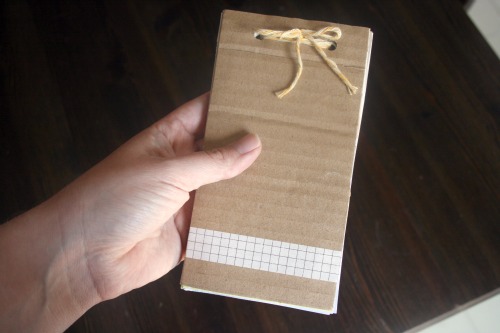
I made this little notebook using papers and things from around the house. You should have everything you need to whip one up in a few minutes. They’d be great for keeping in your bag for lists, or for the kids. My kids are always wanting their own handy, dandy notebook! Plus you can recycle the whole thing once you’re done with it. Re-use the twine if you’re that hardcore.
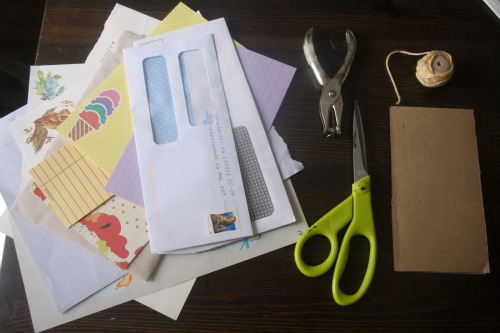
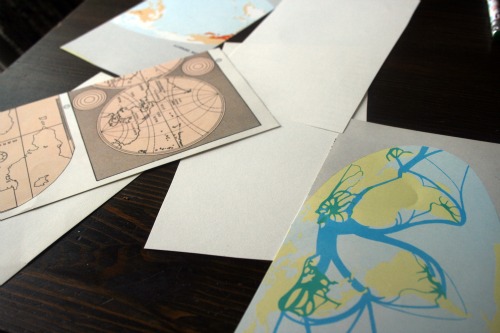
You need 2 pieces of cardboard cut to the same size. These will make the front and back of the notebook. Gather some scrap papers. I used a lot of bill envelopes, pages from thirfted writing papers and some atlas pages. A whole punch, scissors, twine/string/yarn/floss or something stringy.
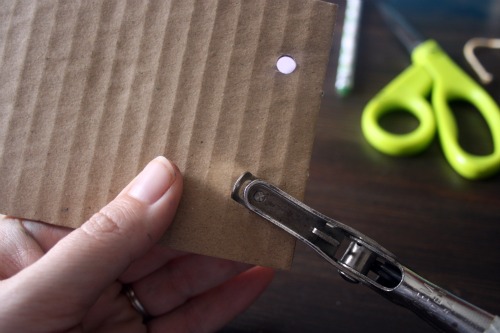
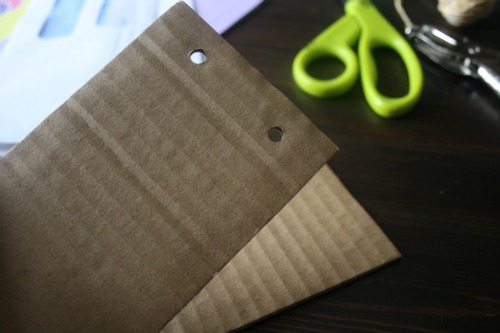
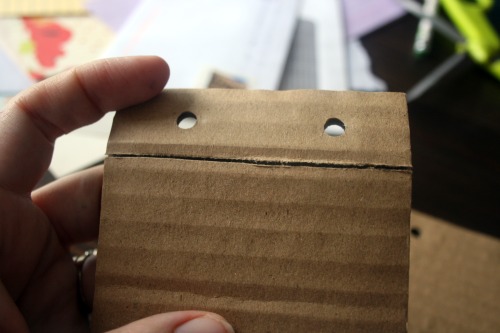
Punch holes in the cardboard pieces that are going to be the front and back of the notebook.
Then with your scissors score a line across the front cover piece of cardboard. Just press gently so you only cut through the top layer of paper.
Decide how you want your pages to be placed. If there’s writing on some of them, like atlas pages, you’ll need to decide what side you want to have available for notes.
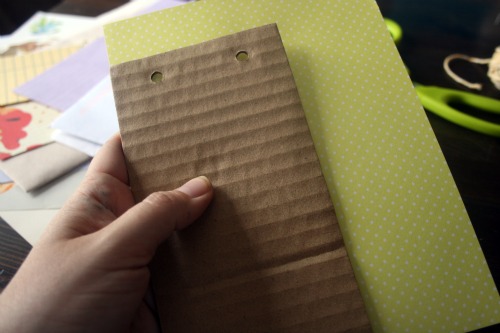
Trim the pages to the same size as your cardboard cover. You could get fancy and get out a paper trimmer and actually measure this but I just held them to my cover and cut around it. Remember, it’s not ‘lazy’ it’s ‘creative’.
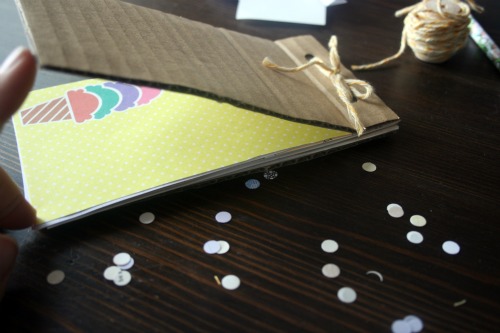
Then in the spirit of ‘creative’ I held the pages up to the cover and punched the holes in the same place, lined up with the ones on the front and back cardboard pieces. Punch all the pages you want in your notebook. Thread some stringy like substance through the 2 holes and tie it up in some pretty way.
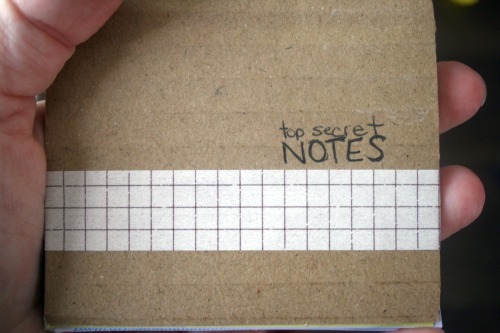
You can decorate the cover or leave it blank. I stuck a bit of washi tape on mine just for fun, gotta use that stuff up somehow I just keep collecting it. I had tried to stamp doily designs on it but the cardboard is too bumpy and it doesn’t print well. You’d have better luck using a stencil I think rather than trying to stamp.




6 Responses to DIY little notebook