On the weekend I turned my kitchen table into a bit of a nightmare so I could squeeze in some crafting while Nate was avoiding his nap. I was working on a project with vintage pillow cases and inspiration hit and took me on a bit of a detour.
Start with a vintage pillow case and trim off the nice finished edge at the opening where you put your pillow in. You can either trim really close to the stitching and have a closed loop piece, or cut into it and have an open edge. I’m going to show you how to work with both options.
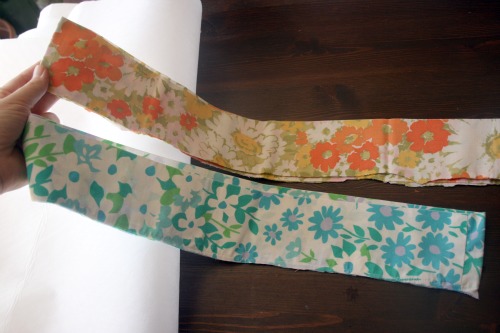
Now you have 2 big loops, cut off the seam so you have one long piece of fabric.
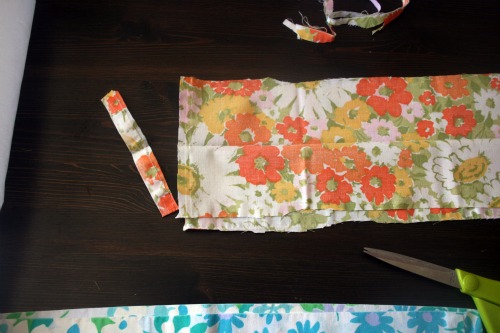
I was cutting the orangey one for another project and in the process I trimmed a bit into the seam and created an opening on one edge. So here’s how to finish that off and make a nice clean edge, and a thinish headband.
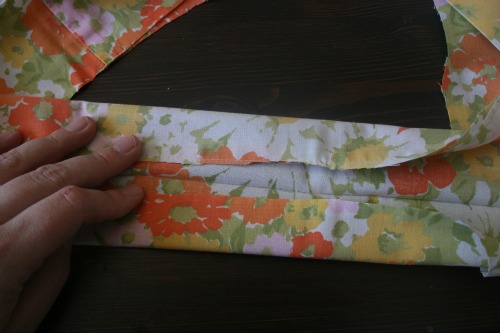
Open the fabric up and use the fold inside, the part that was the very end of the pillow, as a guide to fold the unfinished edges inward. I didn’t go all the way because I wanted my band a bit thicker.
Then fold it again so the raw edges disappear inside. You can iron and pin at this point before you sew. Of forge ahead like I did.
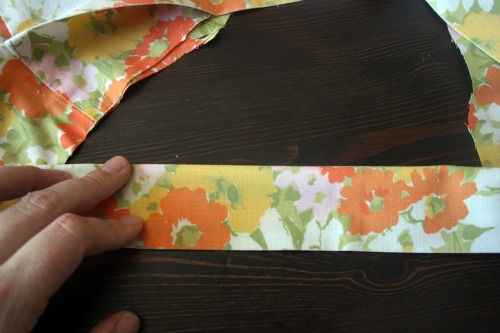
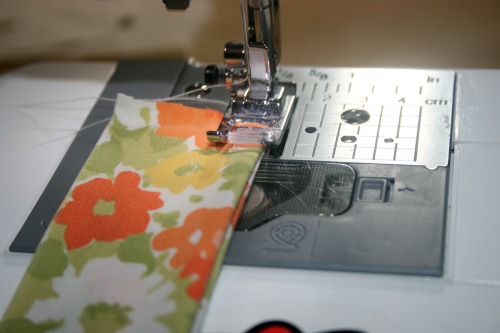
Top stitch along the sides to make nice clean edges. Fold the bottom raw edges up inside the ‘tube’ to create a clean edge and topstitch to seal it all in. Then you have one nice ruler shaped piece of fabric that you can wrap around your head and tie at the back.
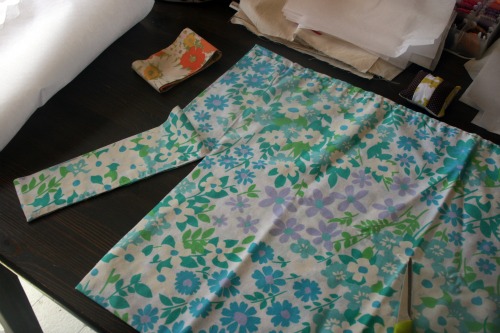
For my blue headband I just carefully trimmed around the pre-existing stitching. Why make more work?
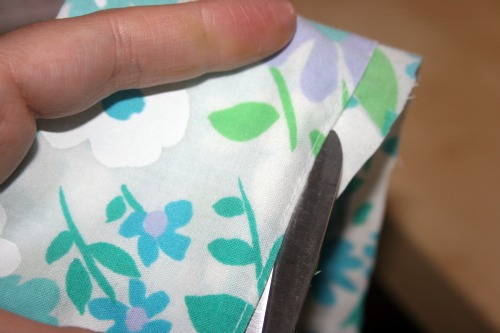
Then I cut the ends on an angle just to had some interest to the ends. Fold the raw edges inside and top stitch around the whole thing.
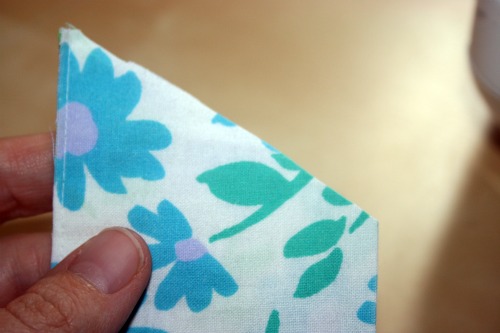
There you have it, a lovely new headband that was half made already!




5 Responses to DIY vintage pillow case restyle.