I guest posted over the weekend at amy is the party where she featured a bunch of fun summery projects, like cupcake fondue!! Plus other post by some superfunawesomecool people including Thursday and Crafty Minx. So head over there and have a peek!
Ok I’m going to show you how to turn a hanky into a fun hair accessory for the summer. It’s a super quick project that you can make with thrifted materials and probably things you have on hand, scraps material and a bit of elastic. I’ve burned my scalp already this summer and I’m hoping this is a cuter alternative to hats.
You will need
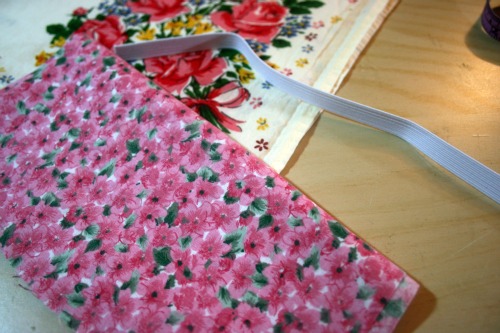
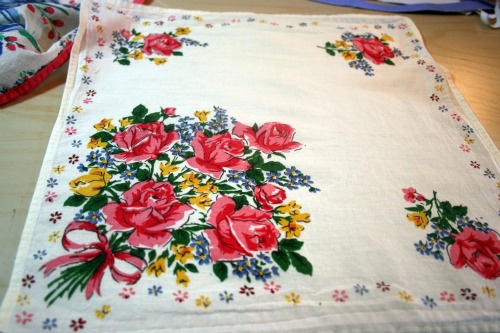
– a hanky you like
– a piece of elastic (mine was 7″)
– a strip of fabric (3″ x 15″)
Other handy items – safety pin, turning tool,
I picked this one because it has a great pattern on one corner which is perfect because you’re going to fold the hanky diagonally.
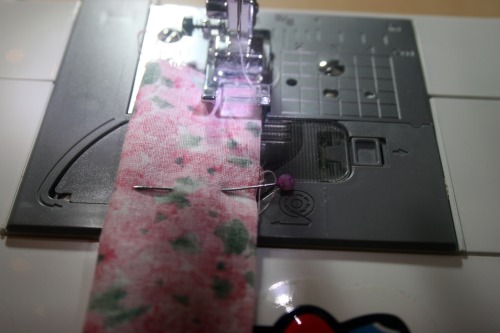
First fold the strip of fabric in half and sew down one side with a 1/4 inch seam.
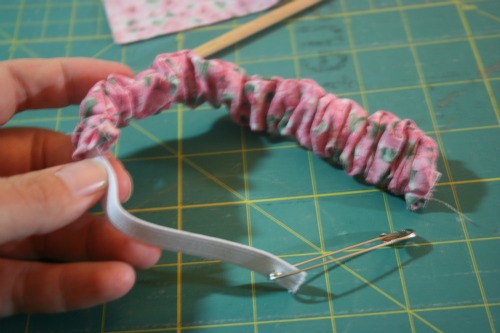
Turn it right side out. This part was a bit tricky, I used my handy little turning tool, this long metal stick thing with a hook on it. Once you have it turned right side out take the elastic piece and feed it through the casing. Sew it in place at one end. Then pull the elastic through so it’s sticking out the other side. It’s easy to guide through if you put a safety pin on the end first.
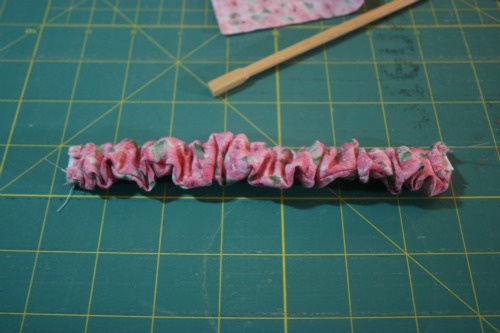
The casing fabric should be all gathered up like a hair scrunchie.
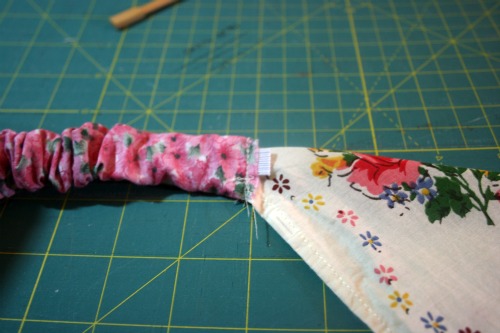
Fold the hanky in half diagonally and sew the stitched up end of the elastic to one corner of the hanky.
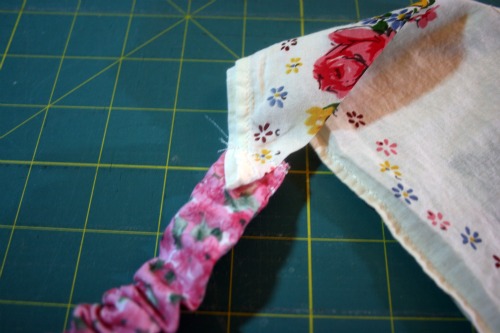
Chceck to see how it fits on your head. I had to trim about an inch from the scrunchie piece. Once it’s a comfortable tightness at the back of your head stitch the other end of the scrunchie piece to the other hanky corner.
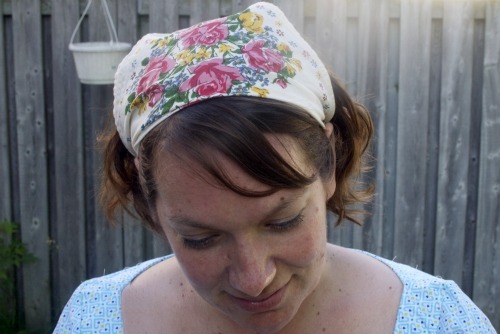
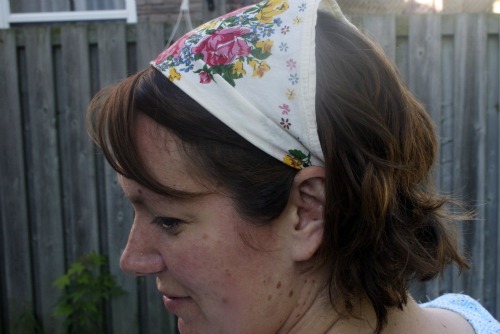
And voila, a great cool summer alternative to hat head!
Here’s my ‘I’m not ready for a photo’ frontal shot. Sorry for the sunny bit.





2 Responses to Summer hanky headband DIY