I’ve vowed to myself to post more DIY projects this year. I got even fancier and decided to combine this idea with scrapbusting! Hoping to help you create some fun items while decluttering your scrap bin/box/bag/whatever. This would also be a great idea as a way to save an important item of clothing, or other fabric. So on with scraps idea #1.
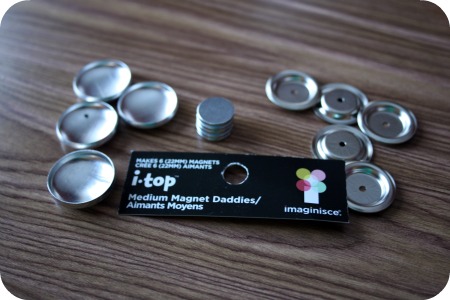
I was wandering Michael’s the other day and stumbled upon make your own buttons, brads and magnets in the scrapbooking aisle. At first I was super exicted and thoguht of all my scraps, then I realised there’s a few tools to make it all work. The iTop tool was $49.99, then there’s the punches or templates, the hardware for the actual buttons/magnets/brads . . . I realized it could add up. So in an attempt to be thrifty I spent $4.99 on a package of the magnet pieces and decided I’d see what I could do.
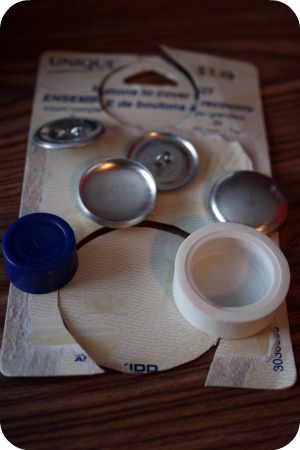
The large magnet pieces I got measured 22mm so I headed to the fabric store and purchased the $2.49 Unique kit for covering 22mm buttons. It came with pieces to make 3 buttons and the little casing thingie to snap it all together. Pardon the bits and pieces. There’s a template on the back for how big the fabric bit should be. I think it lies, I had to do some experimenting to come up with a size that worked.
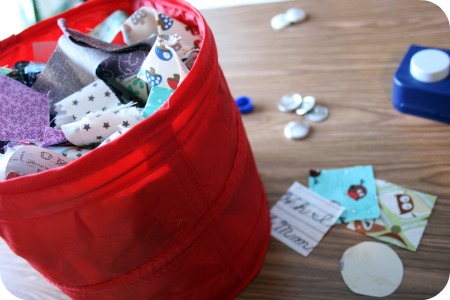
Recently I went through my larger scraps and cut 2×2 inch pieces where I could. Turns out they’re the ideal size for this project. However, if you’re trying to get a specific part of the pattern.
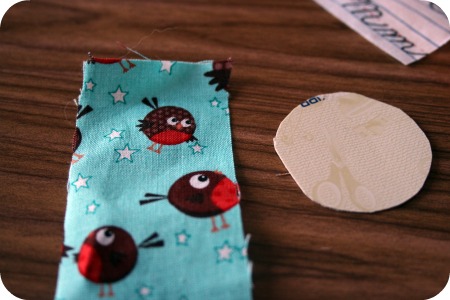
Grab a piece of fabric that will work for the image you want on the front of the magnet. I was trying to get one of the little owls from my Round Robin print so my 2×2 squares weren’t working out.
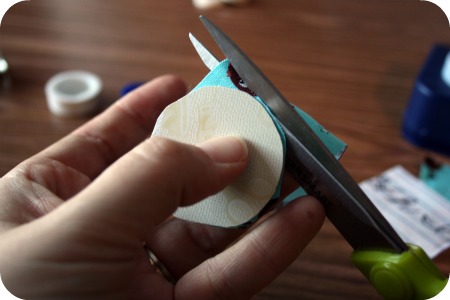
Cut out the circle using your template which should be about 42mm, that’s what mine is.
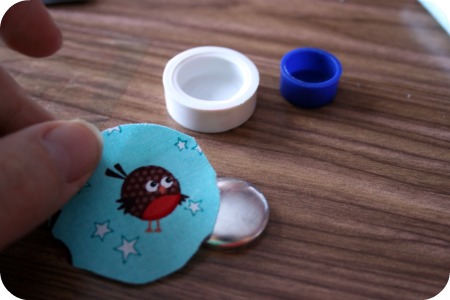
Place the fabric over the magent front positioning your design how you’d like it. Then pop it into the setting tool. Try to keep the fabric the way you want it, it can move around on you.
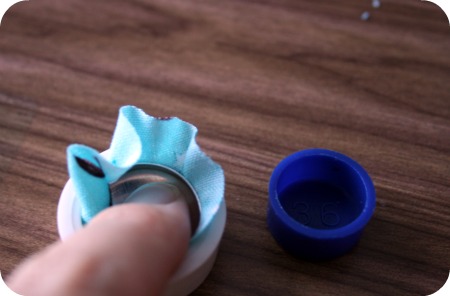
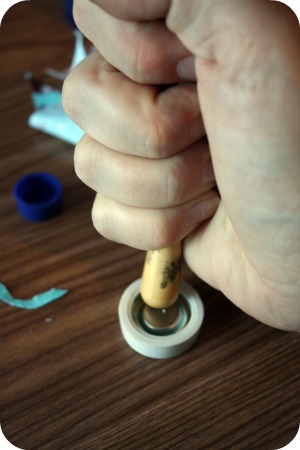
Next you just plop the backing piece into the holder, the magnetic disk should be sandwiched between the front and back pieces, and push down to snap it into place. Make sure all the edges of the fabric will be squished inside. The dark blue thingie is a ‘pusher’ to assist in this process, I just used one of my stenciling brushes I use when screen printing. I’m very technical and particular with my tools.
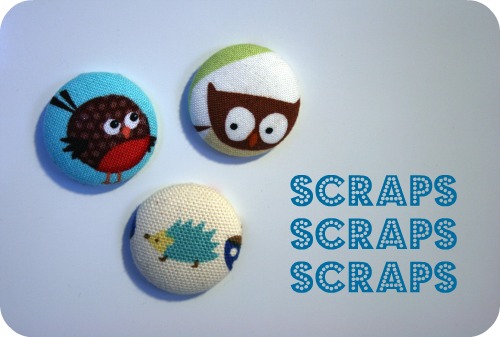
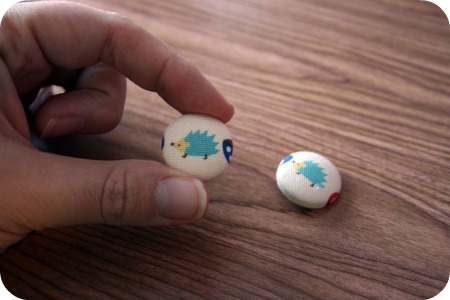
Finally just pop out your new little magnet! Pardon the fabric switch, it appears I got all excited and ran to the fridge shot without documenting the final stage of my little owly friend. Here’s a magnet and button I made. Easy peasy!




5 Responses to Scrapbusting with an iTop hack