Ok, welcome those of you who are feeling adventurous! Here’s my little part 2 on lining a tote where I’ll walk you through the steps to adding a zippered pocket to the lining.
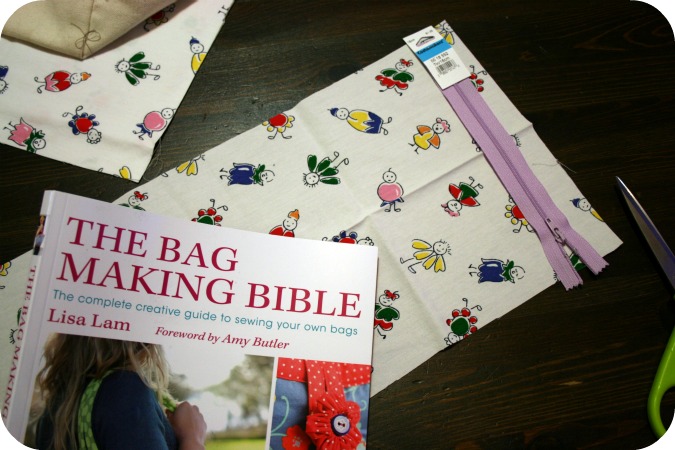
I cracked open my Bag Making Bible for this part and followed the instructions for inserting a zipper. Lisa Lam explains very well, I’ll give you enough information, hopefully, to tackle it yourself. I used the panel of fabric I cut off the bottom to make my pocket. I just folded it in half and cut it to have 2 squares to use for the pocket.
Decide how big you want your pocket and cut 2 pieces of fabric to that size, allowing for a 1/4 inch seam. The zipper should be placed with about 3 inches on either side of the pocket pieces. I didn’t know this, but you can just cut off the end of the zipper if you need to shorten it.
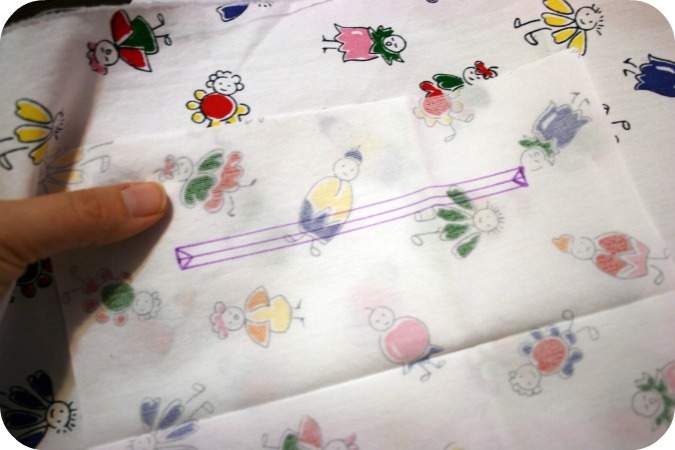
Place one of the pocket pieces right sides together on the lining piece where you want to have a pocket. Trace out a rectangle the same size as your zipper. Mark a line down the middle and those cute little triangles at the ends.
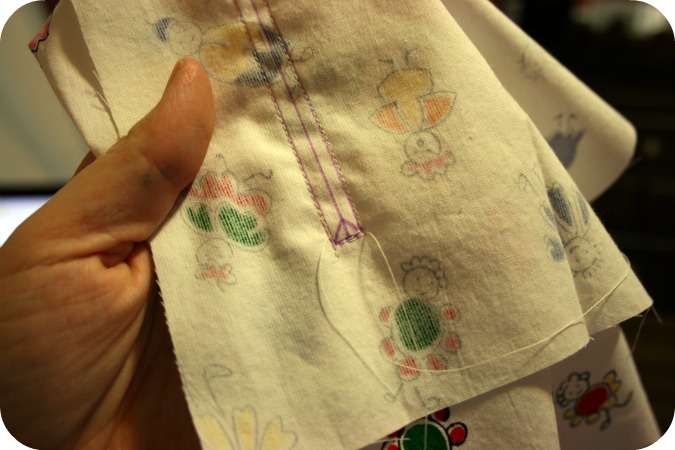
Sew along the outside of the rectangle, this will sew the pocket piece to the lining piece.
Cut along the guide lines you drew inside the rectangle, the half way line and the little triangles.
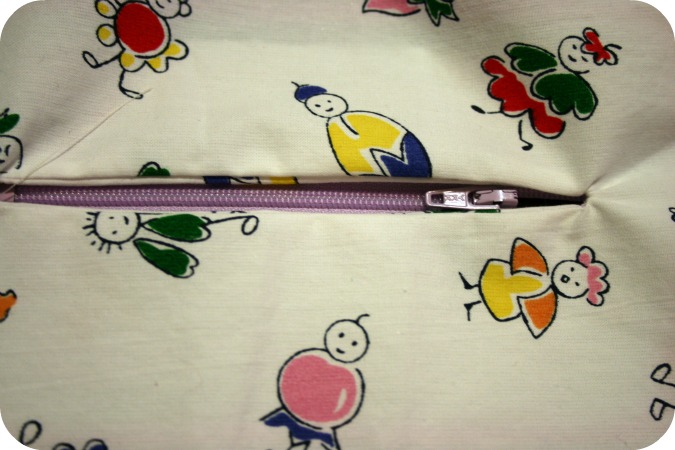
Next turn the pocket piece through the hole, as Lisa says “like you’re putting a letter in the post”. Press to get a nice crisp seam. Lay your zipper on the wrong side of the pocket. The book suggested using double sided tape stuff to secure it, I don’t have that and just pinned it. Use your zipper foot to sew along and stitch the zipper in place.
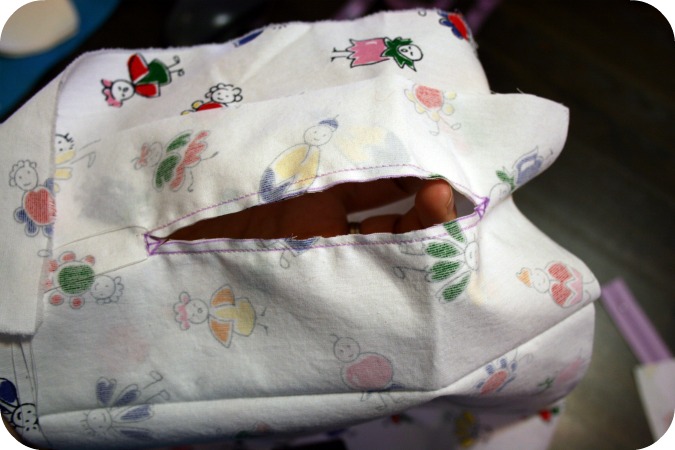
Lay the lining piece right side down and place the other pocket piece, right sides together, on top of the pocket piece with the zipper in it. Sew around all four sides with a 1/4 inch seam. This will stitch both pocket pieces to the lining fabric.
Flip it over and access the pocket through the zipper! Voila!
Now head back to post part #1 to finish lining your tote.




Pingback: I like BIG BOOKS and I cannot lie | ROO